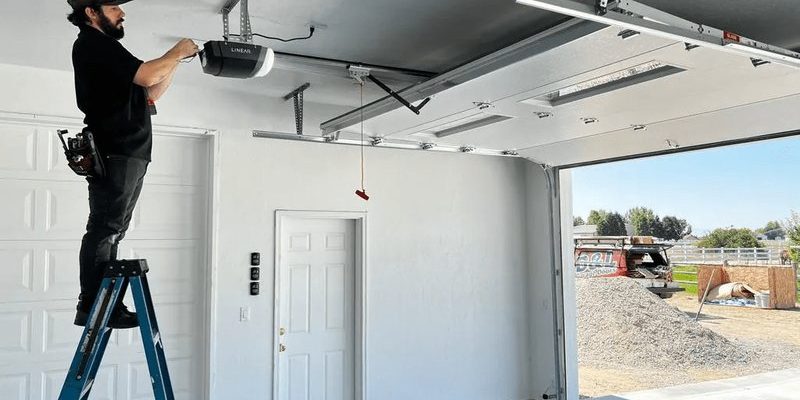
Whether you’re opting for a chain-driven Genie or a belt-driven LiftMaster, the process generally follows a similar blueprint. In this article, we’ll dive into everything you need to prepare for your installation, from collecting the right tools to getting your workspace ready. By the time you’re done, you’ll be ready to tackle this project confidently.
Understanding Garage Door Openers
Before jumping into the tools, let’s briefly discuss what a garage door opener actually does. At its core, a garage door opener automates the opening and closing of your garage door. Think of it like a friendly butler for your car. It provides convenience, enhances security, and adds value to your home. They usually operate with a remote, which you keep handy, making it easy to access your garage with just the touch of a button.
There are different types of openers, primarily categorized by their lifting mechanism: chain-drive, belt-drive, and direct-drive. Chain-drive openers use a metal chain to lift the door, making them strong and cost-effective. Belt-drive systems are quieter since they use a rubber belt, making them great for homes with attached garages. Finally, direct-drive openers have fewer moving parts, resulting in less maintenance and quieter operation.
Understanding these basics sets the stage for a smoother installation. Once you know what kind of opener you’ll be installing, we can dive into the specifics.
Gathering the Essential Tools
Now, let’s talk tools. Just like trying to bake a cake without a whisk, installing a garage door opener can get tricky if you lack the right equipment. Here’s what you’ll need to have on hand:
- Drill/Driver: Essential for creating holes and driving screws.
- Screwdriver Set: A variety of screwdrivers will help you with different types of screws.
- Wrench Set: Useful for tightening bolts.
- Ladder: To reach that mounting bracket up high.
- Level: To ensure everything’s straight and true.
- Measuring Tape: For accurate measurements of your garage door and opener placement.
- Pliers: Handy for gripping and twisting.
- Safety Glasses: Protect your eyes, especially when drilling.
Having these tools ready can save you time and frustration during the installation. Plus, if you have them organized in one place—like a tool belt or box—your work area won’t feel so chaotic.
Preparing Your Workspace
Once you’ve gathered your tools, preparing your workspace is the next crucial step. Imagine trying to do a craft project on a tiny kitchen table. You’ll want enough room to move around comfortably, especially since you’ll be lifting and aligning heavy components.
Start by clearing out the garage space around the door. Remove any clutter that might get in your way, and ensure you have enough floor space to work safely. If your garage door is currently functional, you’ll want to temporarily disconnect it for safety. Just look for the release cord, usually a red handle hanging from the operator.
Another tip is to set up a small table nearby for your tools and parts. This will keep everything within reach, reducing the need to run back and forth. With a tidy workspace, your installation process will be much smoother.
Reading the Installation Manual
Every garage door opener comes with its own instruction manual. Think of this manual as your treasure map—it’s going to guide you step-by-step toward your prize of a fully functional garage door opener. Before you start fiddling with tools, take some time to thoroughly read through the manual.
This manual will likely have details specific to your model, such as the necessary adjustments, exact alignment, and mounting instructions. You might be wondering about the wiring and where things need to connect. Typically, the manual will include diagrams that illustrate these connections.
Here’s the thing: don’t skip this step. Failing to follow the provided guidelines can lead to installed components that don’t work together correctly. Plus, understanding these instructions upfront ensures you’re not racing against the clock when you’re in the thick of installation.
Measuring for Proper Placement
Now that you have your tools and workspace ready, it’s time to measure for proper placement. The positioning of your new opener is critical for smooth and safe operation. You’ll want to make sure it’s aligned correctly with the garage door track.
Start by measuring the height of your door. The typical opener should be installed at least 7 feet above the ground. If you have a taller garage door, you might need an extension kit for your opener.
Also, look at the width, as this will help determine where to place the opener on the wall. A good rule of thumb is to position it centered above the door, ensuring that the door operates evenly.
Don’t forget to consider the clearance above the door as well. Most systems require at least 12 inches of space above the door to function smoothly. If you have a particularly high ceiling, this is a good time to think about any extra pieces you might need, like mounting brackets.
Assembling the Garage Door Opener
Ready to start putting things together? Now’s the fun part! Generally, your garage door opener will come disassembled in the box. Follow the instruction manual to assemble the motor unit, rail system, and any other components.
Most models come with a rail assembly that will need connecting to the motor unit. Be sure to securely fasten all connections, as any loose parts can lead to operational issues later. Use the level to ensure these parts are straight.
Once you’ve got the rail system aligned, attach the chain or belt according to your specific model requirements. Honestly, take your time here—this step is crucial for the opener to work without excessive noise or malfunction.
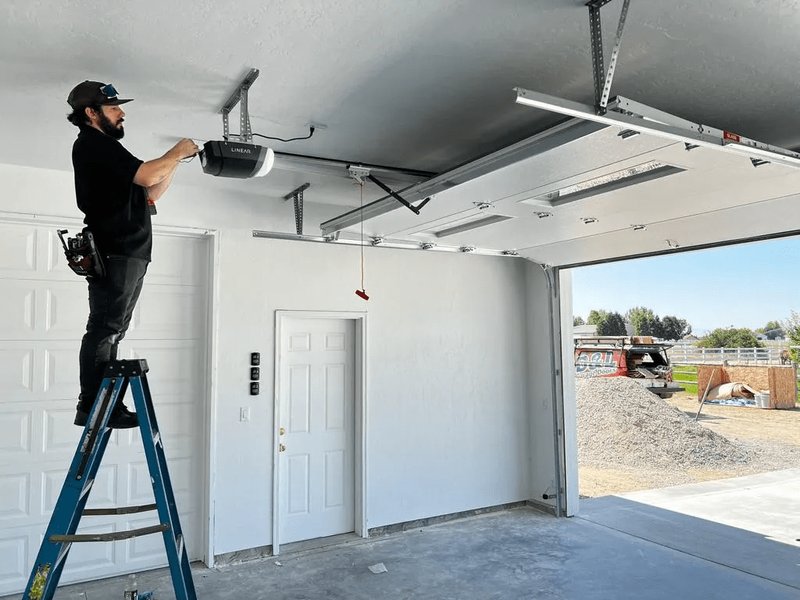
Mounting the Garage Door Opener
After assembly, it’s time to mount the opener. This part is key to getting everything working snugly without the risk of it falling off the wall later.
Begin by holding the mounted assembly against the ceiling or wall, ensuring that you follow the installation guidelines regarding height and alignment. Use your measuring tape to double-check your distance from the door. It’s easy to get ahead of yourself here, but the time spent ensuring everything is correct is well worth it.
You’ll need to use your drill to create holes for mounting screws. If your garage ceiling is particularly rugged, make sure you use the appropriate anchors in the wall to support the weight. After securing the mount, give a gentle tug to ensure it’s firm before moving onto the next step.
Connecting the Wiring and Setting Up the Remote
Alright, let’s tackle the wiring. This step can seem intimidating, but it’s not as complicated as it sounds. Most garage door openers operate on a simple power source and have straightforward wiring connections.
Consult your instruction manual for the correct colors and placements for each wire. Generally, you’ll be connecting a power cord from the motor unit to a plug, and if you have a physical switch inside the garage, you’ll need to wire that as well. Safety first! Always ensure that power is disconnected before you start handling wires.
Once wired, you’ll need to sync your remote to the opener. This process varies by brand, but it usually involves pressing a button on the motor and then your remote. You should see a blinking light or hear a sound indicating that pairing is successful.
Testing the Garage Door Opener
With the installation completed, it’s testing time! This is where you get to see all your hard work pay off. Go ahead and press the remote to open and close the garage door. Watch to make sure it moves smoothly and quietly.
It’s also essential to test the safety features, like the auto-reverse function. To do this, use a small object (like a piece of cardboard) and place it in the door’s path. When the door hits the object, it should automatically reverse. If it doesn’t, double-check your installation settings, particularly regarding sensors.
Remember, this part isn’t just about ensuring your door opens and closes. It’s about making sure you set it up safely for frequent use.
Final Inspection and Maintenance Tips
You’re almost there! Before calling it a day, it’s a good idea to perform a final inspection of everything. Check all screws, connections, and the stability of your installed opener. Clear any debris or loose ends in your workspace to prevent future clutter.
Once you’re satisfied with the setup, it’s important to think about maintenance. Regular upkeep can extend the lifespan of your garage door opener. Lubricating moving parts, checking the alignment of sensors, and testing the remote periodically are all excellent practices.
Lastly, keep an eye out for any unusual sounds or movements. They can signal issues long before they become major problems.
By following these steps, you’ve made a sizable investment into your home, adding both convenience and safety—congratulations!
With a friendly approach, installing a new garage door opener can be a rewarding experience. You’ll have the satisfaction of knowing you tackled the job yourself, and soon enough, you’ll be enjoying the ease of entering and exiting your garage with the push of a button.