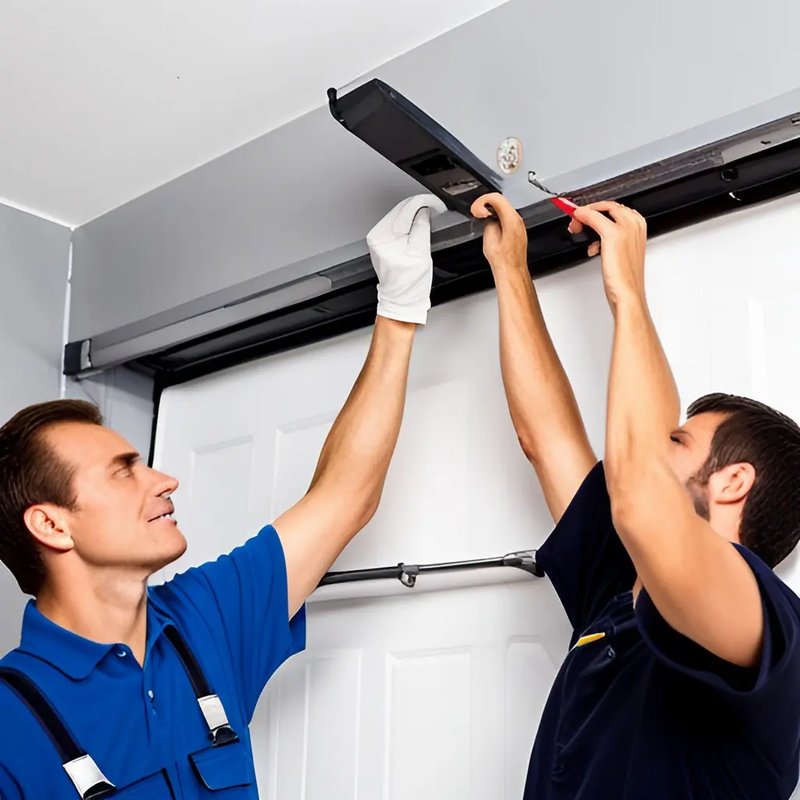
If you’re thinking about a DIY approach to inspect your garage door opener’s moving parts, you’re not alone. Many homeowners feel empowered to tackle these small maintenance jobs. For instance, if you own a Chamberlain or LiftMaster opener, you might be wondering how to keep things running smoothly. In this guide, I’ll walk you through inspecting and maintaining those moving parts so you can enjoy hassle-free access to your garage.
Understanding Your Garage Door Opener
Before diving into inspections, it’s helpful to know how a garage door opener works. Think of it as a finely tuned machine. The opener comprises several key components: a motor, tracks, rollers, and various moving parts that work together to automate the process of opening and closing your garage door.
Motor: This is the powerhouse of your garage door opener. It’s responsible for driving the mechanism that raises and lowers the door. If your opener is making strange noises, the motor might be the culprit.
Tracks and Rollers: The tracks guide the door as it opens and closes, while the rollers allow the door to glide smoothly along these tracks. Over time, dirt, rust, or misalignment can hinder their performance.
Drive Mechanism: Whether it’s a chain, belt, or screw drive, the drive mechanism decreases the effort needed to operate your door. Each type has its pros and cons; for example, chain drives are sturdy but can be noisy, while belt drives are quieter but may require more maintenance.
Understanding these components sets the groundwork for effective inspection and maintenance. This knowledge also helps you appreciate what you’re examining and fixing.
Gathering Your Tools and Supplies
Before you start, you’ll want to round up the right tools and supplies. Getting everything ready upfront can save you from running back and forth later. Here’s a simple list of items you’ll need:
- Screwdrivers: A mix of flat-head and Phillips for loosening screws.
- Lubricant: A silicone-based spray or lithium grease works best.
- Cleaning rags: For wiping down excess lubricant and dirt.
- Safety goggles: Always protect your eyes when working with hardware.
- Step ladder: Useful for reaching higher components.
Once you have your tools, you’re ready to get started! This initial preparation can help you work more effectively, allowing for a comprehensive inspection of your garage door opener’s moving parts.
Safety First: Disconnecting Your Opener
Safety should always come first, especially when working with machinery. Before you begin inspecting, make sure to disconnect your garage door opener. This will prevent any unexpected movements while you’re working. Here’s how you can safely disconnect it:
1. Unplug the Opener: Locate the power cord and unplug it from the outlet.
2. Disconnect the Safety Sensor: If you have a safety sensor at the bottom of the tracks, detach it to ensure it won’t activate accidentally.
3. Use a Step Ladder: If your opener is mounted high, use your step ladder to reach it safely.
By disconnecting the power, you minimize risks, making your inspection much safer. Just remember to keep it unplugged until you’ve finished your work!
Inspecting the Motor: What to Look For
The motor is one of the most vital parts of the garage door opener, so let’s take a closer look. It’s usually housed in a metal or plastic casing, and any unusual sounds often stem from here. Here’s how to do a basic inspection:
1. Listen for Sounds: When you plug the opener back in briefly, listen for odd noises such as grinding or squealing. These could indicate a problem.
2. Check the Connections: Examine the wires connected to the motor. Look for any signs of wear, fraying, or loose connections. Tightening these can sometimes solve electrical issues.
3. Inspect the Vents: Make sure the vents on your motor are clear of dust and debris. Blocked vents can lead to overheating and short circuiting.
A well-functioning motor is crucial for the reliable operation of your garage door opener. If you notice signs of trouble, you might need professional assistance for repairs.
Examining the Tracks and Rollers
Now let’s chat about the tracks and rollers. Playful, smooth movement is essential when the door opens and closes, and this depends heavily on these components. Here’s what to do:
1. Check for Obstructions: Look down the tracks for any debris or obstructions. Even small items can cause major issues.
2. Inspect Alignment: Stand back and visually inspect if the tracks are indeed aligned. If they are out of alignment, gently tap them back into place using a rubber mallet.
3. Evaluate Rollers: Check the rollers for wear and tear. If they look damaged or rusted, consider replacing them. They should glide effortlessly along the tracks; any sticking signals a need for maintenance.
Keeping tracks and rollers in good condition is essential for a smooth operation. A little attention here can make a world of difference.
Lubrication: The Key to Smooth Operation
Now that you’ve inspected the motor, tracks, and rollers, it’s time to apply some lubricant. Think of lubrication like oiling a squeaky door hinge—it reduces friction and allows parts to move freely. Here’s how to go about it:
1. Choose the Right Lubricant: Opt for a silicone-based spray or lithium grease. Avoid oils that may attract dust and grime.
2. Apply Sparingly: Less is more! Focus on the rollers, hinges, and any joints. Avoid over-applying the lubricant; a little goes a long way.
3. Wipe Excess: Use your cleaning rags to wipe off any excess lubricant to prevent it from dripping onto the floor or accumulating dust.
Lubrication isn’t just for the fun of it. It significantly decreases wear and tear, extending the lifespan of your garage door opener.
Checking the Safety Features
Every garage door opener comes equipped with safety features to protect you and your family. It’s essential to check these regularly to ensure they function correctly. Let’s dive into the safety aspects:
1. Photo Eye Sensors: These are usually located at the bottom of the tracks. They should face each other without obstruction. When you wave your hand in front of them, you should see the opener’s lights blink, confirming they are working.
2. Auto-Reverse Mechanism: Test this by placing a small object (like a rolled-up towel) under the closing garage door. It should automatically reverse if it detects resistance.
3. Manual Release: Familiarize yourself with the manual release mechanism in case of power outages. It usually involves pulling a cord dangling from the motor; this should be easily accessible.
These safety features aren’t just there for show—they’re crucial for protecting people and pets from harm. Testing them should be a regular part of your inspection process.
Identifying Troubleshooting Signs
Whether your door isn’t opening all the way or is moving sluggishly, recognizing troubleshooting signs is key. Here are some common issues you might encounter:
1. Inconsistent Movement: If the door starts and stops or doesn’t close fully, check the alignment of the tracks and the condition of the rollers.
2. Unusual Noises: Grinding, clicking, or popping sounds indicate that something is wrong with either the motor or the drive mechanism.
3. Remote Problems: If your remote isn’t syncing or responding, it could be due to a dead battery or interference from nearby electronics.
Understanding these signs can save you time and trouble. Ignoring them might escalate into bigger issues that could require calling in a professional.
When to Call in a Professional
While DIY inspections are great, sometimes you need to recognize when it’s time to call for backup. Here’s when you might want to reach out to a pro:
1. Complex Repairs: If you discover significant motor damage or issues with the electrical system, it’s best to leave that to the experts.
2. Alignment Problems: If you can’t adjust the tracks or rollers on your own, a technician can help to correctly align them and prevent future issues.
3. Old Age: If your garage door opener is decades old and showing multiple signs of wear, it might be worth replacing instead of repairing.
Knowing when to step back can prevent further headaches down the road.
The Importance of Routine Maintenance
Just like your car, your garage door opener thrives on consistent maintenance. Regular checks save you from sudden breakdowns and costly repairs. Set a reminder for inspections every six months, and follow these steps:
1. Inspect Motive Components: Keep an eye on the motor and its connections.
2. Clean and Lubricate: Regularly clean tracks and lubricate moving parts to avoid buildup.
3. Test Safety Features: Make it a routine to check the safety mechanisms every now and then.
Being proactive can help you dodge inconvenient situations. Plus, it’ll give you peace of mind knowing your garage door opener is functioning as it should.
In conclusion, inspecting your garage door opener’s moving parts doesn’t have to be a daunting task. With a bit of knowledge, the right tools, and some regular maintenance, you can ensure your opener stays in top shape, allowing you to come and go freely without headaches. You’ve got this! Take pride in your DIY skills, and who knows—you might just find it relaxing.
