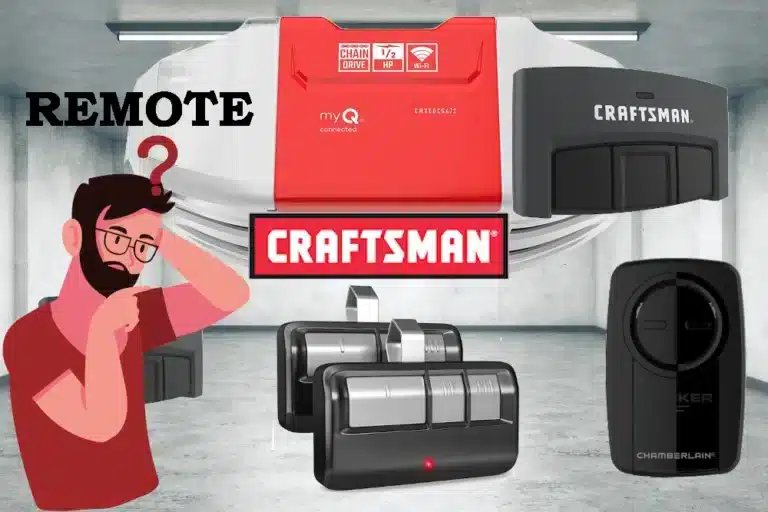
Using a Craftsman remote can seem tricky at first, especially since there are various types on the market. You might feel overwhelmed by the buttons, settings, or even the pairing process. But don’t worry! Just like learning to ride a bike, once you get the hang of it, it becomes second nature! Here’s a guide to help you navigate through the features and operational specifics of your Craftsman remote with ease.
Understanding Your Craftsman Remote
Before diving into the operation, let’s take a moment to familiarize ourselves with the remote’s layout. Most Craftsman remotes feature buttons for opening, closing, and stopping the garage door. Some models have additional buttons for lights or even multiple garage doors, which can be really handy.
Additionally, knowing the parts of your remote is essential. Typically, you’ll find:
- Open/Close Button: This is your primary button—press it, and the door does the hard work!
- Stop Button: If you need to halt the door mid-motion, this button is your friend.
- Light Button: This turns on the lights for better visibility when you arrive home.
Remember, each Craftsman remote might have unique features, so it’s wise to refer to the user manual that comes with your garage door opener.
Pairing Your Craftsman Remote with the Opener
Now, let’s get into the fun part—how to pair your remote with the garage door opener. Think of this step as making a new friend; both parties need to introduce themselves before they can play together. Pairing usually involves two key players: the remote and the garage door opener.
Here’s how you can do it:
1. Locate the “Learn” Button: This is usually found on the garage door opener, often inside the motor unit on the ceiling.
2. Press the Learn Button: Press it once. You should notice a light glowing, indicating it’s ready to pair.
3. Press the Remote Button: Go back to your remote and press the button you wish to use. If paired successfully, the opener should respond with a click or flash.
If your remote doesn’t sync up right away, give it another shot. Sometimes, the universe just needs a little nudge to get things right!
Changing the Battery in Your Craftsman Remote
You’ve paired your Craftsman remote, but what happens when it starts acting a little sluggish? You might need to replace the battery—kind of like giving your remote a quick energy boost!
Starting with the battery replacement process:
1. Identify the Battery Type: Most Craftsman remotes use a 3-volt lithium battery. You’ll usually find this detail in your user manual.
2. Open the Remote Case: Use a small screwdriver or your fingers to pry open the remote’s back cover gently.
3. Replace the Battery: Carefully remove the old battery and insert the new one, ensuring the positive side is facing the correct direction (check for a + symbol).
4. Reassemble: Snap the remote back together and test it out!
It’s a simple task, but one that can save you a ton of frustration when your remote refuses to budge.
Troubleshooting Common Issues
Sometimes, things don’t go exactly as planned. Your Craftsman remote may refuse to work, and that can be super annoying. Let’s tackle some common troubleshooting tips, so you can get back on track.
– Check the Battery: If your remote isn’t working, the first thing to examine is the battery. A weak battery can lead to a weak signal.
– Reset the Remote: If malfunctioning continues, consider resetting the remote. To do this, refer to your user manual for specific instructions—sometimes, a fresh restart is all it needs.
– Interference: You might be dealing with signal interference—like when two friends talk at the same time. Remove any obstacles that might block the remote’s signal.
When in doubt, refer back to your Craftsman manual. It’s like a treasure map leading you to the solutions!
Multiple Remotes for One Opener
Do you want to know whether you can use multiple Craftsman remotes with one opener? Absolutely! If you have family members or roommates, giving them all access can make life easier.
To connect more remotes:
1. Follow the Pairing Steps Again: Just like when you first set up your remote, you’ll repeat the same process with each additional remote.
2. Check the Limit: Most Craftsman models allow for at least two to four remotes. Check your model’s specs to confirm this.
This means everyone can have their magic wand to open the garage! Just remember, every time a new remote is added, the unit often needs to be put in “learn” mode.
Using Your Craftsman Remote Safely
Safety first! With great power comes great responsibility, and this holds true for remote-operated garage doors. Here are some safety tips to ensure your experience is both efficient and secure:
– Keep the Remote Safe: Avoid leaving your remote in plain sight outside your vehicle. It might tempt unwanted visitors.
– Enable Safety Features: Many Craftsman models come with built-in safety sensors. Make sure these are functioning correctly to prevent accidents.
– Regular Maintenance: Keep your garage area tidy and check the door itself for any wear and tear. This will prolong the life of both the door and the remote.
By following these guidelines, you can ensure that your experience with your Craftsman remote is as seamless as possible.
When to Consider Replacement
Even the best gadgets can wear out, and your Craftsman remote is no exception. If you’ve tried everything—changing batteries, resetting, and troubleshooting—but your remote still isn’t working, it might be time to consider a replacement.
Here are some signs it’s time to say goodbye:
– Physical Damage: If your remote shows signs of cracks, broken buttons, or corrosion from battery leaks, it’s probably not worth the hassle.
– Inconsistent Functionality: If it works sometimes but not others, that could spell trouble. Reliability is key!
– Compatibility Issues: If you’ve upgraded your garage door opener and the remote isn’t compatible anymore, it might be time to invest in a new one.
You’ll find a variety of Craftsman remotes available, so you’ll likely find one that matches your requirements perfectly.
Remember, your Craftsman remote is designed to make your life easier, so don’t hesitate to seek help or replacements when needed!
As you can see, using a Craftsman remote can be straightforward with a little guidance. Hopefully, this article has demystified the usage so you can enjoy the convenience of easily accessing your garage! Whether you’re pairing, changing batteries, or troubleshooting issues, you’ve got this! Now, go ahead and click away with confidence!
