Imagine standing in front of your garage door opener, remote in hand, wondering why the door won’t budge. It’s moments like these that make you appreciate this tiny piece of technology. In this guide, we’ll explore how to get the most out of your Chamberlain circuit board. We’ll dive into its components, how to program and troubleshoot it, and tips to keep it running smoothly. So grab your coffee, and let’s get started!
Understanding the Chamberlain Circuit Board
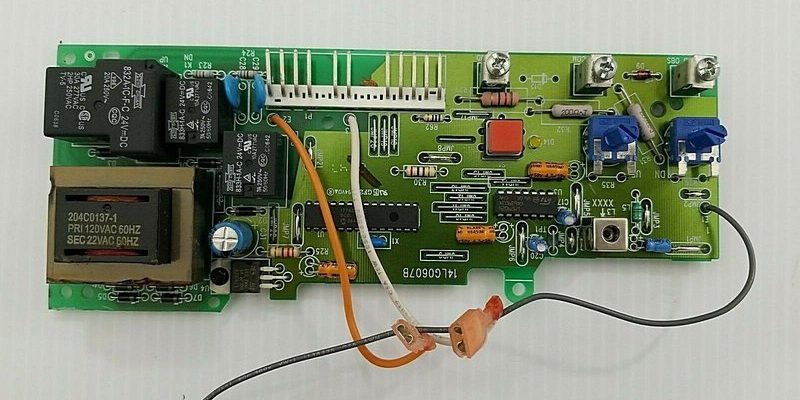
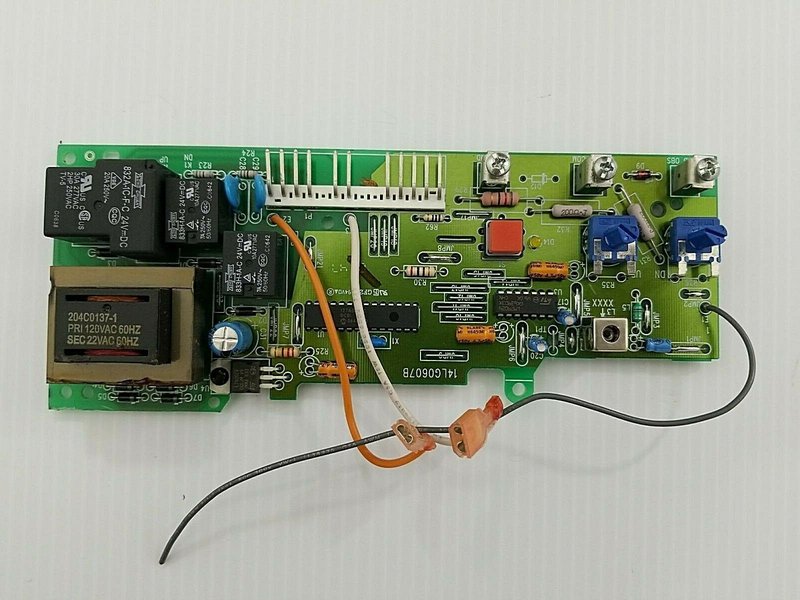
The Chamberlain circuit board is like a control center for your garage door opener. It processes signals from your remote, wall control, and safety sensors. This board is responsible for ensuring that all the components work together seamlessly. When you press the remote button, the circuit board interprets that signal and activates the motor.
Most Chamberlain models have a similar design but might differ slightly in layout or features. The circuit board includes several components: relays, microprocessors, and connection points for various sensors. Each part plays a crucial role in the function of your garage door, so it helps to know what they do. When you get familiar with these parts, troubleshooting becomes easier.
For instance, the relay acts like a switch that opens and closes when instructed by the microprocessor. Think of it as the doorbell at a friend’s house; it tells the friend (the motor) that someone is at the door (you pressing the remote). Understanding these roles can help demystify any future issues you might encounter.
How to Access Your Chamberlain Circuit Board
To get hands-on with your Chamberlain circuit board, you’ll first need to access the garage door opener unit. This might sound a bit daunting, but it’s pretty straightforward.
1. Turn Off Power: Safety first! Make sure to unplug the opener from the wall outlet or turn off the circuit breaker that controls it. This prevents any accidental shocks while you work.
2. Remove the Cover: Most models have a cover that’s easy to remove. Grab a screwdriver, and carefully take off the screws holding the cover in place. Keep the screws in a safe place so you don’t lose them.
3. Locate the Circuit Board: Once the cover is off, you’ll see the circuit board among other components like the motor and wiring. It’s usually mounted on the sidewall of the opener.
Having access to the circuit board lets you inspect connections, check for burnt components, or prepare for programming.
Programming Your Chamberlain Circuit Board
Programming your Chamberlain circuit board isn’t as complicated as it sounds. Whether you want to sync a new remote or reset the system, the process is usually user-friendly.
Syncing a New Remote
1. Locate the Learn Button: Find the “Learn” button on your circuit board. It’s often colored red, yellow, or green, depending on the model.
2. Press the Button: Press and release the Learn button. You should see a light glow indicating the door opener is ready to learn a new remote.
3. Press the Remote Button: Within 30 seconds, press and hold the button on your new remote that you want to use. The light will blink or turn off, indicating successful pairing.
Congratulations, you’ve now synced your remote! If it doesn’t work the first time, just repeat the steps. It’s just like learning a dance—the more you practice, the easier it gets.
Common Troubleshooting Tips for Circuit Boards
Even with regular maintenance, issues might still arise with your Chamberlain circuit board. Here are some common problems and how to diagnose them:
1. Door Won’t Open or Close: If your door isn’t responding to the remote, start by checking the battery in the remote. It might just need a fresh battery to get things moving again.
2. Flashing Light Indicator: A flickering light on the circuit board often suggests a miscommunication or obstruction. Check the safety sensors to ensure they’re aligned and clear of dirt.
3. Unresponsive Wall Switch: If the wall control isn’t working, confirm that the wiring connections to the circuit board are secure. Sometimes, wires can loosen over time, leading to connectivity issues.
By having this troubleshooting knowledge, you’re well-equipped when problems arise. Oftentimes, it’s a simple fix that can save you a call to a professional.
Maintaining Your Chamberlain Circuit Board
To keep your Chamberlain circuit board and garage door system running smoothly, regular maintenance is important. Here’s a short checklist to follow:
– Clean the Circuit Board: Dust and debris can build up over time. Use a can of compressed air to blow off dust every few months. This simple act helps to keep the components functioning properly.
– Check Connections: Take a moment every few months to inspect the wiring and connections. Look for any signs of wear, fraying, or corrosion. If you find issues, replacing parts sooner rather than later can save headaches.
– Monitor Remote Performance: If you notice your remote is acting sluggish, try replacing the batteries. Regularly check the performance to avoid surprises when you least expect them.
Maintenance is a bit like taking your car in for an oil change; it keeps things running smoothly and can help prevent bigger problems down the road.
Why Circuit Board Knowledge Matters
Understanding how to use and maintain your Chamberlain circuit board can make a significant difference for safety, efficiency, and convenience. When you know how everything works, troubleshooting becomes more intuitive, and you can avoid unnecessary expenses for repairs.
You might be wondering why it’s important to really get into the nitty-gritty. Well, a well-functioning circuit board means a smart, responsive garage door. Think about it—every time you drive home, you want the door to glide open effortlessly, welcoming you back. Not only that, but a proactive approach can extend the life of your equipment, ensuring it serves you well for years.
By taking the time to understand your circuit board and applying these tips, you’re investing in not just a garage door opener, but in a smoother day-to-day experience.
Using your Chamberlain circuit board doesn’t have to be complex. With this guide, you’ve learned how to access, program, and maintain the circuit board, plus some common troubleshooting steps. Remember, it’s all about understanding that little brain behind your garage door opener.
The next time you face a glitch or want to sync a new remote, you’ll feel more confident tackling it yourself. Don’t hesitate to revisit this guide whenever you need a refresher. With just a bit of care and knowledge, you can keep your garage door in excellent shape—making life just a little bit easier every day. Happy tinkering!