
Rollers and hinges are the unsung heroes of your garage door system. They help it glide smoothly up and down, much like a well-oiled door on a movie set. But just like any mechanical part, they wear down over time, especially if they haven’t been maintained properly. Don’t worry if you’re not a DIY expert—let’s break it down together and figure out how to handle this issue. You may even find the satisfaction of fixing it yourself!
Identifying Worn Rollers or Hinges
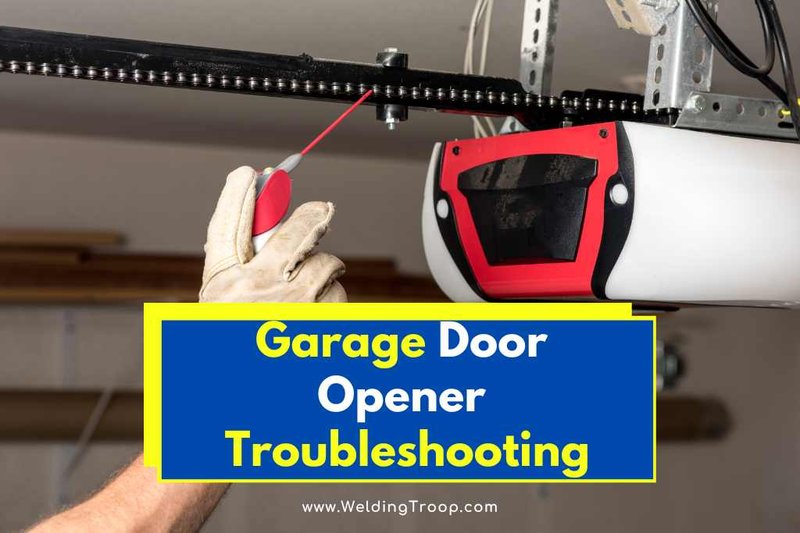
Before jumping into the troubleshooting steps, it’s essential to recognize the signs of wear and tear. Worn rollers and hinges can lead to an array of problems, including loud noises or complete failure of the door to open or close.
You *might be wondering* how to spot a worn roller or hinge. Here are a few signs to watch for:
- Noise: Is your garage door making grinding or squeaking sounds? It might be the rollers or hinges screaming for help.
- Obstruction: If the door seems to struggle while opening or closing, it could be due to misalignment caused by worn components.
- Visual Damage: Look at the rollers and hinges. If you see cracks, chips, or rust, they’re likely in need of replacement.
If you notice any of these signs, it’s time to troubleshoot those worn rollers and hinges.
Gathering Your Tools and Supplies
Before you start working on your garage door, it’s vital to have the right tools on hand. Think of this as preparing for a mini DIY adventure. You wouldn’t set off on a journey without a map, right?
Here’s a simple checklist of tools and supplies you’ll need:
- Screwdriver: Having a set of both Phillips and flathead screwdrivers will help you with removing screws from the hinges.
- Replacement Rollers and Hinges: Make sure to buy the correct size for your door type. You can find these at a local hardware store or online.
- Lubricant: A good lubricant like lithium grease will keep your new parts working smoothly.
Once you have everything gathered, you’ll feel more confident stepping into your garage door repair.
Disconnecting the Garage Door Opener
Safety first! Before you dive into any repairs, disconnect your garage door opener. Imagine if you were trying to cook with the stove on—you wouldn’t want to risk getting burned. The last thing you want is for the door to accidentally close while you’re working on it.
Follow these steps:
1. Locate the Opener Switch: Usually, it’s mounted on the wall near the door, or you might have a remote in your car.
2. Unplug the Unit: If you’re using an electric opener, unplug it from the outlet.
3. Use the Manual Release: Most garage doors have a manual release mechanism, typically a red cord hanging down. Pull it to disconnect the garage door from the opener.
Now that you’ve ensured safety, you can proceed with ease.
Removing Worn Rollers
With the garage door disconnected, it’s time to tackle those worn rollers. The process is pretty straightforward, kind of like replacing a tire on your bike.
1. Examine the Rollers: Take a good look at the rollers. If they’re damaged, you’ll need to replace them.
2. Remove Screws: Use your screwdriver to take out any screws that hold the roller in place.
3. Take Out the Roller: Slide the roller out of its bracket gently.
Don’t worry if you encounter resistance—everything can be a bit stubborn sometimes.
Installing New Rollers
Now that the old rollers are out, it’s time to install the new ones. Picture it like putting new wheels on your favorite toy car.
1. Insert the New Roller: Slide the new roller into the bracket.
2. Secure It: Reinsert the screws you removed earlier and make sure everything is snug. You don’t want anything loose causing trouble later.
3. Lubricate: Apply a bit of lubricant to the new rollers. This will help ensure they run smoothly.
Repeat these steps for each roller that needs replacing.
Checking and Removing Hinges
While you’re at it, let’s give those hinges some attention. Hinges can wear out just as much as rollers, often leading to creaking or difficulty in opening and closing.
1. Examine the Hinges: Again, check for cracks, rust, or other signs of wear.
2. Unscrew the Hinges: Use your screwdriver to remove the screws holding the hinges in place. Be careful and hold the panel steady while doing this; you don’t want it to come crashing down!
3. Remove Old Hinges: Gently take off the hinges from both the door and the frame.
Hinges can be trickier than rollers, but take your time!
Installing New Hinges
Now, let’s swap in those new hinges. It’s like putting a fresh pair of sneakers on—they just make everything work better!
1. Attach the New Hinges: Position the new hinges in place where the old ones were.
2. Secure Them: Screw them back into place, ensuring they’re fastened tightly.
3. Lubricate: Just like with the rollers, give these new hinges a good dose of lubricant to keep them operational.
Reconnecting the Garage Door Opener
With all the components freshened up, it’s time to reconnect the garage door opener. Think of it like finishing a puzzle—you want to see the whole picture complete.
1. Reconnect the Manual Release: If you pulled the red cord earlier, pull it back toward the door to reconnect the opener to the door.
2. Plug the Opener Back In: If you unplugged it initially, plug it back into the outlet.
3. Test the Door: Use your remote to open and close the door. If everything was done right, your garage door should operate smoothly!
Maintaining Your Garage Door System
Now that you’ve tackled the repairs, let’s discuss how to keep your garage door in prime condition. Regular maintenance is the key, kind of like taking your car in for an oil change.
– Regular Lubrication: Every few months, apply lubricant to the hinges and rollers. This keeps everything moving smoothly.
– Visual Inspections: Take a moment each month to look for any signs of wear on the rollers and hinges.
– Check Alignment: If you notice the door is off-track, adjust it carefully or consult a professional for help.
With a little effort, you can extend the lifespan of your garage door system significantly!
Wrapping Up Your Troubleshooting Journey
Troubleshooting a garage door opener with worn rollers or hinges can seem a bit daunting, but you’ve tackled it like a champ. Now armed with knowledge and a sense of DIY accomplishment, you not only resolved the issue but also learned how to maintain it going forward.
Remember, if ever you find the tasks overwhelming, it’s perfectly fine to call a pro. Sometimes, a little help goes a long way. Don’t forget to check in with your garage door regularly, and happy troubleshooting!