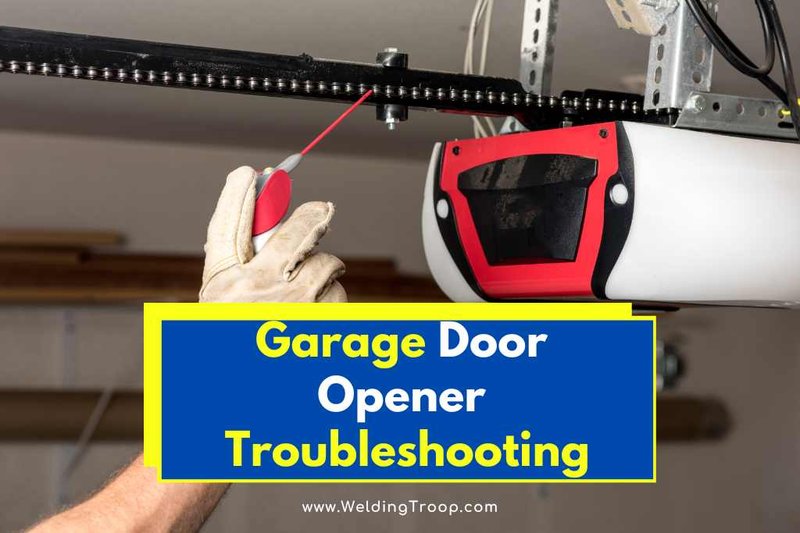
A garage door opener can behave like a moody cat: it sometimes works fine, and other times, it might just sit there, staring at you. From brands like Chamberlain to LiftMaster, and even universal remotes, knowing how to troubleshoot is key. Let’s break down what you can do to fix your opener and what to look for, so you can avoid the hassle of a stubborn door.
Understanding What Causes Fragile Wire Issues
The first step in troubleshooting is understanding what you’re dealing with. Fragile wires can mean many things: they could be damaged, frayed, or even disconnected. These wires are responsible for transmitting signals between the opener and your remote or wall switch. Think of them like the nervous system of your garage door opener—it can’t function properly if there’s a disruption.
Braving the realm of garage doors requires a basic grasp of electrical systems. You’re not expected to be a master electrician, but knowing how to inspect wires for damage is super helpful. Always start by doing a visual inspection to identify any obvious issues. Look for spots where insulation might be worn away or where the wire is pinched. These can be signs that fragile wires are the root of your problems.
If the wires look fine on the surface, it doesn’t mean that they’re working properly. They could still have internal damage, causing problems like intermittent connections. For this reason, troubleshooting fragile wire issues often requires a bit of patience and attention to detail.
How to Safely Inspect Garage Door Wires
Safety should always come first when working on electrical components. Before you dive in, make sure to disconnect the power to your garage door opener. Unplug it or disconnect the circuit breaker if needed. This is just like turning off the oven before reaching in; you don’t want to risk a nasty shock.
Once the power is off, locate the wires. For most models, these are usually along the tracks or near the motor unit. Use a flashlight for better visibility. Carefully examine the wires for any signs of damage. Look for things like:
- Frayed sections that expose bare wire
- Cuts or nicks along the wire sheath
- Corrosion at wire connections
If you spot any issues, you might need to replace a section of wire, or perhaps even the entire length of it. Remember, safety goggles wouldn’t hurt either, especially if you plan on cutting or stripping wires to replace them.
Identifying Signs of Wire Resistance
Even if the wires look okay, you can experience issues that stem from wire resistance. This is when the connection is weak enough that the opener can’t get the signals properly. One common sign is inconsistent functioning—like the door opening only halfway or not responding when you press the button.
To check for resistance, you can use a multimeter. It’s a handy tool that measures electrical resistance among other things. Set it to the ohm setting, and check the readings at different points along the wire. Here’s what to do:
1. Place one probe on one end of the wire and the other probe at the connection point.
2. Record the reading.
3. Do this at various points along the wire to find weak spots.
If there’s too much resistance, it’s a sign that the wire needs replacing. Running new, durable wire is often better than trying to patch up the old.
Testing the Remote for Signal Issues
You might be thinking the opener is the problem, but it can sometimes be your remote. Testing it is simple, and you might be surprised by what you find. Grab your garage door opener remote and press the button while standing near the door. If the door doesn’t respond, it’s time for a closer look.
Start by checking the battery. Weak batteries can lead to poor signals. Replace the battery and see if the door responds. If not, you can try to re-sync the remote with the opener. This usually involves pressing a ‘pair’ or ‘reset’ button on the opener and then pressing a button on the remote. Make sure to follow the manufacturer’s directions; it’s like a secret handshake between the remote and the opener.
Sometimes, there are also interference issues that you need to consider. Other devices, like wireless systems or even certain lighting, can block signals. If your remote struggles to consistently connect, consider moving away from potential interference sources.
Checking the Gear and Motor Functionality
If everything seems alright with the wires and remote, your next step is checking the gear and motor. These components are vital for the opener’s operation. If they’re not working correctly, it can lead to scenarios where the opener struggles to move the door.
Start with the motor unit. Sometimes, a simple reset is all it needs. Look for a reset button. If you’re unsure where it is, refer to your model’s manual. After resetting, watch the motor closely as you trigger the door. Is it humming or struggling? If it’s making odd noises, that could indicate a more severe issue.
Next, take a look at the garage door gears. Openers typically have a gear assembly inside the motor unit. If these gears are stripped or misaligned, the opener won’t work properly. You’ll need to inspect them for wear. If they look damaged, replace them to get back in action.
Dealing with Weather-Related Wire Problems
Believe it or not, the weather may affect your garage door opener, especially if you have fragile wire. Extreme temperatures can cause expansion and contraction in wires, leading to cracks or weak points. Wet weather can cause rust or corrosion, which can also impact functionality.
If you live in an area with drastic weather changes, it might be helpful to run a protective cover over your wiring. This adds an extra layer against moisture. Additionally, yearly maintenance checks before winter and summer can spot any wear before it becomes a bigger issue.
Keep an eye on how your opener behaves during different weather patterns. Recording these behaviors can provide insight into whether the wiring is sensitive to moisture or temperature fluctuations.
When to Call in the Pros
Sometimes, despite your best efforts, you might hit a wall. If troubleshooting feels overwhelming or you realize the problem is more complicated than expected, don’t hesitate to call in a professional. They have tools, experience, and expertise to get your garage door opener back on track without running unnecessary risks to your safety.
A professional can thoroughly inspect your entire system, from the remote to the wires, and pinpoint problems you might not see. Think of it as calling in a chef when your soufflé falls flat—sometimes, an expert touch makes all the difference.
Preventive Measures for Your Garage Door Opener
Once you’ve successfully fixed the issue, you’ll want to prevent this in the future. Regular maintenance can help your garage door opener last longer and work more reliably. Here’s what you can do:
- Routine Inspections: Just like you check your car, give your garage door system the once-over regularly. Check wires, connections, and moving parts.
- Seasonal Maintenance: Adjust your inspections based on the seasons. Look for any wear and tear that might be exacerbated by weather conditions.
- Keep the Area Clean: Ensure that the area around your garage door is clean and clear of debris. Sometimes something as simple as a twig can snag on wires or tracks and create problems.
Taking these steps keeps your garage door opener running smoothly and saves you time and money in the long run.
Troubleshooting a garage door opener with fragile wire can feel daunting, but with the right approach, you can handle it. Remember to inspect wires carefully, check the motor and remote functionality, and consider environmental factors that might influence performance.
With a little attention and regular maintenance, you can ensure your garage door opener lasts for years. So next time that door gets stubborn, you’ll feel equipped to deal with it. You’ve got this!
