Troubleshooting a garage door opener can feel daunting, especially if you’re new to this kind of DIY project. Fortunately, with the right knowledge and a little elbow grease, you can often fix these issues without calling in the pros. Whether you have a LiftMaster or a Chamberlain opener, this guide will walk you through the steps to get your door back on track—literally!
Assessing the Situation: Identifying Track Problems
The first step in troubleshooting is figuring out exactly what’s wrong. Look closely at the tracks along either side of your garage door. A damaged track can be a clear sign you need to take action. Here are some indicators to help you identify the issue:
- Visibly bent sections that look out of alignment.
- Holes or dents that deviate from a smooth surface.
- Rust or dirt buildup that could hinder movement.
Remember, your goal is to ensure that the tracks are perfectly straight and free from obstructions. If something seems off, odds are, it probably is.
Gathering Your Tools and Safety Gear
Before diving in, you’ll want to get your tools lined up. Having the right equipment makes all the difference. Here’s a handy list of what you’ll need:
- Wrench or socket set
- Level
- Screwdriver
- Pliers
- Safety goggles
- Gloves
Make sure to wear your safety gear to protect your eyes and hands while you work. Safety first, right? It’s easy to overlook but super important.
How to Straighten Bent Tracks
Now that you’re geared up, let’s get to the nitty-gritty of fixing those bent tracks. You might want to grab a friend for this part—it’s often easier with an extra pair of hands. Here’s a step-by-step approach:
1. Loosen the Fasteners: Use your wrench to slightly loosen the fasteners holding the track in place. Don’t remove them entirely; just loosen them enough to enable movement.
2. Align the Track: Most of the time, you can push it back into shape with some gentle force. Align it with your garage door frame and use a level to check for straightness.
3. Tighten the Fasteners: Once it’s positioned correctly, tighten the fasteners back up to secure the track. Check with the level once more to make sure you’re still on point.
If you find the track is more dented than bent, you might want to use a rubber mallet to gently tap it back into place. Just remember to be cautious—too much force can cause even more damage.
Fixing Damaged or Dented Tracks
Sometimes, fixing a track won’t be as straightforward as just bending it back into shape. For damaged or dented spots, you’ll likely need to replace that section. Here’s how:
1. Remove the Damaged Section: Use your screwdriver to take out any screws holding that part of the track. If your track is continuous, you may need to cut it with a hacksaw.
2. Purchase a Replacement: You can find replacement tracks at most hardware stores or online sites. Make sure to get the right size—check the manufacturer’s specs if you’re unsure.
3. Install the New Track: Line up the new piece with the existing section and secure it using the screws you removed earlier. Tighten until snug but avoid over-tightening, which could warp the track.
After installing the new track, align it with the level once again to ensure everything is straight.
Cleaning the Tracks for Optimal Performance
Sometimes bent or damaged tracks are exacerbated by dirt and debris clogging the pathway. Regular cleaning is an important preventative measure. Here’s a quick cleaning guide:
1. Inspect Tracks: Look closely for any dirt buildup or sticky substances that could interfere with smooth function.
2. Use a Soft Cloth: Wipe the tracks down with a soft, damp cloth. Avoid using abrasive materials that might scratch the surface.
3. Lubricate: Don’t forget to apply a small amount of lubricant to keep everything moving smoothly. Use a silicone-based spray or a specialty garage door lubricant for best results.
Keeping those tracks clean and lubricated not only optimizes performance but also extends their lifespan.
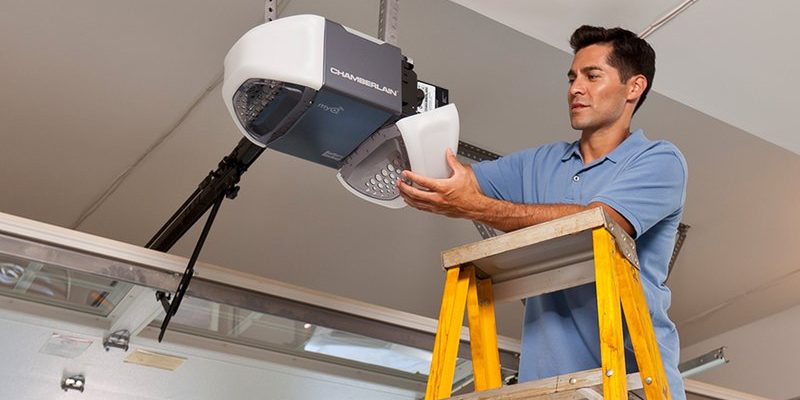
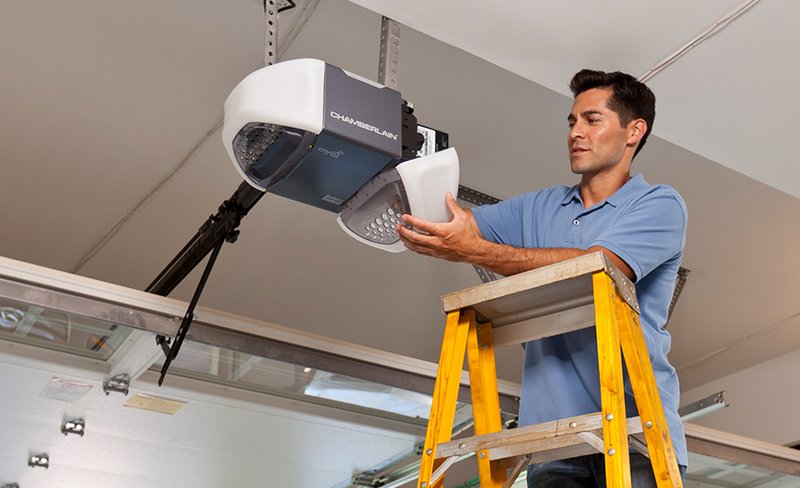
Ensuring the Garage Door and Opener are in Sync
Even after fixing the tracks, you might still have issues if the opener isn’t synced correctly with the door. Here’s how to check this:
1. Check the Remote Control: Make sure your remote battery is fresh. A weak battery can interfere with communication between the opener and the door. If you notice irregular behavior, try resetting or reprogramming the remote.
2. Ensure Proper Alignment: Make sure the opener is mounted straight and is in alignment with the door. If the door seems to be off-center when it opens or closes, adjusting the opener’s bracket may be necessary.
3. Test the Door: Manually lift the door halfway and let it go. If it stays in place, the opener is likely properly synced. If it falls, you might need to revisit the opener’s settings.
If you continue having problems, assessing your opener’s motor and wiring might be the next step.
When to Call a Professional
While DIY fixes can save time and money, there are instances when calling a professional is simply the best route. Here are some signs it might be time to make the call:
– Severe Damage: If the tracks are heavily damaged or if there’s significant misalignment that you can’t correct, don’t hesitate to reach out for help.
– Electrical Issues: Any inconsistencies with power or wiring can get complicated quickly. Don’t risk it—let a qualified technician handle this.
– Repeated Problems: If you’ve made repairs but the same issues keep cropping up, there may be a larger underlying problem.
It’s always better to ask for help than to worsen the situation!
In conclusion, troubleshooting a garage door opener with bent or damaged tracks doesn’t have to be overwhelming. With a little patience and the right steps, you can often get everything back on track yourself. Remember to be cautious, keep your workspace organized, and don’t hesitate to reach out to a professional if needed. After all, a smoothly working garage door not only boosts your curb appeal but also makes your life just a bit easier. Happy fixing!