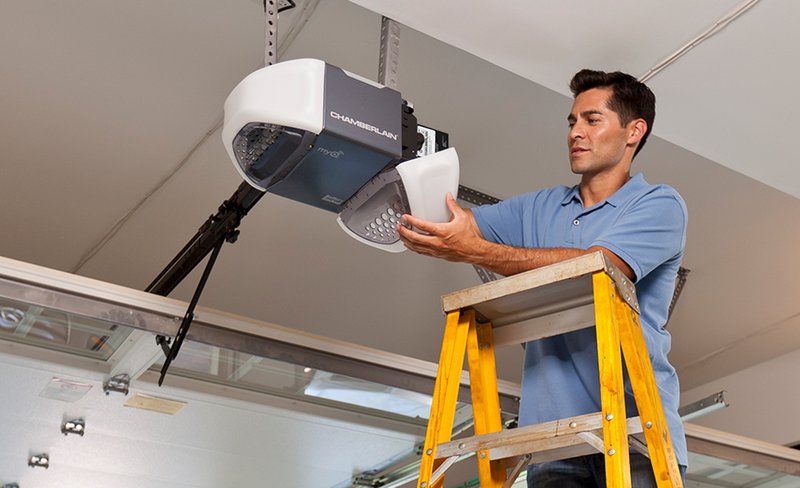
The power cord is like the lifeline of your garage door opener, similar to how a straw delivers your favorite drink to your mouth. If the straw is sliced, your drink won’t get through. In this article, we’ll go over practical steps for identifying and resolving issues with a sliced power cord in garage door openers from various brands like Chamberlain, Genie, or LiftMaster. Let’s dive into the world of cords and connections to get your garage door working smoothly again.
Identifying the Problem: Signs of a Sliced Power Cord
Before you can fix anything, it’s essential to know you have a problem. A sliced power cord can show many signs, and sometimes the clues aren’t so obvious. Common indicators include the opener not responding, the lights on the unit not turning on, or strange buzzing sounds coming from the motor without any movement.
Think of it like checking the battery on a remote. If the power isn’t flowing, neither is the function. You’ll want to inspect the cord visually and do a light tug. If there’s visible damage or you can feel a break in the cord, you might just have a sliced cord on your hands.
If you’re not sure it’s the cord, try plugging another device into the same outlet. If that device works, the problem likely lies with the garage door opener. If it doesn’t, the electrical supply could be to blame.
Safety First: Turn Off the Power
Once you’ve confirmed there’s a problem, the next step is all about safety. Always prioritize your safety when dealing with electric components. Unplug the garage door opener from the wall outlet to prevent any accidental electric shocks.
Take a moment to gather your tools, as you’ll need some basic items like wire cutters, electrical tape, and a wire stripper. You may also want gloves for extra protection. Remember, safety is key; don’t rush this step.
If you’re not comfortable handling electrical parts, consider calling a professional. It’s totally okay to ask for help—it’s not a sign of weakness.
Assessing the Damage: Inspecting the Cord
Now that it’s unplugged and you’re safe, it’s time to inspect the power cord closely. Look for any visible cuts or frays. A sliced power cord can come in various forms; you may find a clean cut, some wear and tear, or even deeper internal damage.
Ask yourself: Is the damage close to the plug? Is it in the middle of the cord? The location of the damage can guide your repair options. For instance, if the cut is too high on the cord, it could be safer and simpler to replace it entirely.
Make sure you check the length of the cord. Sometimes, the damage might be extensive, requiring more repairs than you initially thought.
Gathering Your Tools: What You’ll Need
Before diving into the repair, you’ll want to gather your tools together. Here’s a handy list to make sure you have everything you need:
- Wire Cutters: To cut the damaged section out
- Wire Stripper: To prepare the ends of the wires for reconnection
- Electrical Tape: For securing and insulating the repair
- Heat Shrink Tubing (optional): For extra protection on the repair
- Multimeter (optional): To test the integrity of connections
With your tools assembled, you’re ready for action. Even if you think this might be a small fix, having the right tools will save you time and headaches later.
Making the Repair: Step-by-Step Process
Now comes the hands-on part. Here’s a simple step-by-step guide to fix that sliced power cord:
Step 1: Cut Out the Damaged Section
Use your wire cutters to snip out the damaged portion of the cord. Make sure to cut a little bit extra to ensure you’re left with solid, undamaged wire on both sides.
Step 2: Strip the Wires
Using the wire stripper, remove about half an inch of insulation from the ends of both wire sections you’re left with. This will expose the copper that you need to connect.
Step 3: Connect the Wires
Twist the exposed wires together securely. Make sure that like wires are connected—for instance, hot (usually black) wires to hot, and neutral (usually white) to neutral. Keep it tidy, and ensure no copper is sticking out to prevent shorts.
Step 4: Insulate the Connection
Wrap electrical tape around each connection and then around the entire area to secure everything. If you have heat shrink tubing, slide it over the connection before taping. This gives you an extra layer of protection from wear and tear.
Testing Your Repair: Powering Everything Back On
Once you’ve made the connection and ensured everything is securely taped up, plug your garage door opener back in. Before you get too excited, take a moment to make sure everything looks connected well.
Next, give the opener a test. Press the remote button or the wall switch and see if the garage door operates smoothly. You’re looking for any strange noises or movements. If it works, congratulations! You’ve successfully repaired the sliced power cord. If not, there may be other issues to troubleshoot.
When to Replace the Power Cord vs. Repairing It
There comes a point when you need to weigh your options. If the power cord is damaged too much or if you notice recurring issues, replacing it might be your best bet. This can sometimes save future headaches and ensure safe operation.
Ask yourself these questions:
– Is there extensive damage to the cord?
– Is the repair sturdy enough to trust long-term?
– Am I comfortable with ongoing fixes, or would a replacement be easier?
If any of these prompts lead you to think about a replacement, it’s worth considering to avoid more significant problems down the line.
Seeking Professional Help: When All Else Fails
If you’ve tried troubleshooting your garage door opener and it’s still not functioning, it’s time to call in the experts. There’s no shame in asking for help—sometimes, it’s the best way to ensure safety and effectiveness. Professionals have tools and tricks that may solve issues faster than a DIYer can realize.
Plus, they can identify other possible problems that might not be directly related to the power cord but could still be affecting your garage door opener’s performance.
Final Thoughts: Keeping Your Garage Door Opener in Tip-Top Shape
Dealing with a sliced power cord doesn’t have to be a daunting task. With the right tools and a little patience, you can troubleshoot and fix the issue in no time. Remember, safety always comes first, so if you’re unsure at any step, don’t hesitate to get that professional help.
Maintaining your garage door opener isn’t just about fixing issues as they arise; it’s also about regular check-ups to ensure everything is operating smoothly. Who knows? With a little care, you might avoid future issues and keep your garage door opening and closing like clockwork!
