A garage door opener is a key part of our daily routines. It’s like the gatekeeper to your home, quietly ensuring that when you pull into your driveway, you’re not stuck wrestling with heavy doors. But when water sneaks into its control box or damages its components, it can throw a wrench in your plans. Let’s dive into how to troubleshoot the issue, get it back on track, and keep your garage door functioning well.
Identifying the Damage
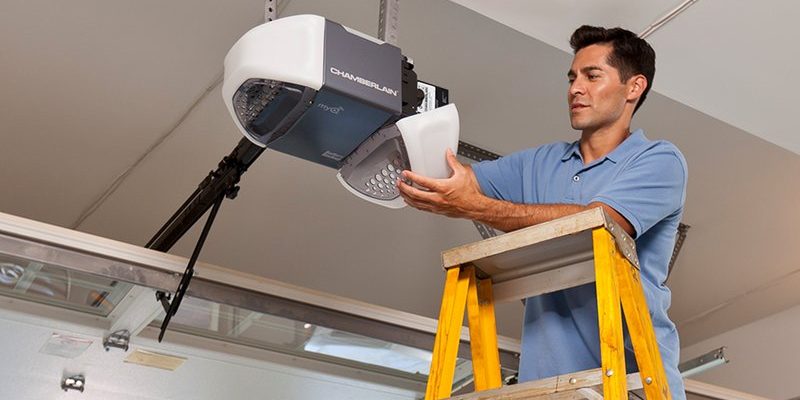
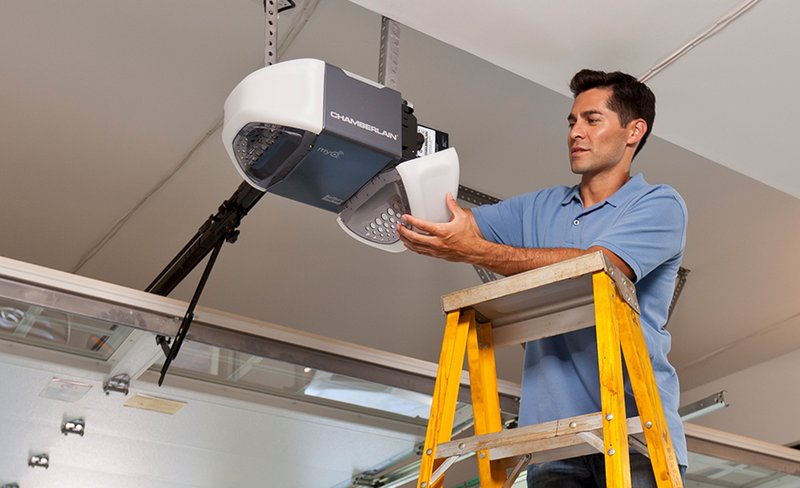
Before jumping into fixing your garage door opener, take a moment to inspect it. First, locate the control box—that’s where all the magic happens. Look for any visible signs of water damage such as rust, corrosion, or even puddles inside.
Here’s the thing: moisture can cause electrical components to short circuit, which could mean further problems down the road. Pay attention to the wiring — if it looks frayed or discolored, that’s a huge clue that your opener isn’t going to behave.
If you notice that the box is still wet, don’t try to power it back on just yet. You’ll want to let it dry out completely to avoid more damage.
Disconnecting the Power Supply
One of the first steps in troubleshooting is to safely disconnect the power supply to your garage door opener. Imagine trying to work on a car while it’s still running—yikes!
To begin:
- Locate the circuit breaker for your garage and turn it off.
- If your garage door opener has a power cord, unplug it.
Doing this not only keeps you safe from electrical shocks but also prevents further damage to the opener while you diagnose the problem.
Drying Out the Control Box
Now, for the critical step – drying out the control box. If it’s wet, you’ve got to be patient. Here’s how you can get it back in shape:
1. Open the control box: Depending on your model, you might need a screwdriver to do this.
2. Remove any visible water: Use a paper towel or sponge to soak up any pools.
3. Air it out: Leave the box open in a warm, dry place for at least 24 hours. If you can, place it in front of a fan or near a dehumidifier.
This step is super important. You wouldn’t want to jump back to repairs only to find that moisture lingered.
Checking the Wiring and Connections
With the control box dry, it’s time to examine the wiring and connections closely. Often, it’s the source of the issues. Look for:
- Corroded wires that might have broken due to moisture.
- Loose connections that may have been disturbed.
- Frayed or damaged insulation on wires.
You might even want to use a multimeter to check for continuity in the wiring. If all this sounds a bit foreign, don’t worry. It’s just about ensuring that electricity has a clear pathway.
Testing the Remote Control
If the control box seems fine and the wires are intact, you might want to check your remote control. After all, you could be trying to operate a garage door opener that’s simply refusing to respond to commands. Here’s how to proceed:
1. Replace the batteries, making sure to place them in the correct orientation.
2. Try re-syncing the remote with the opener. This usually involves pressing a specific button on both the remote and the opener itself.
3. If your opener is compatible with a smartphone app, try accessing it that way to see if you can bypass any issues with the remote.
You’d be surprised how many problems can be solved with just a fresh battery!
Resetting the Garage Door Opener
Sometimes a reset can do wonders, like rebooting a stubborn computer. Most garage door openers have a reset button. Here’s how you can do it:
1. Find the reset button—it’s usually on the motor unit or the control panel.
2. Press and hold it until the lights blink, usually about 6 seconds.
3. After it resets, you’ll need to reprogram your remotes and anything synced to it.
This process effectively clears any glitches that might have been caused by moisture affecting the control box.
Aftercare: Preventing Future Damage
Once you’ve tackled the troubleshooting, it’s crucial to think about aftercare. Keeping your garage door opener protected can save you a lot of headaches down the line.
Consider these preventive tips:
– Sealant Application: Apply a water-resistant sealant to the control box hole if it has one. This provides additional protection against the elements.
– Keep It Elevated: If you can, elevate the control box slightly off the ground to prevent possible water accumulation.
– Regular Maintenance: Check your garage door opener regularly for signs of wear or moisture. Much like changing the oil in a car, regular upkeep ensures smooth operation.
The idea is to create a barrier between your opener and potential damage from weather.
When to Call a Professional
If you’ve followed these steps and your garage door opener is still acting up, it might be time to call in a professional. Here’s why:
– Complex Issues: Some problems (like a failing motor) are best left to the experts.
– Warranty: If your unit is still under warranty, making your own repairs could void it.
It’s better to get an expert’s insight than to risk further damage (and frustration).
Dealing with a damaged and wet box on your garage door opener can be a hassle, but with these troubleshooting tips, you’re well on your way to solving the issue. Take your time, follow the steps outlined, and don’t hesitate to ask for help when needed.
By keeping everything dry and regularly checking your equipment, you’ll keep that “gatekeeper” of your home functioning smoothly for years to come. Remember, a little attention now can mean less trouble in the future!