Troubleshooting a garage door opener that’s stopped working doesn’t have to be overwhelming. Whether it’s a LiftMaster, Chamberlain, or Genie model, most garage door openers work on similar principles. Think of it like being a detective—you’re looking for clues to solve the mystery of why your opener stopped responding. So let’s dive in and uncover the reasons behind this hiccup, and how you can fix it step-by-step.
Common Reasons Why Garage Door Openers Quit
Understanding why your garage door opener suddenly quits is the first step in troubleshooting the issue. There are a few common culprits to consider.
1. Power Issues: Sometimes, power failures are the most straightforward reason. Is the opener plugged in? Have you checked the circuit breaker? Broken breakers can silently sabotage your plans, so it’s worth a look.
2. Remote Control Problems: If your opener isn’t responding, the remote might be the issue. Perhaps it needs a new battery. Many first-time troubleshooters forget to check this, but it can be a quick fix. Just grab a new battery and see if that does the trick.
3. Mechanical Failures: There could also be an issue with the trolley or belt mechanism. If your garage door is stuck or makes unusual sounds, it might be time to examine these components closely.
Checking the Power Source
Before jumping into more complicated troubleshooting, let’s start with the basics: the power source. Here’s how you can check it effectively.
– Step 1: Visual Inspection: Look over your garage door opener. Is it plugged in properly? Sometimes, cords can loosen or get accidentally unplugged.
– Step 2: Circuit Breaker Check: Go to your home’s circuit panel and look for the breaker linked to the garage. If it’s tripped, that could explain the crisis.
– Step 3: Test the Outlet: If everything looks good but your opener still isn’t working, try plugging another device into the outlet to make sure it’s functioning.
If everything checks out with the power, it’s time to move on to the remote control system.
Testing the Remote Control
Your remote is your trusty sidekick when it comes to opening and closing the garage door. If it’s failed after a few uses, here’s how to test it:
1. Change the Battery: Use a coin to open the battery compartment if it’s the remote type with a cover. Remember, you want to make sure the battery is fresh.
2. Check for Damage: Inspect the remote for any visible damage, like cracks or missing buttons. If it looks battered, it might need replacing.
3. Reprogram the Remote: Sometimes, remotes can lose sync with their garage door opener. Follow the instructions in your opener’s manual to reprogram the remote. It usually involves holding down the learn button on the opener and pressing the remote button.
If the remote checks out, but the problem persists, we’ll need to focus on the actual garage door opener unit.
Inspecting the Garage Door Opener Mechanism
When troubleshooting a garage door opener that quit, checking the opener mechanism itself is critical. Here’s how to inspect it carefully:
– Step 1: Look for Obstructions: Ensure that nothing blocks the door or the track. Things like leaves, dirt, or even small animals can interfere and prevent the door from functioning.
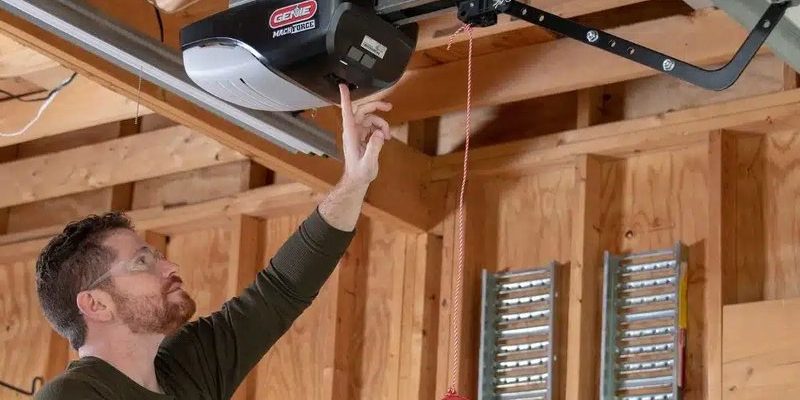
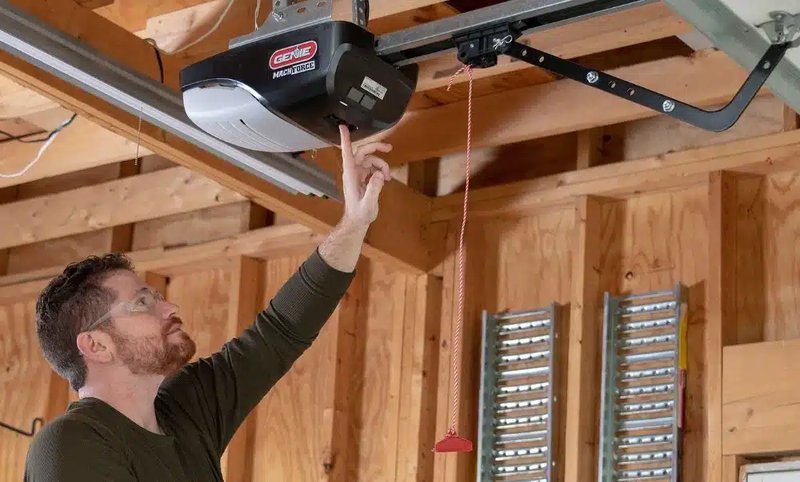
– Step 2: Test the Manual Override: Most openers have a manual release cord. Pull it and see if you can lift the door by hand. If you can, it suggests the opener’s mechanism might be the issue.
– Step 3: Check for Daily Wear: Over time, gears and belts can wear out. Listen for strange sounds when you try to activate the opener. A grinding noise might indicate a problem that requires professional repair.
Inspecting the Safety Sensors
Garage door openers are designed with safety in mind, which is why they come equipped with safety sensors. If these sensors are misaligned or dirty, they could cause the opener to stop functioning properly.
– Step 1: Clean the Sensors: Dust, spider webs, or dirt might be blocking the sensors. Give them a gentle wipe with a clean cloth.
– Step 2: Align the Sensors: Check to see if the sensors are pointed directly at each other. If they’re out of alignment, they won’t detect each other properly, which can keep the door from functioning.
– Step 3: Test the Opener: After cleaning and aligning the sensors, try operating the door again. You might find that a simple adjustment solves the problem!
Resetting the Garage Door Opener
Often, a reset can get everything back to normal. Here’s how to reset your garage door opener:
– Step 1: Locate the Reset Button: Most garage door openers have a reset button on the main unit, often near the motor.
– Step 2: Press and Hold: You’ll usually need to press and hold the reset button for a few seconds, often until a light blinks.
– Step 3: Reprogram Your Remotes: After the reset, you might need to reprogram the remotes following your model’s instructions. This might sound tedious, but many find it quick and straightforward.
After a reset, check to see if the opener works. If it doesn’t, don’t lose hope.
Inspecting Wiring and Connections
Sometimes, an issue with the wiring or connections can prevent your garage door opener from working correctly. Here’s how to investigate further:
– Step 1: Visual Inspection: Check all visible wires for fraying, breaks, or signs of wear. Pay special attention to areas that might have been pinched or stretched.
– Step 2: Tighten Connections: Sometimes, connections can loosen over time. Make sure all wires connected to the power source and the opener are secure.
– Step 3: Check for Corrosion: Corrosion can interfere with electrical flow. If you see any corrosion on the terminals, cleaning it carefully can help restore functionality.
Once you’ve examined the wiring, test the opener again. If it’s still not responding, we might need to dig deeper.
Considering a Professional Inspection
If you’ve diligently followed these steps but the garage door opener remains unresponsive, it might be time to call in a professional. There are several reasons to consider professional help:
1. Complex Repairs: Some issues require specialized tools or expertise. A technician knows the ins and outs of different models.
2. Safety: Garage doors are heavy and can be dangerous if mishandled. Professionals are trained to handle these situations safely.
3. Long-Term Care: A pro can also provide maintenance tips that could extend the life of your opener.
Choosing this route not only saves you time but also ensures a thorough repair.
Exploring Replacement Options
Sometimes, it’s more practical to look into replacing your garage door opener altogether. Here are some reasons why that might be worth considering:
– Age of the Opener: If your opener is over 10-15 years old, it might be more cost-effective to replace it rather than repair multiple issues.
– Enhanced Features: Newer models come with advanced features, like smartphone connectivity or battery backup. Upgrading can make your life much easier.
– Reliability: A brand-new opener can give you peace of mind. No more wondering if it will quit on you at the worst possible moment!
If you decide to replace, be sure to research options thoroughly to find one that suits your needs and budget.
Preventative Maintenance Tips
Once you’ve tackled the current issues, maintaining your garage door opener can help avoid future headaches. Here’s how to keep it running smoothly:
– Regular Inspections: Take a few minutes each month to inspect your opener, tracking, and remote for any signs of wear or damage.
– Lubrication: Use garage door lubricant on moving parts to keep everything running smoothly.
– Set Reminders: If you forget about regular maintenance, set a calendar reminder. Staying proactive can extend the life of your opener significantly.
By taking these steps, you can ensure that your garage door opener stays functional and reliable for years to come.
In conclusion, troubleshooting a garage door opener that has quit after a few uses may seem daunting at first, but with a little patience and guidance, it becomes manageable. Remember, from checking the power source to calling in the pros or even considering a new unit, there are plenty of ways to solve the issue. By following these steps, you’re well on your way to becoming a garage door opener troubleshooting whiz. Happy fixing!