Testing your garage door opener’s auto-reverse function is crucial for both safety and peace of mind. While some people might assume it’s going to work perfectly every time, things like wear and tear, power interruptions, or even misalignment can hinder its performance. Today, we’ll walk you through the step-by-step process of checking this vital feature, ensuring your home remains a safe place.
Why Is the Auto-Reverse Feature Important?
The auto-reverse feature acts as a safety net, instantly stopping and reversing the garage door’s direction when it encounters an obstacle. This is especially important for families with children and pets. Imagine a little one or your furry friend getting caught under the door—that’s a nightmare scenario!
Moreover, this safety feature is often required to meet local building codes and safety standards. If your door doesn’t properly reverse when it should, you might end up needing costly repairs or even face fines. Ensuring this feature works correctly not only keeps your family safe but also provides some peace of mind.
Gathering Your Tools
Before diving into testing, let’s make sure you have everything handy. Here’s a quick checklist of what you’ll need:
- A sturdy object: This could be a cardboard box, a book, or even a wooden plank—just something that you can safely place under the closing door.
- Your garage door remote: This is how you’ll operate the door during the test.
- A notepad: Write down any observations during your testing session.
Having these tools ready will make the entire process smoother and more efficient. Testing your garage door opener’s auto-reverse feature can be straightforward, but documenting your findings will help you keep track of any changes or issues over time.
Step 1: Inspect the Garage Door Parts
Before pushing any buttons, it’s a good idea to visually inspect your garage door and opener. Look for any obvious damages like dents or misalignment. Here’s what to focus on:
1. Tracks and Rollers: Ensure they’re clean and free of obstructions. Dust and debris can cause the door to malfunction.
2. Sensors: Most modern openers have safety sensors near the bottom of the door. Make sure they’re clean and unblocked—if they’re misaligned, the auto-reverse won’t function properly.
3. Wiring: Look for any frayed wires or loose connections on your garage door opener. Damaged wiring can lead to failure in safety features, including auto-reverse.
If everything looks good, you’re ready to move on to the actual testing.
Step 2: Testing the Auto-Reverse Feature
Now it’s time for the moment of truth! Here’s how to test the auto-reverse function effectively:
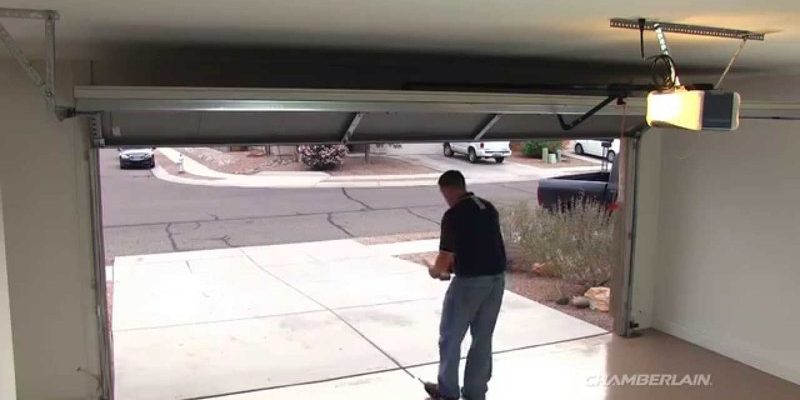
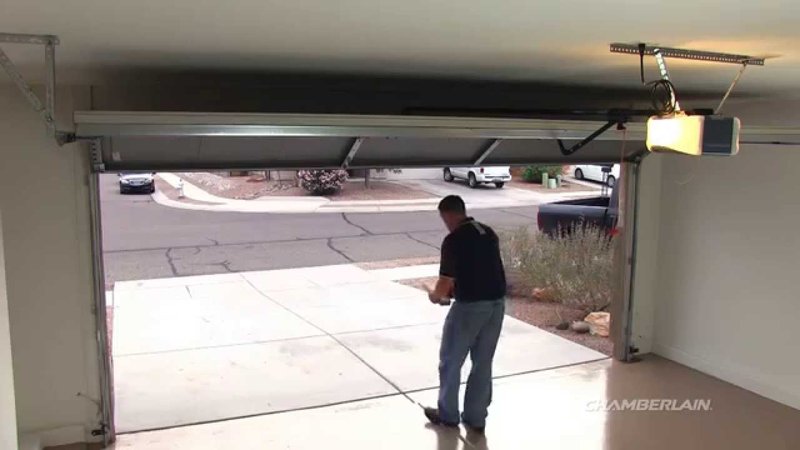
1. Activate the Door: Use your remote control to close the garage door. Make sure you’re at a safe distance.
2. Place the Object: Right before the door makes contact with the ground, quickly place your object in its path. Remember, safety first! Look for any movements that indicate deception.
3. Observe: The door should stop and reverse immediately upon hitting the object. If it doesn’t, you may have a problem that requires troubleshooting or repair.
Let’s face it, sometimes it might not work as expected. If it fails to reverse, don’t panic. We’ll cover what to do in the following sections.
Step 3: Troubleshooting Common Issues
If your garage door didn’t reverse, try these steps to pinpoint the problem:
– Check the Sensors: Look for an obstruction. Ensure both sensors are aligned and blinking their signal lights; one red and one green is usually how they’re set up.
– Inspect the Remote: Ensure your remote is functioning properly. Replace the battery if necessary and try again.
– Reset the Opener: Unplug your garage door opener for about 30 seconds, then plug it back in to reset. This can solve many minor issues, including sensor problems.
If these common fixes don’t resolve the issue, you may want to consult a professional technician. It might be a wiring or mechanical issue requiring expertise. But remember, testing the auto-reverse function should always be a part of your routine garage door maintenance.
Step 4: Regular Maintenance Checks
Just like your car needs regular oil changes, your garage door and opener benefit from periodic checks. Make it a habit to test the auto-reverse feature every few months.
Here are some pointers for maintaining your garage door opener:
– Keep it Clean: Wipe down sensors and tracks to prevent buildup.
– Lubricate Moving Parts: This helps prevent wear and tear, ensuring smooth operation.
– Examine Springs: Check for corrosion or rust. If they look worn, consider consulting a professional.
Regularly maintaining your garage door opener not only prolongs its life but enhances its safety features, including the crucial auto-reverse function.
When to Call a Professional
Sometimes, despite our best efforts, we can’t fix everything ourselves. If you’ve gone through troubleshooting, tested the features repeatedly, and nothing seems to work, it’s time to call a pro.
A qualified garage door technician can diagnose complex issues, especially those hidden in electrical components or sensor wiring. Finding a trustworthy technician can save you time, money, and potentially an accident.
Recap and Conclusion
You’ve now learned the ins and outs of testing your garage door opener’s auto-reverse feature. From gathering your tools to executing the test safely, it’s crucial to remain aware of how essential this mechanism is for your family’s safety.
Being proactive ensures that your garage door works properly and keeps you safe from mishaps. So, take the time to inspect, clean, and test regularly, and don’t hesitate to reach out to professionals when needed. Happy testing, and may your garage door operate smoothly for years to come!