This wall button, part of Skylink’s nifty lineup of home garage solutions, is designed to make your life easier. But just like any tool, it can run into a few hiccups. Think of it like a light switch; when it works, you don’t think twice about it. But when the lights flicker or your garage door seems stubborn, it’s time for a little troubleshooting. Let me walk you through the vital steps to test your Skylink wall button effectively.
What You Need to Get Started
Before diving into testing the Skylink wall button, gather a few essentials. These will help make the process smoother and ensure you can troubleshoot effectively. Here’s a simple list of what you’ll need:
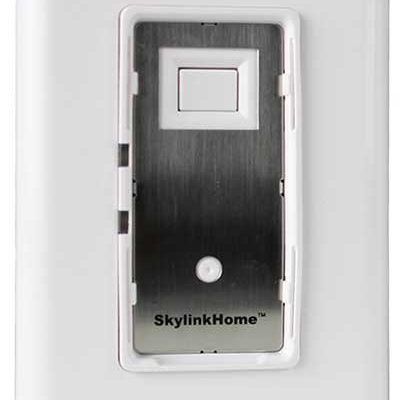
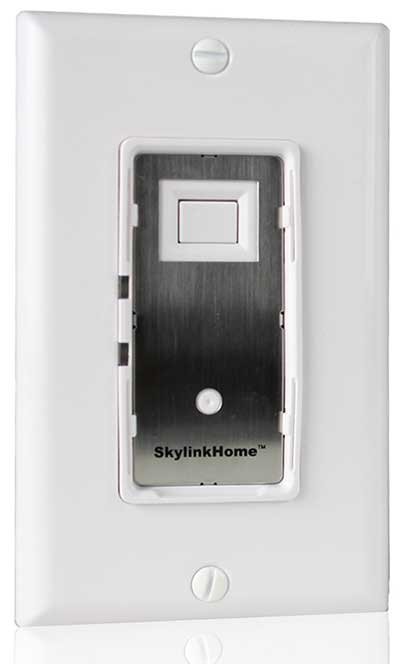
- Skylink Wall Button: Obviously, you’ll need the button itself!
- Power Source: Ensure it’s connected and functioning.
- Multimeter: This handy tool helps check the voltage.
- Owner’s Manual: Having instructions close by can simplify things.
Having these items on hand will set you up nicely. It’s like preparing for a little DIY adventure, where you can troubleshoot confidently without feeling overwhelmed.
Understanding the Wall Button’s Functionality
You might be wondering: what exactly does the wall button do? Think of it as the direct line between you and your garage door system. In technical terms, it sends a signal to the opening mechanism, telling it to either open or close. When you press it, a simple electrical signal is triggered, activating the garage door.
If the wall button isn’t responding, you may face various issues. Is it the button itself, or could it be the wiring? Or maybe it’s a power supply problem? Understanding these functions can help you identify red flags quickly.
When troubleshooting, remember that the wall button can occasionally require a bit of TLC, just like any other part of your home tech. Knowing how it works is half the battle—and once you grasp that, you’re ready to tackle any stumbling blocks.
Step 1: Test the Power Supply
First things first, make sure your garage door power supply is in order. A garage door opener can’t function on an empty battery or a lack of power. Here’s what you need to do:
1. Locate the Power Source:
Find where your garage door opener is plugged in. It could be on a wall outlet or a dedicated circuit.
2. Check for Power:
You can test this with a simple light. Plug in a lamp or use a multimeter to check if the outlet has power. If it doesn’t power anything, you may have a circuit breaker issue.
3. Reset the Breaker:
If the circuit breaker has flipped, reset it and see if that resolves the power issue.
If the power source is all good, you’re one step closer to figuring out your wall button’s issues.
Step 2: Checking the Wall Button Wiring
Assuming the power’s in check, the next thing to inspect is the wiring in your Skylink wall button. Poor connections can lead to frustrating situations. Here’s how to check:
1. Turn Off Power:
Safety first! Disconnect the power to prevent any accidental shocks as you handle wires.
2. Unscrew the Wall Button:
Gently remove the faceplate or cover of the button. Here, you’ll see the wires connected to the button.
3. Inspect Connections:
Look for any loose or detached wires. If a wire looks frayed or damaged, that could be the culprit.
4. Reconnect or Replace Wires:
If you see anything out of the ordinary, reconnect anything loose. Consider replacing damaged wires, as they’re crucial for signal transmission.
Once you’ve checked all the connections, it’s time to test your wall button again.
Step 3: Using a Multimeter for Voltage Testing
If you’re still facing issues, grab your multimeter. This tool will clarify whether your wall button itself is at fault. Let’s break it down step-by-step:
1. Set Your Multimeter:
Turn it to the setting that measures DC voltage (usually indicated by a V with straight lines).
2. Test the Button:
With the multimeter, connect the probes to the terminals of the wall button. You should see readings in volts. If the button is functioning well, you can expect a reading of about 12 to 24 volts.
3. Interpret the Results:
If your reading is 0 or very low, it indicates your wall button might be malfunctioning.
If everything checks out on the multimeter, congratulations! You might be in the clear—instead, the issue could reside within the garage door system itself.
What to Do If the Button Is Faulty
So, you’ve tested the power, checked the wiring, and used a multimeter. But what if your wall button still isn’t working? Here’s what to do next:
1. Replace the Button:
If the wall button is indeed faulty, the easiest fix is to replace it. You can find a new Skylink wall button online or at home improvement stores.
2. Consult the Manual:
Each model might have specific instructions you should follow. Your owner’s manual can provide troubleshooting tips specific to your particular model.
3. Contact Support:
If you’re stuck, reaching out to Skylink’s customer support can help. Their team can offer insights that might help resolve your issue.
Getting to the root of the problem can be frustrating, but with each step, you bring more clarity to the situation. Remember, persistence pays off!
Testing your Skylink wall button doesn’t have to feel overwhelming. By understanding how it works and following these simple steps, you’re not just fixing a problem; you’re enhancing your home’s functionality. Think of it like learning to ride a bike; once you’ve mastered it, you can do it smoothly and without second-guessing.
While this process might seem tedious, it plays a crucial role in ensuring safety and reliability in your home. With a little patience, you can troubleshoot with confidence and tackle any issues like a pro. Next time your garage door refuses to budge, you’ll know exactly what steps to take. Keep your wall button handy; you never know when you’ll need to put it to the test!