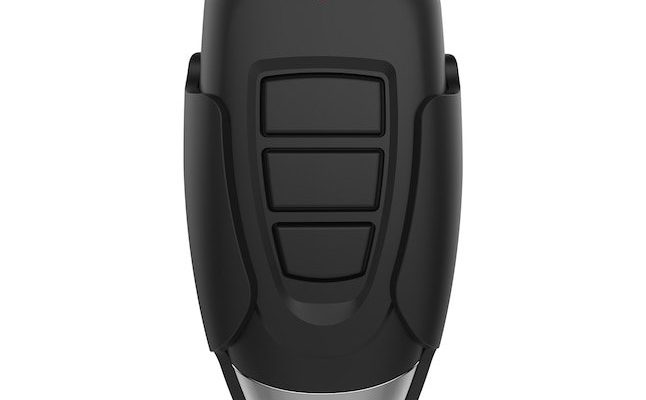
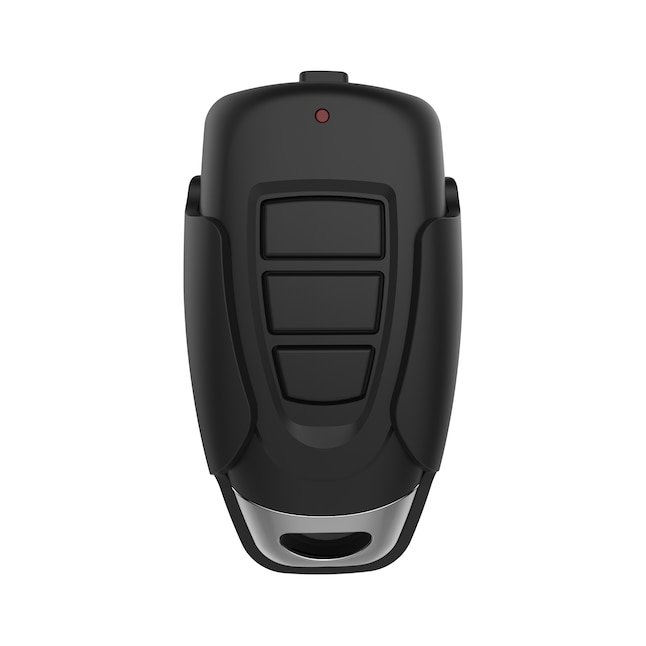
Whether you’ve just purchased a new Skylink remote or are troubleshooting an old one, understanding how to test it is essential. This guide simplifies the process so you can keep your garage door—your gateway to convenience—operating smoothly.
Why Testing Your Skylink Remote Matters
Testing your Skylink remote is crucial for several reasons. First, it ensures your garage door operates correctly and reliably. Imagine rushing late for work, only to find your remote doesn’t respond. Not a fun scenario, right? Regularly checking your remote saves time and frustration, allowing you to spot any issues early on.
Additionally, a well-functioning remote extends the longevity of your entire garage door system. Just like it’s vital to maintain good battery health in your car key fob to ensure it starts smoothly, the same goes for your garage remote. Neglecting small problems can lead to bigger, costlier ones down the road.
Finally, knowing how to test your remote empowers you. It gives you the confidence to handle minor troubleshooting without needing a professional. More often than not, you can resolve the issue in just a few simple steps.
Tools You’ll Need
Before you dive into testing your Skylink remote, gather a few tools. Here’s your short list:
- New Batteries: Your remote may simply need fresh energy to function.
- Smartphone or Camera: To help you check the LED light on the remote.
- Instructions Manual: Refer to your user manual for specific details related to your model.
Having these items on hand streamlines your testing process. New batteries are crucial because a weak battery could be the main reason your remote won’t respond. A smartphone or camera is handy for visually checking the remote’s operation without needing to squint at the tiny LED lights.
How to Test Your Skylink Remote: Step-by-Step
Testing your Skylink remote doesn’t have to be complicated. Let’s break it down into manageable steps.
Step 1: Check the Batteries
One of the main culprits for remote failures is dead or dying batteries. Here’s how to check:
1. Locate the battery compartment on your remote.
2. Open it up and remove the old batteries.
3. Insert fresh batteries, ensuring they’re facing the correct direction.
After replacing the batteries, wait a moment. Sometimes the remote needs a second to register the change.
Step 2: Observe the LED Indicator
Next, it’s time to see if the remote’s LED indicator is working. This is where your smartphone or camera comes in handy.
1. Point the remote at the camera lens and press any button.
2. Look for a faint light that displays on your screen.
If you see the light, your remote’s sending a signal! If not, it might be broken or needing a reset.
Step 3: Synchronizing the Remote
If the LED lights up and your garage door still doesn’t respond, it might need to be synchronized:
1. Locate the “Learn” button on your garage door motor.
2. Press it until the LED light turns on.
3. Within 30 seconds, press the button on your Skylink remote.
Wait for the garage door to respond—if it moves, you’re all set. If not, you may need to repeat the process or check for additional issues.
Step 4: Testing the Signal
Lastly, check the remote’s range. Take the remote to the farthest spot where you usually operate the garage door. Press the button to see if it works from that distance.
If the door opens from far away, your remote is good to go! If not, it could indicate interference or other issues needing attention.
Troubleshooting Common Problems
Even after testing, you might encounter problems. Here are some common issues and quick fixes:
- Remote Won’t Connect: Ensure the remote is properly synchronized with the garage door motor.
- Garage Door Moves Inconsistently: This can happen if the batteries are low—replace them.
- Inconsistent Range: Check for interference from other devices or walls.
If these issues persist, consider consulting your user manual for model-specific guidance or reaching out to a professional.
When to Seek Professional Help
While you can handle many issues on your own, there’s a time to turn to the pros. If you’ve tried replacing batteries, testing the signal, and re-synchronizing, yet your remote is still down, it might be time to call in a professional technician. They can diagnose if there’s a deeper issue with the garage door system itself.
Similarly, if your remote is damaged or physically broken, replacing it might be the best move. Weigh the cost of repairs against getting a new remote—sometimes, it’s worth upgrading!
The Benefits of a Functional Skylink Remote
A fully operational Skylink remote provides more than just convenience. Think of it as the reliable friend who always shows up when you need them.
With a good remote, you’ll enjoy:
– Enhanced Safety: A functioning remote provides quick access to your garage, helping you avoid unnecessary risks.
– Improved Functionality: You can manage your garage door from a distance, making it more adaptable to your routine.
– Time Savings: No more fiddling with faulty remotes or dealing with rising annoyance levels. Just press a button and go!
In essence, a functional remote is key to maintaining a smooth, stress-free garage experience.
Testing your Skylink remote is a straightforward process, but it can save you time, hassle, and potential headaches. By following these steps and understanding how the remote functions, you’re well-equipped to keep your garage door operating smoothly. Here’s to never being late for work again because of a stubborn remote!