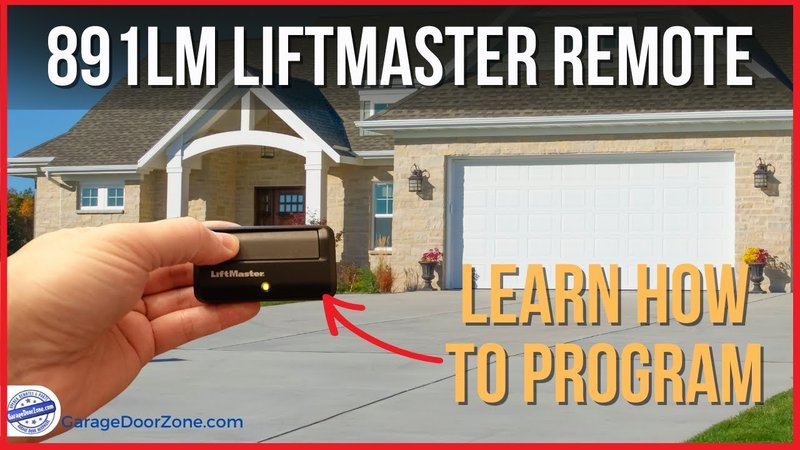
Raynor offers a variety of remotes to help you control your garage door effortlessly. Whether you’re using a handheld remote or a keychain, the process to test and ensure they’re working correctly is straightforward. We’ll walk you through this process step by step, so you can get back to what matters—coming and going with all the ease you expect.
Understanding Your Raynor Remote
Before we jump into testing, let’s cover some basics about your Raynor remote. These devices work on radio frequency technology to communicate with the garage door opener. When you press a button, the remote sends a signal to the opener, allowing your door to open and close with ease.
Every Raynor remote has specific features, but generally, they include buttons for opening, closing, and stopping the garage door. It’s essential to familiarize yourself with what your remote can do. It’s like knowing how to use all the settings on your coffee maker; once you do, it enriches your experience!
While you’re getting to know your device, check for a model number on the back. This number is helpful not just for testing but also for finding replacement parts if needed.
Check the Batteries
The first step in testing your Raynor remote is to check the batteries. Weak or dead batteries are often the culprits behind a malfunctioning remote. Fortunately, it’s a super easy fix.
1. Pop open the battery compartment: Most Raynor remotes have a latch or a slide-open panel. Carefully open it to avoid any damage.
2. Inspect the batteries: Look for corrosion or damage that might affect performance. If the batteries are old, it’s time for a change.
3. Replace with fresh batteries: Be sure you’re using the correct type, typically CR2032 or a similar model. Check that you insert them in the right direction!
After replacing the batteries, try pressing the buttons to see if the remote responds. If the problem persists, don’t worry—this is just the beginning!
Resetting Your Raynor Remote
If fresh batteries don’t do the trick, it might be time to reset your Raynor remote. A reset can clear any small glitches hindering communication between your remote and the garage door opener.
To reset your remote, follow these steps:
1. Locate the learn button on your opener: This is usually found on the back or side of your garage door opener motor. After locating it, note that it might have a specific color—often red or orange.
2. Press and hold the learn button: Wait until the LED light turns on, which usually takes about 30 seconds. The light confirms that you can now sync your remote.
3. Press the remote button: While the LED light is still on, press the button on your remote that you want to use. You’ll see the light blink on the opener, indicating that it has learned the remote.
This process doesn’t just clear errors; it can also help if you’re adding a new remote to your system. But if you’re still faced with issues, let’s move on.
Synchronize Your Remote with the Opener
Sometimes, your remote simply needs to be re-synced. Here’s how to do it:
1. Follow the reset process you’ve already done to clear it out first.
2. Press and hold the remote button as you turn on the opener. This is crucial to create a good link between the two devices.
3. Test the remote again: This time, the garage door should respond brilliantly!
Don’t forget: syncing may need to be done if you’ve changed batteries or had a power outage. Garage doors are like a relationship; sometimes they just need a little affirmation!
Check for Interference
If everything seems to be fine with your remote and opener, interference might be a sneaky issue. Other electronic devices can disrupt signals. To check this, try these suggestions:
- Move closer: Stand closer to the garage door opener while trying to use the remote. If it works, you may have a distance issue or interference.
- Remove interfering devices: Keep all around devices, like Wi-Fi routers, away from your opener. Even something as small as a new outdoor security light could unknowingly be causing trouble.
- Shield your remote: Keeping it in a safer place rather than exposed might help reduce any signal issues. Sometimes, a little TLC is all it needs!
Identifying interference can be tricky, so do some detective work. Once you pinpoint the source, getting back on track should be simple.
Testing with a Smartphone App
Did you know that many modern garage door openers can be controlled via a smartphone app? If you’re looking for an upgrade or just testing compatibility, it’s handy to know how to check your remote using tech!
1. Download the app: First, download Raynor’s relevant app from your app store.
2. Create or log into your account: Set up your specific garage door opener by following the app’s guidance.
3. Test door operations: Use the app to mimic remote operations. If the app works but the remote doesn’t, it’s likely a remote issue rather than the garage door opener itself.
Using technology to test your remote can save you time and hassle. Plus, who doesn’t love a little smart home advantage?
When to Call a Professional
If you’ve tackled all these troubleshooting steps and your Raynor remote still isn’t responding, it may be time to call in the pros. Sometimes, problems can extend beyond the remote and could involve the internal wiring of the garage door opener itself.
Here’s when you might want to consider reaching out:
– Frequent signal loss: If your remote frequently fails and you find yourself resetting it often, a professional can further diagnose the issue.
– Mechanical issues: Any noise or strange movement when your garage door operates may signal a mechanical failure that needs expert attention.
While it’s great to troubleshoot on your own, recognizing when you need assistance is just as important!
Testing your Raynor remote doesn’t have to be an overwhelming experience. By following these steps—checking the batteries, resetting, resyncing, and ruling out interference—you should be well on your way to getting back in control of your garage door.
Remember, tools like smartphones can help streamline modern solutions, and don’t hesitate to contact a professional if you sense a bigger issue at play. Garage doors, like any system, require a little maintenance and care, but with the right knowledge, you’ll be able to keep yours working smoothly. Between testing and troubleshooting, it’s all about finding the right balance. Happy testing!
