Think of your smart hub like the brain of your garage door system. It connects your opener to your smartphone, allowing you to open or close the door with just a tap. Sometimes, though, technology can be a bit quirky. Perhaps the hub isn’t syncing, or the remote isn’t responding as it should. That’s where testing comes in. Let me break down how to easily test your Overhead Door Smart Hub, step by step.
Understanding Your Overhead Door Smart Hub
Before diving into the testing process, it’s helpful to understand what your smart hub actually does. The Overhead Door Smart Hub is designed to manage your garage door through your smartphone or tablet. It typically connects via Wi-Fi and syncs with the garage door opener.
You might be wondering how it communicates with your remote. Well, the hub translates the commands from your phone into signals that the opener can decode. Think of it like a translator in a foreign country—all the technology does the heavy lifting, while you sit back and enjoy the convenience.
This smart technology allows for a range of features, from monitoring the status of your garage door to setting alerts for when your door opens or closes. But to enjoy these perks, you need to ensure everything is working properly.
Gathering Necessary Tools for Testing
Testing your smart hub might require a few basic tools, but don’t worry—nothing too complicated. Here’s a quick list of what you might need:
- Smartphone: You’ll be controlling the hub through an app on your phone.
- Remote: The remote that came with your Overhead Door opener.
- Wi-Fi Connection: Ensure you have stable internet access for proper functionality.
- Replacement Batteries: For your remote, just in case they need changing.
Having these items on hand will make your testing process smoother. If something doesn’t work as planned, you’ll know where to check first.
Resetting Your Smart Hub
If your smart hub isn’t responding as it should, a reset can often do wonders. It’s like turning the vehicle off and on again when it’s acting up. Here’s a simple way to reset your Overhead Door Smart Hub:
1. Locate the Reset Button: This is usually on the hub itself. Refer to your user manual if you have trouble finding it.
2. Press and Hold: Hold the reset button for about 10 seconds. You should notice the lights blinking or the device powering off.
3. Release: Once the lights stabilize, release the button.
After resetting, give it a moment before trying to reconnect your app to the hub. This simple step can often resolve a variety of connection issues you might face.
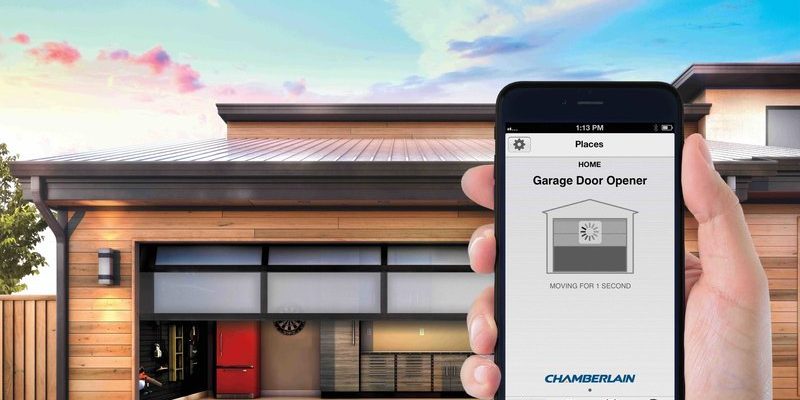
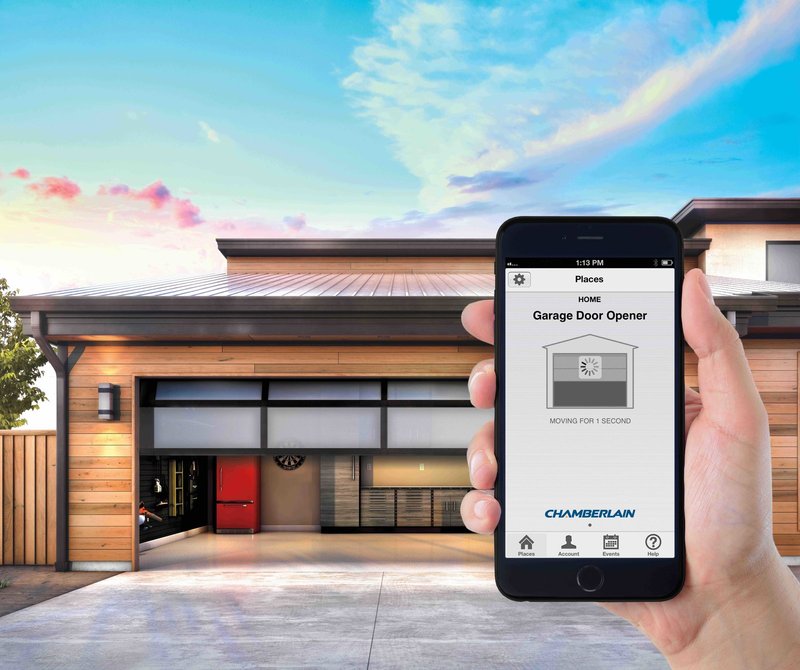
Syncing Your Smart Hub with the App
Once your hub is reset, it’s time to sync it back up with your smartphone. This process should be straightforward. Here’s how to do it:
1. Download the Overhead Door App: If you haven’t already, download it from your phone’s app store.
2. Log In: Open the app and log in using your account credentials.
3. Navigate to Device Setup: Look for the option that allows you to add or sync a new device.
4. Follow the Prompts: The app will guide you through the steps to connect the smart hub. Make sure to have your Wi-Fi password ready!
During this process, pay close attention to the LED indicators on the hub. If they’re solid or green, you’re doing great! If they flash or turn red, something might not be connecting properly.
Checking the Remote Control
If you’re still having trouble after syncing, it might be time to check the remote control. Sometimes, the simplest issues can lead to headaches. Here’s what to do:
1. Replace the Batteries: As mentioned before, weak batteries can lead to malfunction. It’s a cheap fix for a big problem.
2. Pair Again: If your remote has a pairing button, press it while simultaneously holding the button down on the remote. This can help re-establish the connection.
3. Test the Remote Directly: Stand within a few feet of the garage door sensor and try the remote. If it doesn’t work, it might be time for a new remote.
Taking these steps should get your garage door back in action.
Common Troubleshooting Tips
If your smart hub is still not responding, there are a few more troubleshooting tips to consider:
– Check Wi-Fi Signal: Ensure that your hub is within range of your Wi-Fi router. If it’s too far away, it may struggle to stay connected.
– Update the App: Keep the Overhead Door app updated. Sometimes, bugs are fixed in new releases.
– Restart Your Router: If your internet is acting funky, a quick reboot can help restore a stronger signal.
– Interference Issues: Other electronics might interfere with the signal. Move devices like baby monitors or wireless speakers away from the hub.
It can be frustrating, but even the simplest solution can solve the problem.
Why Regular Testing Matters
You might be wondering, “Why should I test my smart hub regularly?” Here’s the thing: technology isn’t perfect. Regular testing can help you catch issues before they become bigger problems. Consider it a routine check-up for your garage door system.
By keeping tabs on your smart hub, you ensure peace of mind, knowing that your garage door operates smoothly. Plus, it can prevent potential security risks, like leaving your garage door open accidentally.
So, set a reminder every few months to run through these testing steps. It’s worth the effort to avoid being stuck outside on a rainy day!
Wrapping Things Up
Testing your Overhead Door Smart Hub doesn’t have to be complicated. With a few tools and simple steps, you can ensure everything is functioning correctly. From resetting your hub to syncing it with your smartphone, each step plays a critical role in keeping your garage door operational.
If you encounter issues, remember the troubleshooting tips can save you time and hassle. With a little attention and a proactive approach, you can keep enjoying the convenience of your smart garage door. Happy testing!