So, whether you’re rocking a LiftMaster, Genie, or Chamberlain remote, this guide will walk you through the steps to pinpoint any problems without breaking a sweat. After all, overhead doors are there to make our lives easier, and ensuring your remote is functioning properly can save you a ton of hassle. Let’s dive into how to test that remote, troubleshoot issues, and get your garage door gliding up and down like a pro.
Understanding Your Overhead Door Remote
Your overhead door remote is a small but mighty device that communicates with your garage door opener, initiating the opening or closing action. Most remotes use radio frequencies to send signals to the door opener, and some might even use a rolling code system for added security. That means every time you press that button, your remote sends a different code, making it tougher for intruders to intercept.
If you’re a beginner, it’s essential to familiarize yourself with the components. The remote usually consists of a casing, a few buttons, and an internal circuit board powered by a battery. And unlike your smartphone, it won’t remind you when the battery is low, so keep an eye out for warning signs.
You might be wondering how often you should test your remote. A good rule of thumb is whenever you notice inconsistent performance or when it’s acting sporadically. Regular checks can help you diagnose whether it’s an issue with the remote, the battery, or the garage door opener itself.
Step 1: Check the Batteries
Before diving deeper, let’s tackle the obvious first—batteries! A dead battery is the most common culprit behind a non-functioning remote. Here’s how to check:
- Take the remote apart to access the battery compartment.
- Check the battery type; most remotes use a 3V lithium battery, often marked as CR2032.
- If the battery looks corroded or worn out, replace it.
After replacing the battery, try using the remote again. It should work seamlessly. If not, you might be dealing with a different issue.
Step 2: Test the Signal Strength
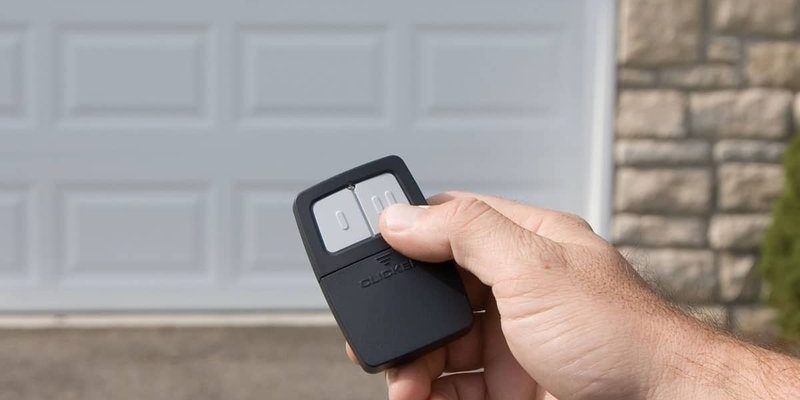
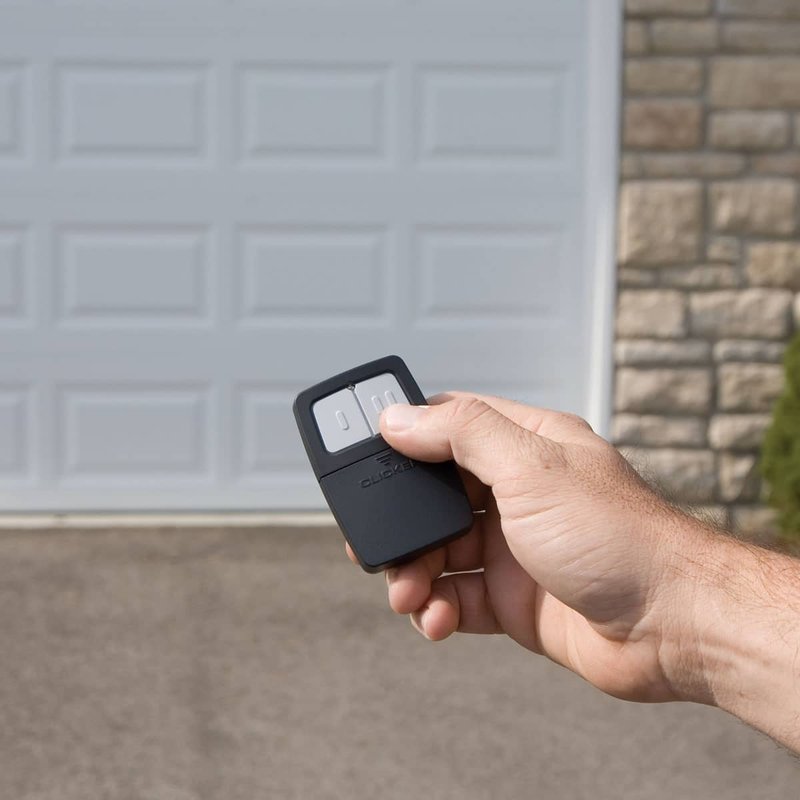
Sometimes, your remote might have perfectly good batteries but still won’t work because it’s not sending a strong enough signal. So, how do you test the signal? Find a spot near your garage door and press the button on your remote.
You can also check for any obstacles between the remote and the opener. Things like walls, trees, or machinery could be blocking the signal. Stand about halfway from where you usually stand when parking and see if proximity makes a difference.
A fun tip: if you stand directly under the door opener and it works, your remote is fine, but there might be interference elsewhere.
Step 3: Reprogram the Remote
Ever lose the ability to connect with your best buddy? Sometimes, your remote needs a little reconnecting, too. Overhead door remotes can lose their programming due to various reasons, including power surges or low batteries.
To reprogram your remote, follow these steps:
- Locate the “learn” button on your garage door opener—it’s usually on the back or side.
- Press and hold the “learn” button until a light on the opener starts blinking—this usually takes about 6-10 seconds.
- Within 30 seconds, press the button on your remote that you want to program. If successful, the light will blink or turn off.
You’ll know it’s worked when pressing the remote button successfully opens or closes the door. If it doesn’t, you might need to recheck the previous steps.
Step 4: Inspecting the Remote for Damage
Physical damage might be a hidden issue. Check your remote for cracks, loose buttons, or water damage. A small crack can disrupt the remote’s functionality, and dampness can short out the internal components.
Here’s a handy checklist:
- Examine the remote’s casing for any visible cracks.
- Click each button and check if they respond as they should.
- If your remote is exposed to the elements often, consider getting a weatherproof cover.
Sometimes, just fixing a minor issue might bring your remote back to life. If it’s too damaged, you might need to replace it altogether.
Step 5: Checking the Garage Door Opener
Your remote might be the picture of perfection, but the fault could lie with the garage door opener itself. It’s like discovering that your car doesn’t start because of a dead battery instead of a faulty key.
Check these:
- Ensure the opener is plugged in and receiving power.
- Look for any blinking lights on the opener, which might indicate a problem.
- If possible, test the door with the wall button to see if it’s functioning properly.
If the wall button works but the remote doesn’t, it might be time to consider resetting the opener or checking for internal issues.
Alternatives: What If Your Remote Just Doesn’t Work?
If you’ve gone through all these steps and you’re still facing issues, it might be time to look into alternative solutions. Consider purchasing a universal garage door remote. They’re generally compatible with most systems and can save you money on replacement remotes specific to brands.
Alternatively, if your remote is consistently unreliable, it might be worth investing in a new one. Check compatibility with your existing opener, and consider consulting the user manual or the manufacturer’s website for recommendations.
Testing your overhead door remote doesn’t have to be a daunting task. With a few straightforward steps, you can identify common issues and get everything back on track. From checking the batteries to reprogramming and inspecting your opener, each step guides you closer to finding a solution.
Remember, ensuring your garage door remote works well means less hassle and more time for the things you love—like finally finishing that coffee! So, when in doubt, refer back to these steps, and you’ll have your garage door opening and closing like a champ in no time.