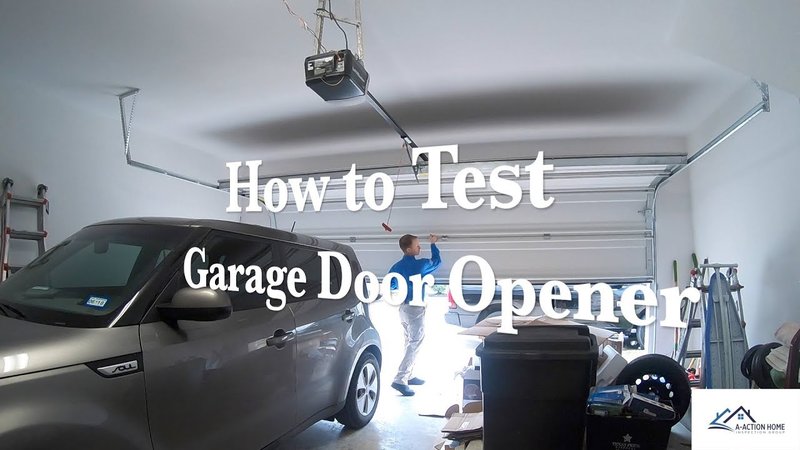
If you’ve got a remote-controlled door, chances are it’s powered by a motor unit from brands like Chamberlain or LiftMaster. These often come with their quirks and settings, and to keep everything in order, it’s a good idea to know how to test your overhead door motor unit. With a bit of patience and a few steps, you can get to the bottom of any problems.
Why Test Your Overhead Door Motor Unit?
Testing your overhead door motor unit is essential for several reasons. First, it helps identify potential problems before they snowball into larger, costlier issues. Think of it as preventive maintenance. Just like you wouldn’t wait for a car to break down before checking the oil, you shouldn’t wait for your garage door to jam before checking its motor.
Additionally, a well-functioning door motor unit ensures safety. A malfunctioning motor might not only prevent your door from opening or closing but could also lead to unsafe situations, like the door abruptly closing while someone’s underneath it. By regularly testing the motor unit, you’re keeping your family and belongings safe.
Lastly, understanding how to test this unit can give you a sense of empowerment. You’ll be more in control of your garage’s operation, reducing the need to call a technician for every little issue.
Gather the Necessary Tools
Before you dive in, make sure you have the right tools on hand. Here’s a small checklist to get you started:
- Multimeter: This handy device measures voltage and continuity, helping you diagnose electrical issues.
- Screwdriver: A Phillips and flathead should cover most of your needs for opening the motor unit casing.
- Flashlight: Good lighting is crucial to see inside the motor unit clearly.
- Cleaning cloth: Dust and dirt can build up on sensors and mechanisms, so have something to wipe them down.
Having these tools ready makes the process smoother. It’s all about being prepared so you can tackle the task confidently.
Safety First: Unplug the Motor Unit
Before you start testing your motor unit, it’s crucial to put safety first. This means taking a few moments to unplug the motor unit. Sure, it might seem like a hassle, but it’s a necessary step to avoid any accidents while you’re working.
Simply locate the power cord running from your motor unit to the outlet. Unplugging it not only protects you from electrical shocks but also prevents the garage door from accidentally moving while you’re inspecting it. Once it’s unplugged, you can proceed without worry.
Check the Power Source
Now that you’ve unplugged the motor unit, it’s time to check the power source. This includes examining the outlet and ensuring that everything is functioning as it should.
Here’s a quick step-by-step:
1. Inspect the Outlet: Verify that the outlet to which your motor is plugged is working by plugging in another device, like a lamp. If the lamp doesn’t light up, you might have an issue with the outlet.
2. Check for Circuit Breaker Issues: Sometimes the problem might lie in your circuit breaker. Make sure no breakers have tripped. If they have, reset them and test your outlet again.
If both the outlet and breaker are functioning, your motor unit may still have internal issues, which leads us to the next step.
Testing the Motor Unit with a Multimeter
Now, let’s put that multimeter to work! Testing the motor unit directly can reveal whether the issue lies within the motor itself. Here’s how to do it:
1. Access the Motor Unit: Open the casing by using your screwdriver. This might require removing some screws, so keep them handy.
2. Set Up Your Multimeter: Turn the multimeter on to the “AC Voltage” setting. This will help you measure the voltage within the motor unit.
3. Test the Wires: Carefully touch the probes to the motor’s power wires. A healthy motor should read between 90 to 140 volts. If your reading is significantly lower or shows zero, that indicates a problem with the motor.
It’s essential to note that working with electrical components requires caution. If you feel unsure at any point, don’t hesitate to call a professional.
Checking the Remote Control Pairing
So far, you’ve tested the motor and checked the power. If everything seems okay but the door still won’t budge, it might be a communication issue between your remote and the motor. Here’s how to troubleshoot:
1. Inspect the Remote Batteries: Make sure the batteries aren’t dead or low. If they are, replace them.
2. Re-pair the Remote with the Motor: Most remote control units have a pairing button. Look for a “Learn” button on your motor unit—press it and then press your remote button. This should sync the two together again.
3. Check for Obstacles: Sometimes, a little dirt or debris can block the sensors that communicate with your remote. Clear any potential blockages around the motor unit or garage door sensors.
These steps can often resolve issues with overhead door operation without needing to dig deeper.
Final Thoughts on Testing Your Overhead Door Motor Unit
Keeping tabs on your overhead door motor unit isn’t just about fixing problems; it’s about understanding how everything works together. By checking power sources, using a multimeter, and ensuring your remote is synced correctly, you can maintain your garage door system effectively.
Remember, detecting small issues can save you a headache (and money) down the line. So, if your garage door isn’t cooperating, don’t panic! Just follow these steps, and you could be back on track in no time. If all else fails, don’t hesitate to call in a professional for help—they can provide a comprehensive check-up, ensuring a smoother operation for your garage door in the long run.
