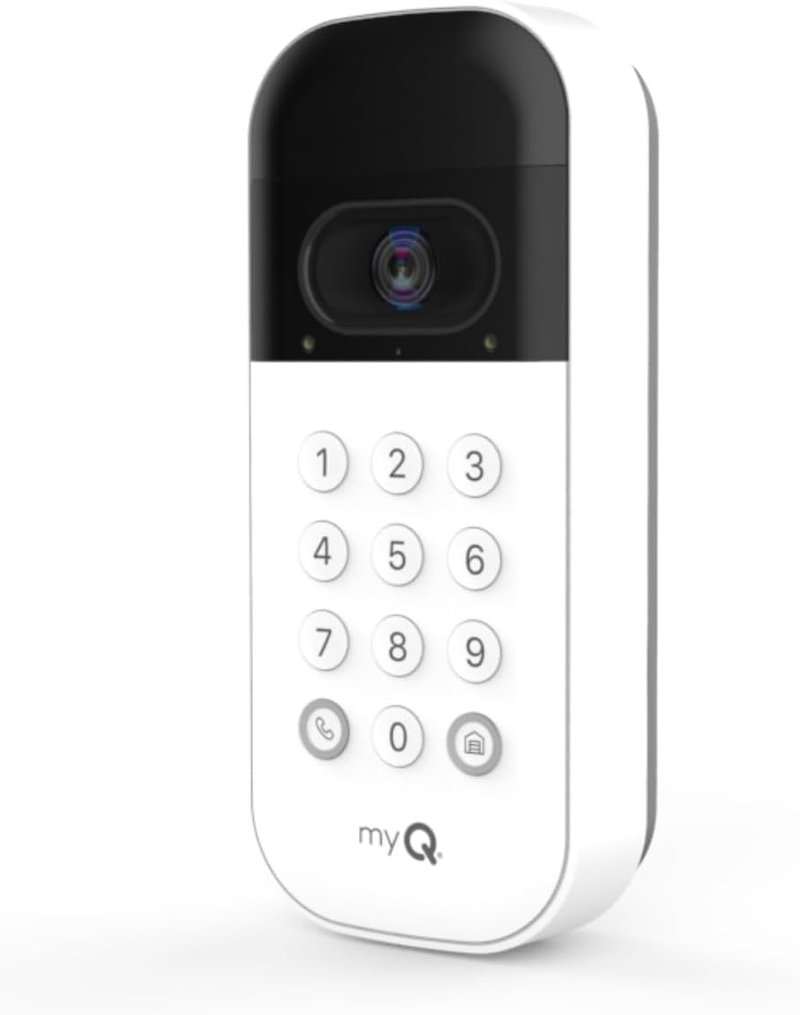
Now, if you’re using a Genie or LiftMaster keypad, you’re part of a growing group of folks relying on these handy devices. They let you enter your garage without fumbling for a remote, which, hey, is fantastic when your hands are full. But like any piece of technology, keypads can run into problems now and then. Don’t stress—testing them is straightforward. Let’s dive into how you can make sure your keypad is in tip-top shape!
Gathering the Essentials for Your Test
Before we jump into the testing procedure, you’ll want to make sure you have all the necessary tools at hand. Honestly, this is like prep work before baking a cake—the more organized you are, the smoother things will go.
– Your Keypad: Make sure you know its model number. This is important for troubleshooting later on.
– Owner’s Manual: If you still have it, great! It often contains useful information. If not, don’t worry—you can often find manuals online.
– A Fresh Battery: This is often the culprit when things go south. Make sure the battery in your keypad is new or fully charged.
– Access to Your Garage: We need to make sure you can get in and out easily while testing.
Having these items ready will make the entire process smoother and more efficient.
Initial Visual Inspection
Start by giving your keypad a good once-over. This step is like checking the exterior of your car before taking it for a spin. Look for anything that seems out of place.
– Physical Damage: Are there any cracks, dents, or visible wear? Sometimes, a keypad can sustain damage from accidents or harsh weather.
– Button Functionality: Press each button one at a time. You don’t need to hammer on them, but give each one a light press to see if they respond correctly.
– Dirt and Grime: A buildup of dirt might interfere with the buttons. Wipe the keypad with a damp cloth to remove any debris.
By catching any physical issues early, you can save yourself time later down the line.
Testing the Keypad Functionality
Now that we’ve visually inspected everything, it’s time for the real test. You might be wondering how to check if the keypad works properly. Here’s how to do it:
1. Enter Your Code: The first step is to *enter your access code*. If you haven’t changed it, use the default code, but remember that you should change it to something personal for security.
2. Press Enter: After typing the code, press the “Enter” button, or whatever button your model uses to activate the request.
3. Observe the Door: Watch closely. Does the garage door respond or start to move?
If the door lifts, congratulations! Your keypad is functioning as it should. If not, let’s troubleshoot.
Troubleshooting Common Issues
If your door didn’t respond, don’t panic! There are a few common problems that are easy to diagnose and fix. Here’s a quick troubleshooting guide:
– Dead Battery: The most common issue is a dead keypad battery. Replace it and try again.
– Code Errors: Have you entered your code correctly? Double-check for any mistakes, especially if you’ve recently changed it.
– Signals Interference: Sometimes, nearby electronics can interfere with your keypad signals. Make sure nothing is blocking the keypad or your receiver.
If you’ve gone through these common fixes and the keypad still isn’t working, it might be time to consult your owner’s manual or seek professional help.
Syncing the Keypad to Your Garage Door Opener
If your keypad is still not responding even after checking for issues, it might require synchronization with your door opener. Syncing is often a straightforward process, like pairing a Bluetooth device.
1. Locate the Learn Button: Find the learn button on your garage door opener. It’s usually on the back and sometimes requires a ladder to reach.
2. Press the Learn Button: Press and hold this button until a light starts flashing or you hear a click.
3. Enter Your Code: Quickly go to your keypad and enter your desired code followed by the Enter button.
After completing these steps, try using your keypad again. If it works, fantastic! You’ve successfully synced it.
Resetting the Keypad
If all else fails, a reset might be your best option. Resetting clears out any errors that could be causing issues, like a computer refreshing itself.
1. Remove the Keypad Cover: Take off the cover of the keypad carefully.
2. Find the Reset Button: Look for a reset button inside the casing—this might be small but should be clearly marked.
3. Press and Hold: Hold the reset button down until the keypad lights flicker.
Once you’ve reset your keypad, follow the syncing steps from the previous section to re-enter your access code.
Final Thoughts: Keeping Your Keypad Functional
Regular maintenance of your overhead door keypad is essential to avoid inconvenient hiccups. Just like checking the oil in your car or replacing batteries in smoke alarms, a little proactive care can save you a lot of trouble later.
Make it a habit to check the keypad once every few months. Ensure the battery is fresh and that there’s no damage or dirt. By following these steps, you’re setting yourself up for easy access to your garage and peace of mind. You might be surprised at how much a small gadget can enhance your day-to-day convenience!
So, go ahead, test that keypad, and keep your garage door functioning smoothly. Life is too short to be stuck outside when you could easily glide in with a press of a button.
