Let’s imagine your overhead door circuit board is like a seasoned conductor leading an orchestra. Each part must work in harmony to create a beautiful and functional performance. If one of those parts fails, the entire show can grind to a halt. So, whether you have a LiftMaster, Genie, or Chamberlain model, being able to test that circuit board can help you know if the problem lies there or elsewhere.
In this article, I’ll guide you through the steps to effectively test your overhead door circuit board. Grab your tools and let’s dig into this troubleshooting adventure!
Understanding the Overhead Door Circuit Board
Before diving into the testing process, let’s clarify what exactly the overhead door circuit board does. This small yet powerful component is responsible for controlling the motor, receiving signals from the remote, and ensuring everything operates smoothly. If your garage door opener isn’t responding, the circuit board might be the root of the issue.
Here’s a simple analogy: think of the circuit board as the traffic signals at a busy intersection. When they function correctly, traffic flows freely. But if a signal goes out, chaos can ensue. Similarly, a malfunctioning circuit board can disrupt the entire garage door operation, leading to frustration.
You might be wondering how you can tell if the circuit board is indeed the culprit. There are a few warning signs such as flickering lights on the garage door opener, unresponsive remotes, or unusual sounds when attempting to operate the door. Recognizing these signs can help determine if you need to conduct a test.
Tools Needed for Testing
Testing the overhead door circuit board isn’t complicated, but having the right tools is crucial. Here’s a short list of what you’ll need:
- Multimeter: This tool will help you measure voltage and continuity, allowing for effective testing of the circuit board.
- Screwdriver Set: You’ll likely need these to remove the cover of the opener and access the circuit board.
- Flashlight: A good light source makes it easier to see the circuit board’s components.
- Safety Gloves: Protect your hands while you’re working with electrical components.
- Digital Camera or Smartphone: Use this to take pictures of the wiring before you disconnect anything. It’s a great reference for reassembly!
Having these tools ready will make the process smoother, so you can focus on testing rather than scrambling to find what you need.
Safety First: Precautions to Take
Safety should always come first when working with electrical components. Now, I know that sounds like a cliché, but in this case, it’s true. Before you start poking around with your circuit board, follow these precautions:
1. Power Down: First and foremost, unplug the garage door opener from the wall outlet. This step eliminates any risk of electric shock or short-circuiting components while you’re working.
2. Wear Safety Gear: Donning gloves isn’t just for show. They can protect your hands from sharp edges and accidental jolts.
3. Work in a Well-Lit Area: Good lighting makes it much easier to inspect tiny components on the circuit board.
4. Be Gentle: Circuit boards can be delicate. Treat them like a fragile piece of art—rough handling can cause more damage than good.
By taking these precautions, you set yourself up for a safer and more effective testing process.
Step-by-Step Guide to Testing the Circuit Board
Now that you have your tools and safety measures in place, let’s dive into the testing process. Here’s how to check your overhead door circuit board step-by-step:
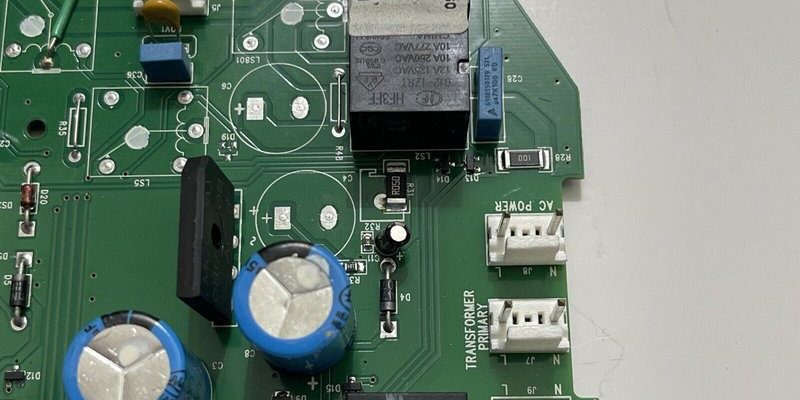
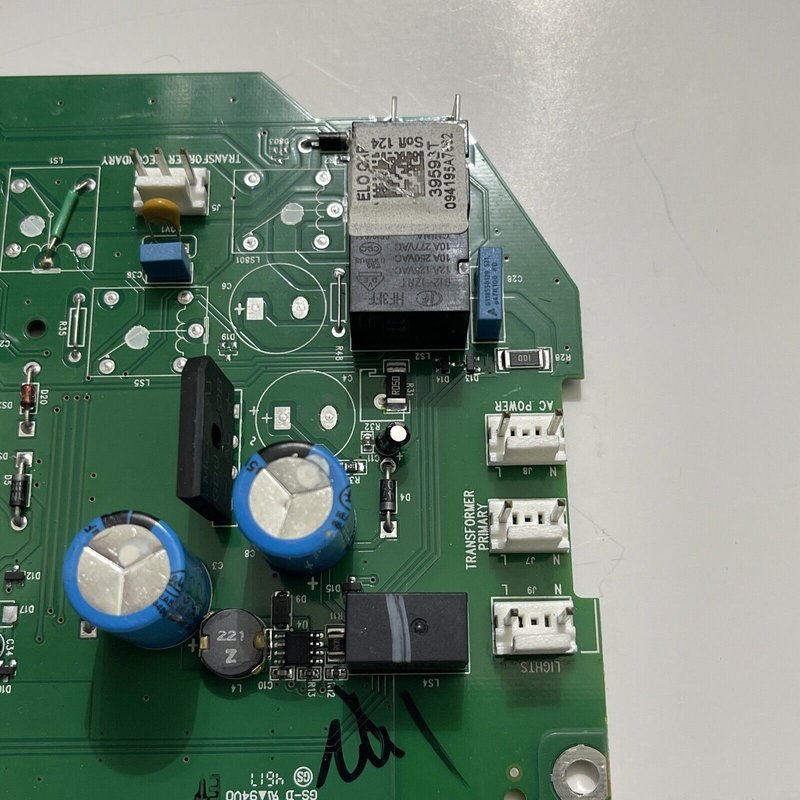
Step 1: Inspect the Circuit Board Visually
Begin with a thorough visual inspection of the circuit board. Look for:
– Burnt or Damaged Components: Charred spots or melted parts can indicate issues.
– Loose Connections: Wiggling wires can lead to intermittent functionality.
– Corrosion or Rust: This can disrupt electronic signals.
If you spot anything unusual, it may be a sign that the circuit board needs to be repaired or replaced.
Step 2: Test Voltage with a Multimeter
Using your multimeter, you’ll want to check the voltage directly on the circuit board. Here’s how:
1. Set Your Multimeter: Change the setting to measure voltage (often labeled as “V”).
2. Locate Power Terminals: Find the terminals where the power supply connects to the circuit board.
3. Take the Measurement: Carefully touch the multimeter probes to the terminals. You should see a voltage reading close to the rated voltage for your opener (usually 120V for most models).
If the reading is significantly lower, it’s possible the circuit board isn’t receiving enough power.
Step 3: Check for Continuity
Next, you’ll want to determine if there’s continuity in the board’s components. Continuity means that electricity can flow through its pathways unobstructed. Here’s how to check:
1. Switch the Multimeter to Continuity Mode: This mode usually emits a beep if there’s a connection.
2. Test Key Components: Touch the probes to various points on the circuit board you suspect may have issues—resistors, diodes, etc. If you hear a beep, that component is functioning. If not, it might need to be replaced.
This step will help identify any faulty parts on the board.
Step 4: Reset and Reattach
If everything checks out, it may be time for a reset. Unplug the unit, wait a few minutes, and plug it back in. Many repairs are as easy as that—a simple reboot can sometimes solve problems!
Once you’ve reset the circuit board:
1. Reattach any loose wires you might have worked on.
2. Replace the cover carefully and ensure all screws are tight.
After everything is back in place, try using your remote again to see if the issue has been resolved.
When to Seek Professional Help
If you’ve followed all these steps and the circuit board still seems unresponsive, it might be time to call in the professionals. Trying to fix complex issues without proper expertise can sometimes make matters worse.
Consider factors like:
– Complex Electrical Problems: If the circuit board consistently fails even after testing, it might be a sign of deeper electrical issues in your home.
– Warranty Considerations: If your opener is still under warranty, avoid DIY fixes to prevent voiding coverage.
Don’t hesitate to reach out for help; sometimes, a trained technician is the best way to go. Their specialized knowledge can save you time and potential headaches down the road.
Testing your overhead door circuit board can seem daunting, but it’s quite manageable once you break it down into steps. With the right tools, knowledge, and a little patience, you can troubleshoot like a pro and save yourself some cash in repairs.
Whether you’re dealing with a LiftMaster, Genie, or another brand, understanding how to test your circuit board can give you confidence and knowledge about your garage door opener system. Remember, a well-functioning circuit board means a smoothly operating garage door—just like a well-conducted orchestra. So, roll up those sleeves, and get troubleshooting!