If you’ve had issues with your garage door or simply want to ensure everything is functioning smoothly, knowing how to test this unit can save you time and money down the road. Imagine you’ve just come home from a long day. You press the remote and—nothing. Frustrating, right? Understanding how to troubleshoot and test the motor unit can help you spot problems quickly so you can get back to the important things, like binge-watching your favorite show or spending time with family.
Understanding Your Marantec Motor Unit
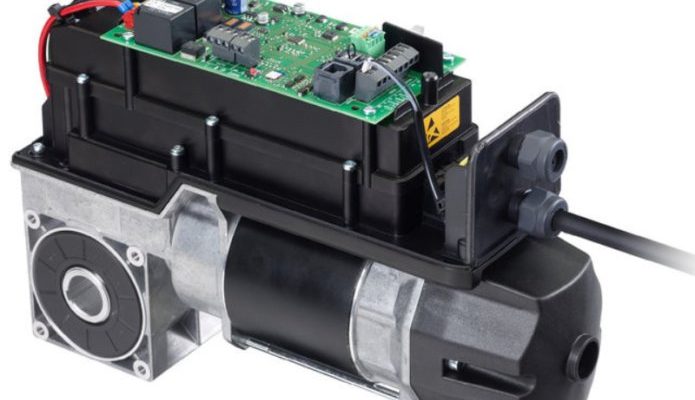
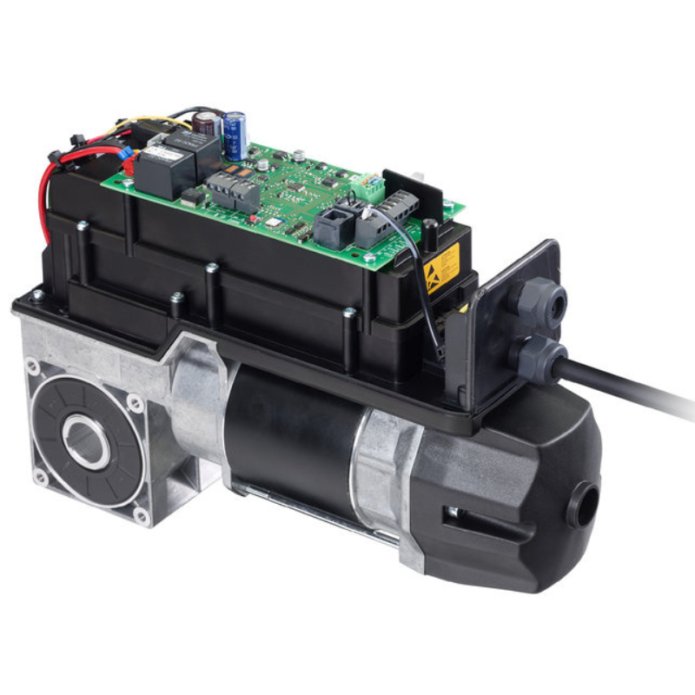
Before diving into the testing process, it’s good to know a bit about your Marantec motor unit. This unit is typically located inside the garage, mounted on the ceiling. Think of it as the engine of your garage door system. It powers the door up and down, making your life infinitely easier. Marantec models often come equipped with features like soft-start technology and automatic safety-reverse, which are designed to protect both you and your belongings.
You might be wondering, “How does it all work?” Here’s the thing: when you press the remote, it sends a signal to the motor unit. This signal instructs the motor to either lift or lower the garage door. Simple enough, right? However, if the motor isn’t functioning correctly, that communication breaks down, and you’re left with a stubborn door that won’t budge.
Gathering Necessary Tools
To effectively test your Marantec motor unit, you don’t need a toolbox full of gadgets, but having a few essential tools on hand can make the job easier. Here’s a short list of what you might need:
- Screwdriver: A standard and Phillips screwdriver will help you access any screws if needed.
- Multimeter: This handy tool will measure the electrical output and assist in testing voltage.
- Flashlight: A bright light helps illuminate those hard-to-see areas in your garage.
Having these items ready means you won’t have to run around searching for tools mid-test, which can be a real hassle. Once you have everything together, we can start the actual testing process.
Step 1: Inspecting the Motor Unit
Before you even touch the buttons on your remote, take a moment to visually inspect the motor unit. Are there any visible signs of wear or damage? Check for loose wires, cracks, or anything that looks out of the ordinary. Sometimes problems can be apparent—like frayed wires or disconnected plugs—that might not require advanced tools to fix.
Also, listen for any unusual sounds when you try to operate the door. If your unit sounds like it’s straining or struggling, something isn’t right. It’s a bit like your car making weird noises; it’s a sign you should pay attention—trust your instincts!
Step 2: Testing the Power Supply
If the visual inspection didn’t reveal any issues, the next step is to check if the motor unit is getting power. This is where your multimeter comes into play. First, make sure the unit is plugged in and the wall outlet is functioning well. You can check this by plugging in another device to see if it works.
Next, set your multimeter to the voltage setting, and touch the probes to the motor’s power terminals. You should see a reading near the voltage specified in the motor’s user manual. If there’s no reading or it’s well below what’s expected, you might have a power issue to troubleshoot, possibly involving the outlet or internal wiring. Knowing how to test the power supply can prevent you from jumping to conclusions about needing to replace your motor unit.
Step 3: Operating the Remote
If the power supply checks out, let’s focus on the remote itself. First, change the battery, just to rule that out. It’s a simple fix that can save you a lot of headaches! After inserting a new battery, try to operate the door again. If it still doesn’t work, it’s time to check if the remote is synchronized to the motor unit.
To pair a remote with the Marantec motor unit, look for the “learn” button on the motor itself. Press and hold it until you see the motor lights blink, which indicates it’s ready to accept a signal from your remote. Then, press the button on the remote you want to use. If everything goes smoothly, the motor unit should respond, and voilà! You’ve successfully paired it. If not, there might be a deeper issue at play.
Troubleshooting Common Issues
Even after following these steps, you might still run into issues with your Marantec motor unit. Here are some common problems and solutions:
- The garage door doesn’t respond to the remote: Check if the remote is paired correctly and if the batteries are fresh.
- The motor runs but the door doesn’t move: This could indicate a problem with the door itself, such as a blockage or misalignment.
- Strange noises: If you hear grinding or whirring, it could mean the gears are worn out or there’s an obstruction in the track.
For any of these issues, a thorough examination is crucial. Sometimes simple fixes can make all the difference, and your garage door can get back to doing its job without costing you a fortune.
Deciding to Call a Professional
If you’ve gone through all these tests and your Marantec motor unit still isn’t working, it might be time to reach out for help. Some issues can be complex and beyond a DIY fix, particularly if it involves wiring or internal components. Don’t hesitate to call a professional to take a look. It’s better to be safe than sorry—and potentially cause more problems while trying to solve the original issue.
Testing your Marantec motor unit doesn’t need to be a daunting task, especially when you break it down into simple steps. By understanding your machine, gathering a few basic tools, and following a straightforward testing process, you can diagnose and potentially fix many issues that may arise. Remember, your garage door opener is there to make your life easier and safer. Keeping it in top condition is worth the small investment of your time. So, the next time you face a garage door hiccup, you’ll be equipped with the knowledge to address it head-on. Happy testing!