Testing your LiftMaster remote is pretty straightforward, but it’s not always clear what to check or how to do it. Think of your remote as a bridge connecting you to your garage door opener. If that bridge has a few holes in it, it won’t work as smoothly. So, let’s put on our thinking caps and dive into how to ensure your LiftMaster remote is ready to do its job.
Understanding LiftMaster Remotes
LiftMaster remotes are designed to make your life easier by allowing you to open or close your garage door with just the touch of a button. There are a couple of different types you might encounter, including single-button remotes and multi-button models that can control multiple doors. Each remote is paired with a specific garage door opener, so understanding how yours works is the first step.
Most LiftMaster remotes use radio frequency to communicate with the opener. When you press a button, the remote sends a specific code to the opener. If everything is functioning correctly, the door responds by opening or closing. If you’re having issues, you might be wondering whether it’s the remote or the opener causing the trouble.
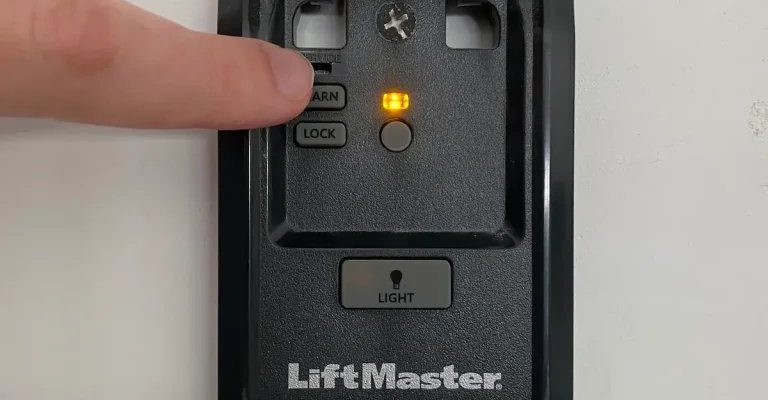
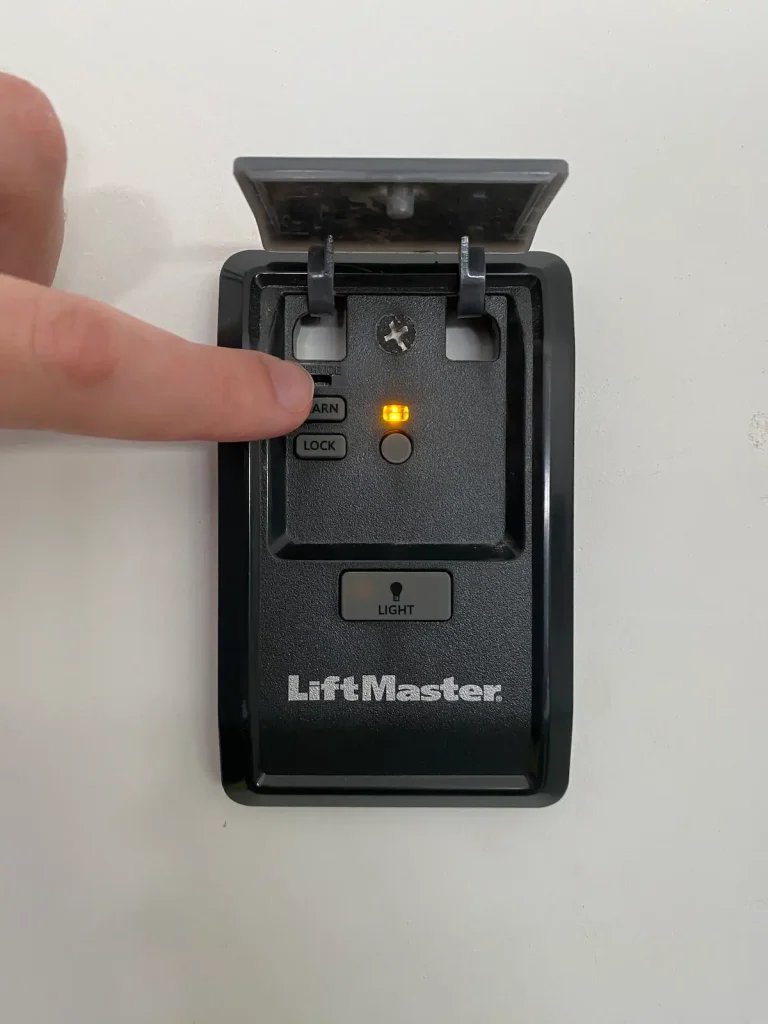
The good news? Most LiftMaster remotes let you know when something’s off. If the remote is working, you’ll typically see a small light flash when you press a button, indicating that it’s trying to communicate with the garage door opener. If there’s no light, it’s time to investigate.
Gathering Your Tools
Before you jump into testing your LiftMaster remote, you’ll want a few tools handy. Fortunately, this isn’t a complex operation—no advanced tools are required! Here’s what you’ll need:
- A new battery: If your remote needs to be changed, having a new battery on hand will save you time.
- Test equipment (optional): If you have a multimeter, it can help confirm battery functionality, but it’s not a necessity.
- Your garage door opener: You’ll want to ensure it’s plugged in and positioned where it can receive the signal from your remote.
Getting these materials ready creates a smooth testing experience. You might feel like a tech wizard preparing for a big project, armed with everything needed to conquer any issue!
Testing the Battery
The battery is usually the first suspect when your LiftMaster remote starts acting up. Dead batteries are all too common and can lead to a lot of confusion. Here’s how to check if your battery is the culprit:
1. Open the remote: Start by prying open the back cover carefully, usually with your fingers or a small flathead screwdriver. Take care not to break the case.
2. Remove the battery: Take out the old battery gently. If it’s leaking or looks corroded, replace it immediately, as this could cause further damage.
3. Test it: If you have a multimeter, select the proper setting and touch the probes to the battery terminals. A functioning battery should show at least 1.5 volts for most remotes. If you don’t have a multimeter, try inserting a fresh battery and see if the remote starts working again. It’s almost like a magic spell!
Once you’ve replaced the battery, press a button. If that nifty light flashes, you’re back in business!
Checking for Interference
Interference can be a sneaky culprit when it comes to your LiftMaster remote not working. Your garage door opener uses radio frequencies that can sometimes clash with neighboring devices—like your Wi-Fi router, microwaves, or even nearby garage door openers.
Here’s how to troubleshoot for interference:
1. Move away from other devices: Stand several feet away from appliances like wireless routers or cordless phones, as they might mess with the signals your remote relies on.
2. Test in different locations: Move closer to your garage door opener and press the button. If it works only when you’re nearby, you’ve likely identified interference.
3. Check for physical barriers: Things like metal objects or thick walls can also interfere. If possible, try to eliminate these barriers by adjusting your opener’s location.
By learning about interference, it’ll be easier to spot when other factors are at play. It’s like knowing how weather can affect radio signals—something you can control!
Pairing Your Remote and Opener
If you’ve changed batteries and minimized interference but still have problems, it may be time to re-pair your LiftMaster remote with your garage door opener. This is often needed after changing batteries or if the remote has been unused for a while.
Here’s how you can do that:
1. Locate the learn button: This small button is usually found on the back of the garage door opener’s motor. You might need a ladder to reach it.
2. Press it: When you press this button, a light will usually flash on the opener indicating it’s in learn mode. You’ll have about 30 seconds to perform the next steps.
3. Press the remote button: While the learn light is still flashing, press and hold the button on your LiftMaster remote that you want to program. Wait for the opener’s lights to blink or hear two clicks—this indicates successful pairing.
If all goes well, give your remote another test. Ideally, you’ll see that garage door responding like it’s ready for action.
Resetting Your LiftMaster Remote
If you’re still facing issues, resetting your LiftMaster remote can sometimes breathe new life into it. Here’s how to do it:
1. Remove the battery: Take out the battery from the remote and press all the buttons for about 30 seconds to clear any remaining memory.
2. Reinstall the battery: After letting it sit, reinsert the battery, ensuring it’s placed correctly.
3. Try pairing again: Go through the pairing process mentioned earlier. This often clears up any quirks that were causing problems.
Resetting can feel a bit like performing a restart on your computer—sometimes, it just needs a moment to clear its head!
Alternatives to LiftMaster Remotes
If you’ve tried everything and your LiftMaster remote still isn’t working, you might consider alternatives. Universal remotes are an option and can be compatible with various brands, including LiftMaster. Just make sure they’re designed to work with your specific model.
However, for a seamless experience, sticking with OEM (original equipment manufacturer) remotes is the way to go. These are designed specifically for your system, ensuring compatibility and functionality.
At the end of the day, whether you go for brand or universal, understanding your needs helps in picking a remote that suits your lifestyle.
Final Thoughts
Testing your LiftMaster remote doesn’t have to be overly complicated. Just remember to check the battery first, look for any pesky interference, and be ready to pair or reset if necessary. Doing these checks can save you from the headaches of miscommunication between your remote and garage door opener.
Don’t let technology hold you hostage; instead, think of your LiftMaster remote as your friendly assistant to a simpler life. With just a little bit of troubleshooting, you’ll be on your way to a garage that responds like a dream, making those frantic moments a thing of the past.
Now, how about putting those skills to the test and getting your remote back in tip-top shape? Happy testing!