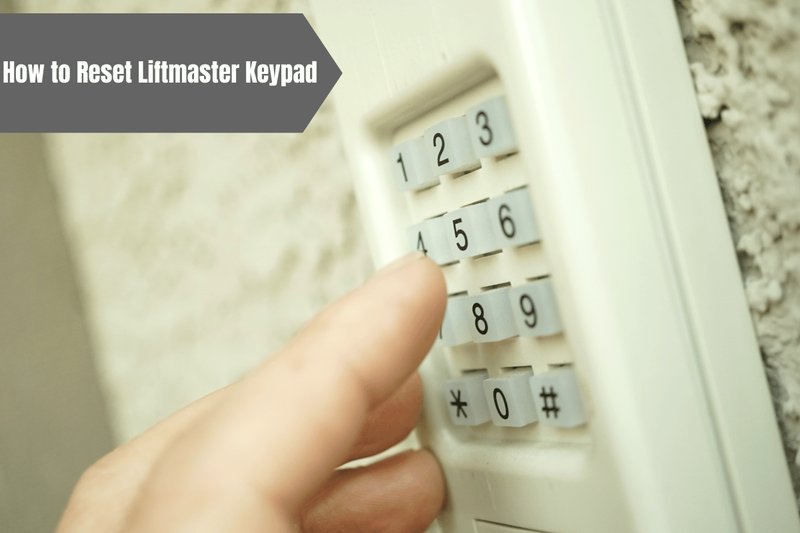
LiftMaster keypads are popular because they offer convenience and security, letting you enter your garage without fumbling for your remote. But just like batteries in a flashlight, sometimes keypads can run into issues. You might be wondering how to effectively test if it’s working or if it’s time to make a call to customer support. Let’s dive into the nitty-gritty of it and get your keypad back in action.
Why Testing Your LiftMaster Keypad Matters
First off, testing your keypad is essential for safety and convenience. A malfunctioning keypad can mean being locked out of your garage or, worse, leaving it open unintentionally. Imagine having your car or other valuables exposed and vulnerable! Regularly checking your keypad ensures you avoid inconvenience and keeps your belongings safe.
When it comes to reliability, think of your LiftMaster keypad as a bridge between you and your garage. If that bridge is shaky, you might hesitate to use it. Another reason to test your keypad is to maintain functionality. Keypads can fail for various reasons—everything from low batteries to electronic glitches, and knowing how to check for problems can save you time and potential headaches later on.
Gathering Your Tools
Before you start testing your LiftMaster keypad, you’ll need a few simple tools to make the process smoother. This isn’t rocket science, but it pays to be prepared. Here’s a quick list of what you might need:
- A ladder: If your keypad is installed high up, a ladder will get you easy access.
- A multimeter: This tool is handy if you need to check the voltage of the keypad’s batteries.
- A new battery: Keep a spare battery on hand, just in case.
Once you have these tools ready, it’s time to get started! Remember to keep your phone nearby if you need to look up any further instructions or even reach customer support if things get tricky.
Initial Battery Check
Your first step in testing the LiftMaster keypad is checking the battery. It might sound simple, but you’d be amazed how often folks skip this step. If the keypad isn’t lighting up or responding, low batteries could be the culprit. Here’s how to check:
1. Remove the keypad cover: Use a small screwdriver to gently pop off the cover.
2. Examine the battery: If your keypad uses AA or AAA batteries, check for any signs of corrosion or leakage.
3. Swap the battery out: Even if it appears fine, it can’t hurt to replace it with a new one—better safe than sorry!
If your keypad springs back to life, you’ve solved the problem! If not, don’t worry; there’s more to explore.
Resetting the Keypad
Sometimes, all a keypad needs is a reset. Think of it like rebooting your computer—it clears out any glitches. To reset your LiftMaster keypad:
1. Unplug the power: If your keypad is hardwired, switch off the power.
2. Remove the batteries: Let it sit for a minute for a complete reset.
3. Reinstall the batteries: This gives all electronic components a fresh start.
Once you’ve reset your keypad, try entering your code again. If it works, great! If not, we’ve still got a few more options to dive into.
Testing the Keypad’s Functionality
Next, let’s test if your keypad’s working correctly after replacing the battery or resetting it. Grab your phone and follow these steps:
1. Stand within range: Make sure you’re close enough to the garage door to send a strong signal.
2. Input your code: Enter the code you’ve set up, ensuring you’re pressing each button firmly.
3. Watch for lights: There should be a light indicator that shows if the keypad received your input.
If the door opens, congrats! If not, it might be time to explore further.
Checking for Wireless Interference
Sometimes, your LiftMaster keypad might struggle with wireless interference from other devices. This can happen if you live in a cluttered neighborhood filled with radios, microwaves, or even nearby Wi-Fi networks. Here are a few things you can do:
1. Check for physical barriers: Ensure nothing is blocking the keypad or the door’s sensors.
2. Relocate nearby electronics: If there are any devices close to the keypad that can interfere with the signal, try moving them.
After you’ve done this, try entering your code yet again. This could be the simple fix your keypad needs!
When All Else Fails: Common Troubleshooting Tips
If you’ve gone through all the previous steps and your LiftMaster keypad still won’t work, don’t panic! Here are some additional steps to consider:
1. Check wiring connections: If you’re comfortable, open up the keypad to ensure all wires are properly connected.
2. Update the firmware: Some models allow for firmware updates. Check the manufacturer’s website for instructions.
3. Reach out for help: Don’t hesitate to call customer support if troubleshooting on your own leaves you at a standstill!
Using these tips can ensure that your keypad is operating at optimal levels.
Final Thoughts on Testing Your LiftMaster Keypad
Testing your LiftMaster keypad doesn’t have to be a daunting task. With a little preparation and some simple steps, you can ensure your keypad is functional and reliable. Just think of it as a quick tune-up—worth the effort for the peace of mind it brings.
By understanding how to check for battery issues, reset your device, and troubleshoot any interference, you’re setting yourself up for success. Remember, regular testing can prevent more significant headaches down the line, keeping your garage accessible and secure.
