So, how do you go about testing your Liftmaster garage door opener? It’s easier than you might think! In this guide, I’ll break it down step-by-step, using everyday language. Whether you’re a DIY enthusiast or just someone who wants to make sure your garage door opener is in tip-top shape, this article has got you covered.
Let’s dive in and find out how to test your Liftmaster garage door opener, ensuring it’s working safely and effectively.
Understanding Your Liftmaster Garage Door Opener
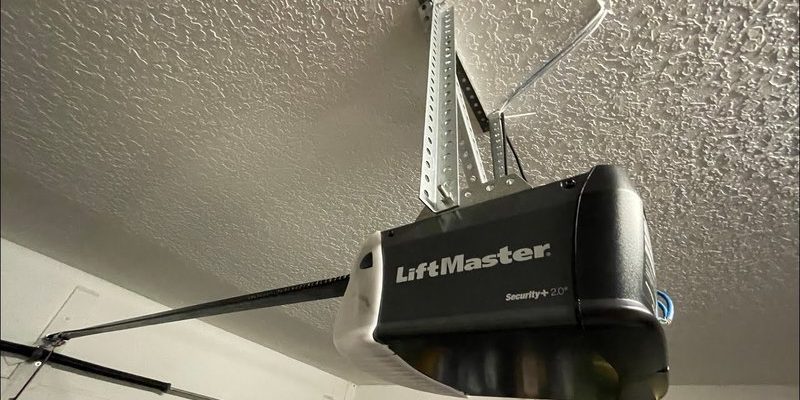
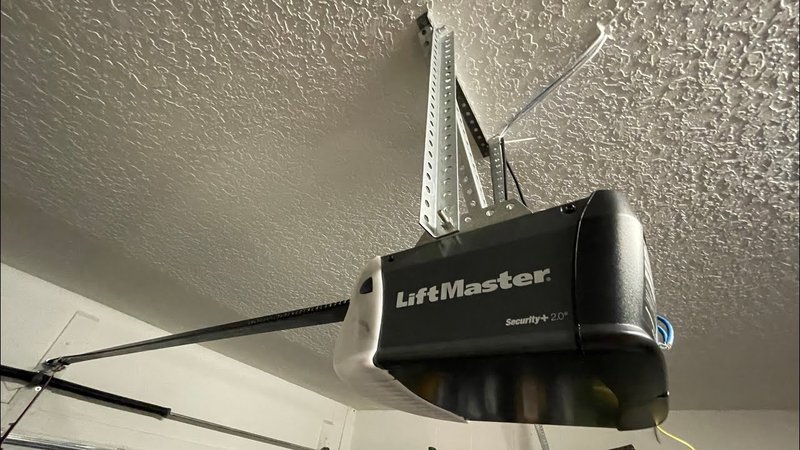
Before we jump into the testing process, it’s important to familiarize yourself with the components of your Liftmaster garage door opener. Your opener is typically equipped with a motor, remote control, and safety sensors, among other parts. Each of these components plays a vital role in how your opener operates.
First, consider the remote control. It’s often the lifeline to your garage, allowing you to open and close the door without getting out of your car. If it’s not working, you might think the opener itself is at fault. Next, you’ve got the safety sensors. These nifty little devices prevent the door from closing if there’s something—or someone—blocking its path.
Getting to know these features will help you pinpoint any issues when testing. Here’s the point: understanding how your system works sets you up for success when you need to troubleshoot any problems.
Gathering Your Tools
Testing your Liftmaster garage door opener requires some basic tools, but don’t worry; you probably already have them around your home. Here’s a quick list of what you’ll need:
- A compatible Liftmaster remote control
- Step ladder (for visibility if needed)
- Battery (if your remote needs it)
- Measuring tape (to check the height of the door)
Before you start testing, check the batteries in your remote. A weak battery can give a false impression that the garage door opener isn’t functioning. Simply replace the battery if needed and get ready to test the system itself. You might find that a small detail like this can make a big difference!
Testing Your Remote Control
Once you’ve gathered your tools, the first step in testing your Liftmaster garage door opener is to check the remote control. Stand a few feet away from your garage door and press the button to open or close the door. Here’s a straightforward way to do it:
1. Press the button: Either the open or close button will work, but let’s start with “open.”
2. Observe the door’s response: If the door moves smoothly, congratulations! Your remote is functioning properly.
3. Check response time: Ideally, the door should start moving within seconds of pressing the button. If it doesn’t, or if it only moves partway, there could be an issue.
If your remote isn’t working, make sure to double-check the battery again. Sometimes, even a small misalignment or a dirty contact point can cause issues. Clean the terminals with a soft cloth, which might just do the trick!
Checking the Safety Sensors
Now that you’ve tested the remote control, it’s time to check the safety sensors. These sensors are usually located near the ground on either side of the garage door frame. If they’re malfunctioning, your door might not open or close as it should, which can be a serious safety issue.
1. Inspect the sensors: Look for any visible dirt or obstructions. Sometimes, cobwebs, dirt, or leaves can block the sensors.
2. Realign if necessary: If they appear misaligned, gently adjust them until they’re facing each other properly.
3. Test the sensors: With the door closed, wave your hand in front of one sensor. The door should immediately reverse direction. This is a key safety feature, so ensure this works perfectly.
If the sensors still aren’t operating correctly, you might need to consult your user manual for troubleshooting tips or get in touch with a professional.
Testing the Garage Door Mechanism
Next up, we’ll test the actual garage door mechanism. This involves checking how the door opens and closes. Pay attention to any noises or resistance as it moves. Here’s what you should do:
1. Open the door manually: Disconnect the opener by pulling the emergency release cord (often a red cord hanging from the motor). This helps you see how smoothly it moves without the opener.
2. Check the tracks: Ensure the door moves along the tracks without any hitches. If it seems stuck or difficult to move, there could be an issue with the tracks or rollers.
3. Reattach and test: Once you’ve checked the manual movement, reattach your opener and test it again using the remote.
By doing this, you’ll also discover how well the door stays open when fully raised. If it doesn’t stay up, that points to potential issues with the springs or other parts, which should be addressed right away.
Adjusting the Opener Settings
If everything seems to be working, but the opener isn’t performing quite the way you’d like, it may need some adjusting. Most Liftmaster garage door openers have settings that control the force and travel limits of the door.
To adjust these settings:
1. Locate the adjustment screws: They’re usually found on the back of the motor unit.
2. Test the door’s travel limit: This controls how far the door opens and closes. Make small adjustments and test the door to see how it behaves each time.
3. Adjust the force settings: This tells the motor how much power to use to lift and lower the door. If the door is straining or stopping unexpectedly, increasing this setting might help.
Always refer to your owner’s manual for specific instructions on adjusting settings, so you don’t end up tweaking something you didn’t intend to.
When To Call for Help
Sometimes, despite your best efforts, the problem might be beyond a simple fix. If your Liftmaster garage door opener continues to malfunction after following these steps, it’s best to call in a professional. Here are some scenarios when you should consider professional help:
- The door doesn’t respond at all to the remote or wall switch
- You hear strange noises during operation that don’t sound normal
- The door operates erratically or reverses unexpectedly
In these situations, a technician can diagnose issues that require knowledge and tools you might not have. Regular maintenance and early intervention can save you from the more costly repairs later on.
Final Thoughts on Testing Your Liftmaster Garage Door Opener
Testing your Liftmaster garage door opener doesn’t require a degree in engineering; just a little bit of time and the willingness to dive in. By checking the remote, safety sensors, and mechanical function, you can ensure that everything operates safely and smoothly.
If you run into issues, remember that getting the right help is sometimes necessary. Regular testing not only boosts your confidence in your garage door security but keeps your day-to-day living hassle-free. Next time your garage door opener acts up, you’ll be ready to troubleshoot with ease!