Here’s the thing: most people shy away from their garage door opener’s tech side, thinking it’s overly complicated. But testing the circuit board is easier than you might think, and I’m here to walk you through it as simply as possible. With the right tools and a little patience, you can ensure everything is functioning properly. So grab your toolkit and let’s dive into how you can test that LiftMaster circuit board!
Why Testing Your Circuit Board Matters
Understanding why the circuit board is essential can help demystify the process. Think of your garage door opener like a vehicle. Just like a car won’t move if the engine is faulty, your garage door won’t budge if the circuit board is malfunctioning. The circuit board manages signals from your remote control, sensors, and even the wall switch. A failure at this hub can disrupt the entire operation.
Additionally, testing your circuit board can save you time and money. Instead of immediately calling a technician, you can pinpoint whether the issue lies with the board itself or a different component. Many problems can be solved by simply rebooting the system or replacing a small part. Spotting issues early means you can take preventive measures and avoid more costly repairs down the line.
Ultimately, being able to test your LiftMaster circuit board yourself empowers you as a homeowner. You’ll have a better grasp of how the whole system works and feel confident dealing with minor issues that may arise in the future.
Gathering Your Tools
Before you can run tests on the circuit board, getting the right tools is critical. Here’s a quick list of what you’ll need:
- Screwdriver set: Usually Phillips and flathead will cover what you need.
- Multimeter: This handy device helps measure voltage, current, and resistance.
- Safety gloves: To keep you safe from any electrical mishaps.
- User manual: Always a good idea to refer back to specifics regarding your model.
- Flashlight: Lighting is essential when working in dim spaces, especially in the garage.
Having these tools on hand will not only make the testing process easier but will also boost your confidence as you tinker with the components.
Disconnect the Power
Safety first! Before getting into the guts of your garage door opener, it’s crucial to disconnect it from the power source. This step is non-negotiable. Imagine trying to fix a running car; it’s a recipe for disaster. Here’s how to do it:
1. Unplug the unit: Find where your garage door opener is connected and simply unplug it.
2. Remove batteries: If you have a battery backup feature, make sure to remove the batteries as well.
3. Double-check: Before you touch anything, double-check that it’s not plugged in!
By taking these precautions, you’re eliminating the risk of electric shock while troubleshooting your system.
Accessing the Circuit Board
Now that you’ve ensured your safety, it’s time to access the circuit board. Here’s how you can do it without losing your cool:
1. Locate the cover: The circuit board is typically housed within a plastic casing of your garage door opener. Use your screwdriver to remove the screws holding the cover in place.
2. Lift off the cover: Gently take the cover off, making sure not to tug too hard or bend any wires.
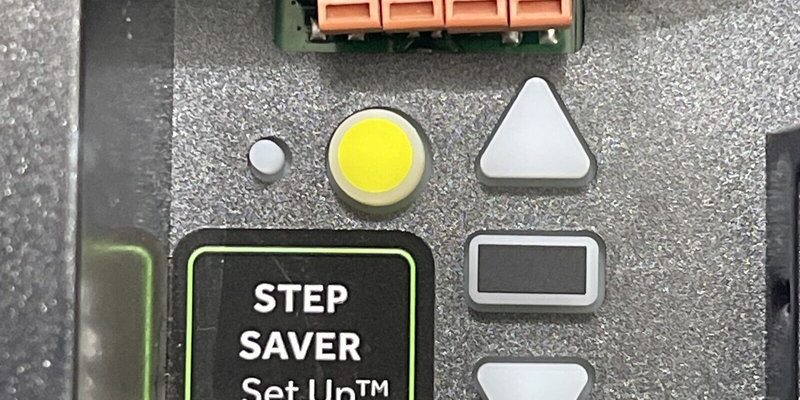
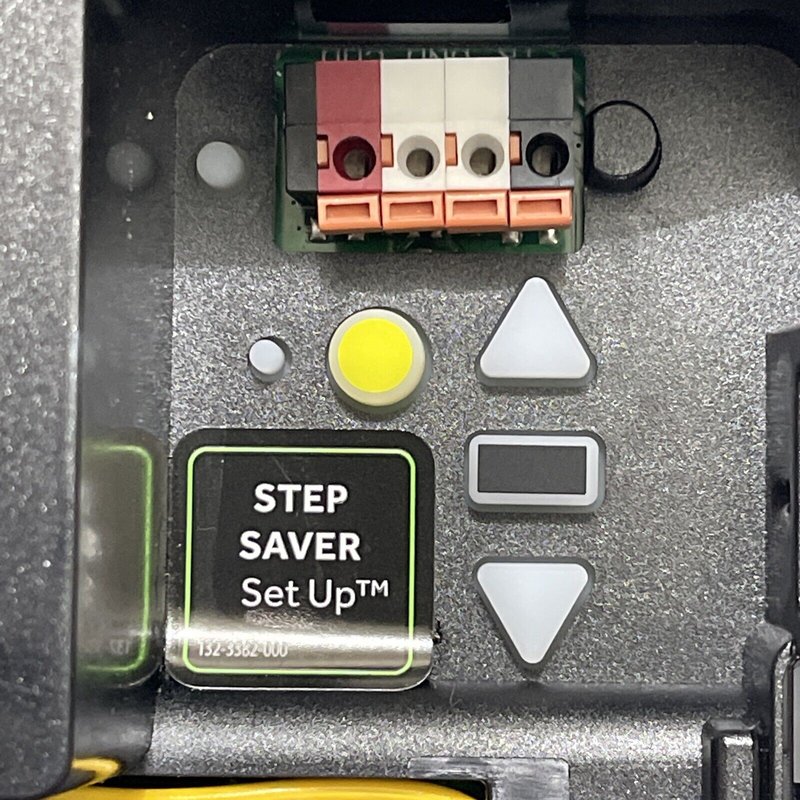
3. Observe the board: Once you have access, visually inspect the circuit board. Look for any signs of burns, frayed wires, or loose connections which could indicate problems.
Once you’re staring at the circuit board, you’ll see why it’s so important. It’s packed with components interacting with one another—almost like a tiny community!
Using Your Multimeter for Testing
Now, let’s get to the juicy part—testing! A multimeter is your best friend here. It allows you to check for continuity, voltage, and resistance. Here’s how to do it:
1. Set up your multimeter: Adjust it to measure voltage (usually the V setting).
2. Check power supply: Place the probes on the appropriate terminals. You should get a reading; if not, the board could be the culprit.
3. Test continuity: Switch the multimeter to the continuity setting and check various connections. A beep means that the circuit is complete; silence indicates a problem.
By using this method, you’ll know if the circuit board is getting the power it needs to function properly.
Reassembling Your Garage Door Opener
Once you’ve tested everything, it’s time to put things back together. Here’s a simple guide on reassembling the unit:
1. Secure the circuit board: If everything looks good, carefully place the circuit board back into its casing.
2. Replace the cover: Align the cover properly and secure it with screws. Make sure everything fits snugly.
3. Reconnect power: Plug it back into the outlet and reinsert any batteries you removed earlier.
Make sure to take your time here—no rushing! Proper assembly can prevent future issues and keep your system running smoothly.
Common Issues with LiftMaster Circuit Boards
Understanding typical problems can save you time when assessing your LiftMaster circuit board. Here are a few things to keep an eye out for:
- Burned-out components: Looks like little black spots on the board—they can usually signal a problem.
- Frayed wires: Inspect the wiring for any damage as this can disrupt power flow.
- Corrosion: If moisture gets in, rust or corrosion can form, impacting the board’s performance.
Being aware of these common issues can help you troubleshoot more efficiently and help in making informed decisions about whether to repair or replace your circuit board.
When to Call a Professional
Not every issue can be solved DIY-style, and that’s totally okay. If after your tests you find things still aren’t working, it might be time to call in a pro. Consider reaching out to a technician if you notice:
– Extensive damage to the wires or connections.
– Components that are hard to replace.
– Repeated failures after attempting fixes.
Hiring a professional can save you headaches down the line, and often they’ll have the tools and expertise to address issues you might not have even considered.
In conclusion, being able to test your LiftMaster circuit board gives you insight into your garage door opener’s health. Not only can it save time and money, but it also empowers you as a homeowner. So, the next time you run into an issue, hopefully, you’ll feel informed and ready to tackle it. Remember, each step you take brings you closer to maintaining your garage door system successfully. You’ve got this!