Now, if you’re not quite sure what a Genie control panel looks like, it’s usually a small box mounted near your garage door. It typically has buttons for controlling the door and maybe even a display for showing error codes. Realizing that this little device plays a big part in the functionality of your garage door is essential, so let’s roll up our sleeves and dive in!
What You Need Before You Start
Before testing your Genie control panel, gather a few tools to make the process easier. You won’t need much, just some common items you may already have at home. Here’s what you need:
- Multimeter: This handy tool will help you test for power at the control panel.
- Replacement batteries: If your panel uses batteries, having fresh ones on hand is crucial.
- Screwdriver: You might need this if you need to remove the panel from the wall.
Having these items ready will ensure a smooth testing process. Trust me, it’s a lot easier to tackle the issue when you don’t have to run to the hardware store halfway through the job!
Identifying the Power Source
The first step in testing your Genie control panel is to check if it’s getting power. Without power, the panel won’t work, and you could easily mistake it for a faulty device. Here’s how to go about this:
1. Locate the Power Supply: Find where your Genie control panel gets its power. It could be plugged into an outlet or wired directly to the power supply.
2. Use Your Multimeter: Set your multimeter to the voltage setting and check the outlet or wires. If you get a reading, you’re good. If not, you may need to check your circuit breaker or the outlet itself.
3. Visual Inspection: Check for frayed wires or loose connections. Sometimes, a simple visual check can reveal issues that may not show up with your multimeter.
You might be wondering why this matters. If there’s no power, fixing the control panel won’t help you open your garage door!
Testing the Control Functions
Next up, let’s test the functions of the control panel itself. This step helps you figure out if the buttons are working properly. Here’s what to do:
1. Press Each Button: Go ahead and press every button on the control panel. Observe any action or response. If the door doesn’t open or close when you press the correct button, it indicates a problem.
2. Listen for Feedback: Listen for sounds, such as clicking or beeping. That feedback can tell you a lot about what’s going on. If you hear nothing, it’s definitely a red flag.
3. Check the Visuals: If your panel has a display, read any error codes being shown. These codes often provide clues to the specific issues you might be facing.
In some cases, simply testing these basic functions—pressing buttons, listening for sounds, and reading error codes—can help you diagnose basic issues or verify that the panel is indeed working.
Power Cycling the Control Panel
If the control panel is unresponsive, a quick fix might be power cycling it. This method can reset the control panel and potentially solve any minor glitches. Here’s how to do it:
1. Unplug the Unit: If your control panel is plugged in, start by unplugging it. If it’s hardwired, just turn off the circuit breaker.
2. Wait for 30 Seconds: Yes, it sounds simple, but this step is crucial. Let it sit for half a minute to clear any temporary glitches.
3. Plug It Back In: Reconnect the power or flip the circuit breaker back on.
After power cycling, head back to the control panel and see if the buttons respond. Sometimes, this straightforward reset can make a world of difference!
Inspecting the Control Panel for Damage
While testing the control panel, it’s essential to inspect it visually for any signs of damage. Physical problems can often lead to malfunctioning, so don’t skip this step. Here’s what to look for:
1. Cracks or Breakages: A cracked control panel can hinder functionality. If you see physical damage, it may be time for a replacement.
2. Corrosion or Rust: Check the battery compartment. Corrosion from leaking batteries can cause serious problems, and you might need to clean it up or replace parts.
3. Loose Connections: Sometimes, the wires or connections can become loose. A firm push or tightening may solve the problem.
A quick inspection can save you time and effort in the long run. By examining your control panel, you may discover why it isn’t functioning as it should.
Pairing the Remote to the Control Panel
If you’ve determined that your control panel is working but your remote isn’t responding, it might be time to pair the two again. Over time, they can lose sync—much like friends who drift apart! Here’s how to get them back in sync:
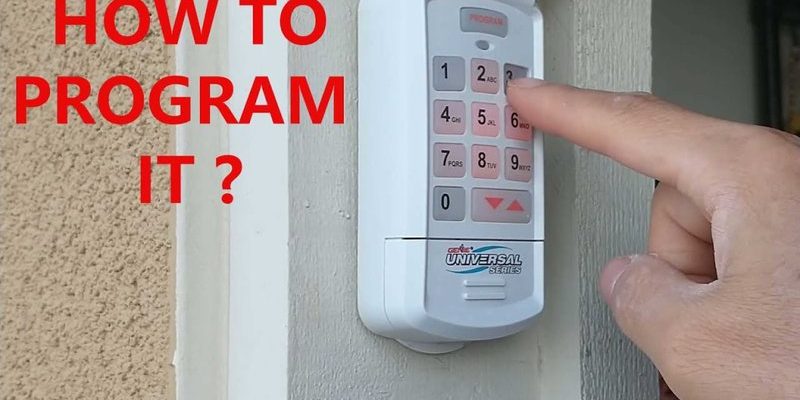
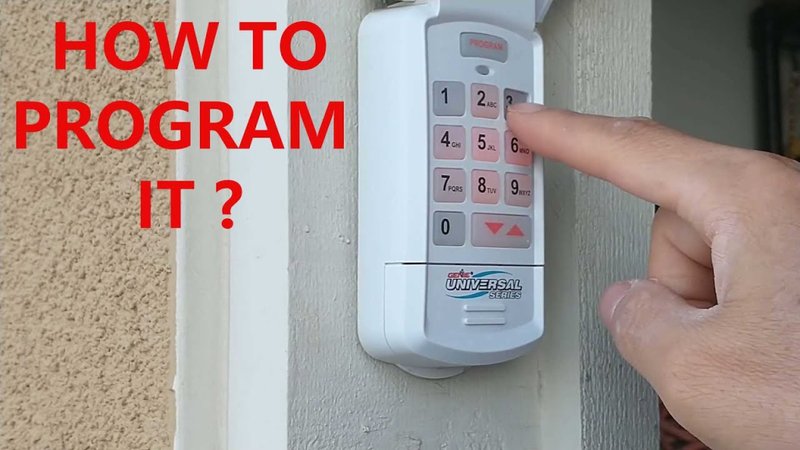
1. Locate the Learn Button: On your Genie control panel, find the “Learn” button. It’s often a small, colored button located near where the wires connect.
2. Press the Learn Button: Press the button until the indicator light turns on. Wait for it to start blinking before proceeding.
3. Activate Your Remote: Press the button on your remote. If done correctly, the light on the control panel should blink, indicating a successful pairing.
Getting your remote and control panel to communicate again might require a bit of patience, but it’s typically straightforward. Once paired, you should have full control of your garage door again.
Troubleshooting Common Control Panel Issues
Even after all these tests, you might still encounter issues. Here are some common control panel problems and their solutions:
1. Non-Responsive Panel: If it doesn’t respond at all, double-check the power source again. Replace batteries if necessary.
2. Incorrect Code Display: This could mean your control panel has encountered a fault. Refer to the manual for troubleshooting specific error codes.
3. Random Behavior: If the panel activates on its own or has erratic behavior, it might be time to reset it or check for electrical issues.
Knowing these common issues helps you feel more prepared and less stressed when problems arise. Troubleshooting doesn’t have to be overwhelming with some basic knowledge in your toolbox!
In summary, testing your Genie control panel is essential for diagnosing issues with your garage door opener. From ensuring it has power to checking for damage and pairing your remote, following these steps allows you to stay in control of your garage. Remember, taking a little time to troubleshoot can pay off big in the long run. So go ahead and tackle that control panel—your garage door will thank you!