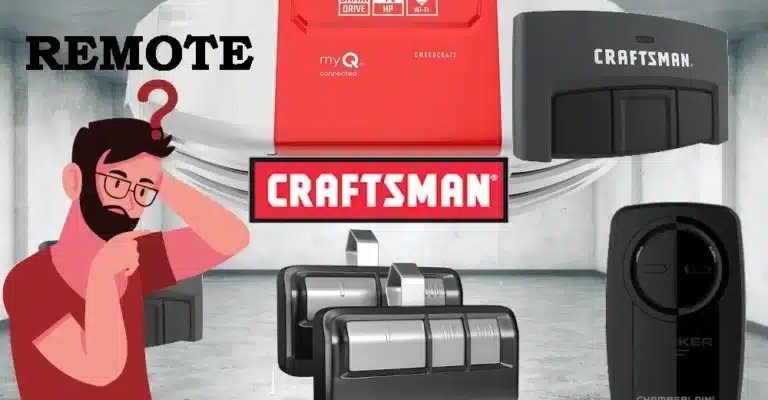
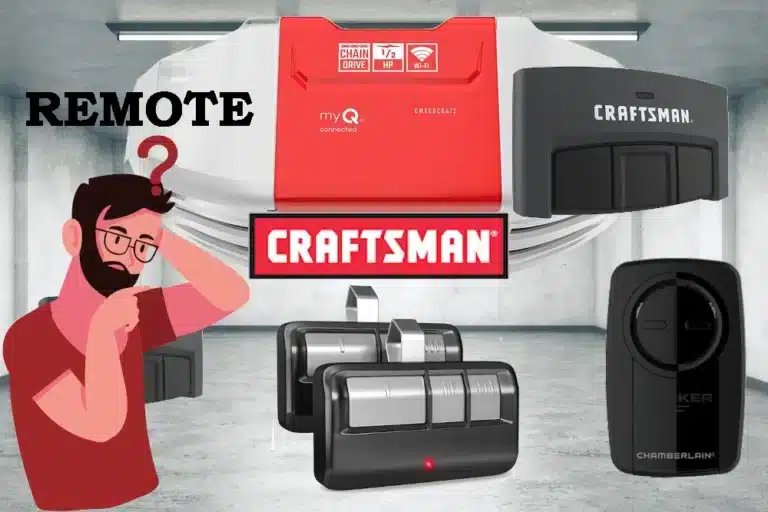
When it comes to Craftsman remotes, these devices are designed to simplify your life—opening up that garage door with just a click. But like any tool, sometimes they need a little troubleshooting. Let’s dive in and break down exactly how to test your Craftsman remote so you can quickly pinpoint any issues.
Understanding the Basics of Your Craftsman Remote
Before jumping into testing, it’s helpful to know what you’re working with. Craftsman offers several remote types, most commonly the universal remotes and the specific model remotes. Think of universal remotes as that friend who gets along with everyone—they can connect with several models of Craftsman garage door openers. The specific remotes are like your best buddy from childhood, dedicated to a particular model.
Key components of your Craftsman remote typically include a battery compartment, LED indicator lights, and buttons for various functions. Each of these elements plays a crucial role in keeping the operation seamless. So when you see that light flickering or your door not responding, it’s a clear sign that it’s testing time!
Gathering Your Tools
You don’t need much to get started, but having the right tools on hand can make testing your Craftsman remote easier than pie. Here’s a quick list of what you might need:
- New Batteries: Almost all remotes function on batteries. Once they start losing power, the response delays or stops altogether.
- Garage Door Opener Manual: This has all the specifics on troubleshooting and might just save you some headaches.
- Smartphone or Camera: This can help you test the infrared signal, as we’ll see shortly.
Having these items handy allows you to tackle any testing and potential issues efficiently.
Changing the Batteries in Your Craftsman Remote
First things first: let’s tackle the most common problem—dead batteries. It’s like forgetting to charge your phone before heading out; you definitely need that juice! To change the batteries:
1. Open the battery compartment, which is usually located on the back of the remote.
2. Remove the old batteries and replace them with fresh ones. Pay attention to the + and – symbols to ensure they’re installed correctly.
3. Close the battery cover securely.
Now, give it a whirl! This simple step fixes a lot of remote issues, and you’d be surprised how often it’s the culprit.
Testing the Remote Signal
Once you’ve got new batteries in place, it’s time to test the signal from your Craftsman remote. Here’s a neat little trick: use your smartphone or a digital camera. When you press a button on the remote, check the camera’s screen. If you see a light flashing from the remote, it’s signaling properly.
Here’s how to do it:
1. Turn on your smartphone camera.
2. Point the remote towards the camera.
3. Press any button on the remote.
If you notice a flashing light on your camera screen, congratulations! Your remote is sending a signal. If not, it might be time for a deeper dive into troubleshooting.
Syncing Your Craftsman Remote with the Garage Door Opener
Sometimes, the issue lies in syncing rather than the remote itself. If your remote isn’t paired correctly with your garage door opener, it’s like trying to tune in to a radio station that isn’t broadcasting. Here’s how to sync it:
1. Find the “Learn” button: This is typically located on the garage door opener unit. You might need a ladder to get to it.
2. Press the Learn button: Hold it for a second until the indicator light turns on.
3. Press the button on your remote: Within 30 seconds, press the button you plan to use for your garage door.
If done right, you should notice the garage door moving or hear a click. If not, repeat this process—sometimes, it takes patience to get them paired!
Troubleshooting Common Issues
Even after testing the remote, issues might pop up. Here are a few common problems and how to tackle them:
- No response from the garage door: This could indicate a faulty remote or an issue with the garage door opener itself.
- Remote works intermittently: Check the battery contacts for corrosion or dirt, and clean them if needed.
- Remote doesn’t sync: If it’s the first time you’re trying to connect, make sure you’re pressing the right buttons in the correct order.
Being methodical and patient is key in troubleshooting. Often, it’s the simplest things that get overlooked.
Alternative Solutions: Using a Universal Remote
If all else fails, you might consider using a universal remote. These handy devices can control multiple garage door openers, helping you avoid the hassle of hunting for the original remote. They work similarly to Craftsman remotes but give you a bit more flexibility.
When selecting a universal remote, look for models that explicitly state compatibility with Craftsman garage door openers. The setup typically involves similar steps: change the batteries, sync with the door opener, and you’re good to go!
Final Thoughts on Testing Your Craftsman Remote
Testing your Craftsman remote isn’t just about pushing buttons—it’s an essential part of ensuring your garage door operates smoothly. From changing batteries to syncing and troubleshooting issues, a little know-how can go a long way.
Remember, like any gadget, your remote needs care and occasionally a little tuning to keep performing at its best. So, whether you’re resolving issues or simply checking in on your remote’s health, you’re now equipped with a solid approach. Give it a try, and may all your garage door openings be smooth and effortless!