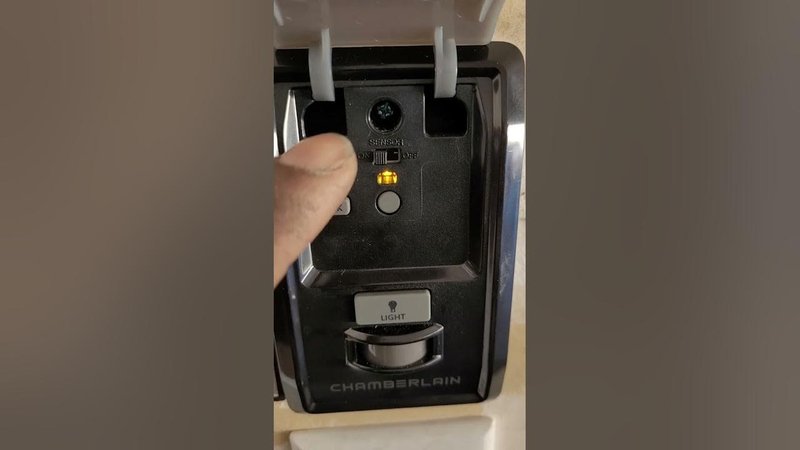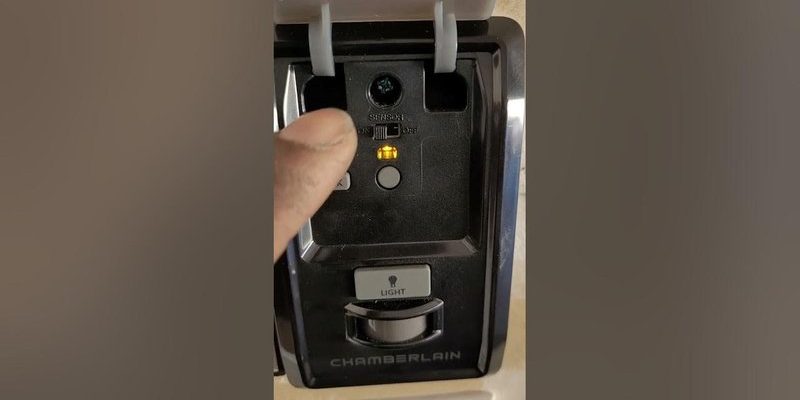
The Chamberlain brand is well-known for its reliability, but like any technology, things can sometimes go awry. If you’re using a Chamberlain wall button, knowing how to test it can save you time and potentially costly repairs. This article will walk you through the testing process, making it as simple as possible, whether you’re a newbie or just looking for a refresher.
Understanding the Basics of Your Chamberlain Wall Button
Before diving into testing, let’s clarify what the wall button actually does. The wall button is typically mounted inside your garage or near the entrance to your home. It’s designed to control your garage door opener with a simple press. You can think of it as a light switch, only for your garage door. When you push it, it sends a signal to the garage door opener to either open or close the door. If it’s not communicating properly, you’ll need to troubleshoot to find out why.
It’s also important to know how the wall button connects to your system. Most Chamberlain wall buttons use a wired connection to the garage door opener. This means that if there’s a break in the wire or if the button itself is malfunctioning, the signal won’t transmit. On the flip side, some newer models may come with a wireless option. Knowing this distinction is crucial since your approach to testing might differ slightly depending on the type you have.
Gathering Your Tools and Materials
Testing your Chamberlain wall button doesn’t require a toolbox full of gadgets, but having a few essential items on hand can make the process smoother. Here’s what you’ll need:
- Screwdriver: Depending on your button’s installation, you might need a screwdriver to access it.
- Multimeter: This tool measures voltage and continuity. It’s invaluable for ensuring your wall button is functional.
- New Batteries: If your wall button is wireless, a fresh set of batteries may be necessary.
Having these tools will help you troubleshoot effectively. You don’t need to be a tech expert—just a bit of patience and a willingness to learn. If something seems off during your tests, take a moment to review your findings before moving to the next step.
Steps to Test Your Chamberlain Wall Button
Now that you understand the basics and have your tools ready, it’s time to test your wall button. Don’t worry; I’ll break it down step-by-step for you.
Step 1: Inspect the Wall Button
First things first, give the wall button a thorough visual check. Look for any signs of wear, damage, or loose wiring. If you see anything unusual, such as frayed wires or a cracked button, that could be the source of your issue. If everything looks good, let’s move on.
Step 2: Check the Power Supply
Next, you’ll want to make sure that your wall button is actually receiving power, especially if it’s hardwired. To do this, carefully unscrew the button from the wall and disconnect it from the wires. If you’re using a multimeter, set it to measure AC voltage.
– Place one probe on the power wire and the other on the neutral wire.
– If your readings show about 24V, you’re in business. No reading? You may have an issue with the power supply.
If you have a battery-operated wall button, simply replace the batteries and see if that solves your problem.
Step 3: Testing Continuity
Now it’s time to see if the wall button is actually sending a signal. This is where the multimeter comes into play again. Leave the wires disconnected from the button and set your multimeter to continuity testing mode (it’s usually a sound symbol).
Touch one probe to each terminal on the wall button. If you hear a beep, that means the button is functioning properly. If not, it’s likely the button has failed, and you’ll need to replace it.
Troubleshooting Common Wall Button Issues
Sometimes, things might not go as smoothly as we hope during testing. Here are a few common issues you might encounter and how to handle them.
- No Power: If there’s no power to the wall button, check the circuit breaker. It might have tripped, especially if you’ve been using high-demand appliances in the garage.
- Button Doesn’t Respond: If the button physically appears fine but simply doesn’t trigger the door, it might be time to consider if it’s time for a replacement.
- Wiring Problems: If you notice any frayed or corroded wires, you’ll need to replace them. Always ensure your safety first and switch off power to the outlet before doing any repairs.
Remember, troubleshooting is often about following the clues. Don’t jump to conclusions; be methodical in your approach.
Consider Upgrading to a New Wall Button
If after all this your wall button is still unresponsive, you might want to consider upgrading to a new one. Chamberlain offers various models, some with enhanced features like backlighting or compatibility with smart home systems.
Upgrading gives you the chance to improve your garage door experience. Imagine being able to control your garage door from your smartphone or having a button that lights up in the dark. These features not only add convenience but could also enhance your home’s value.
Testing your Chamberlain wall button may seem like a daunting task, but it can be straightforward with the right approach. By understanding how your wall button works, gathering the right tools, and following a few simple steps, you can diagnose and potentially resolve any issues that arise.
You’ll save time and ensure that your garage door functions the way it’s meant to—smoothly and reliably. Remember, a little maintenance goes a long way, so don’t hesitate to keep an eye on this important part of your garage door system. Now that you’re equipped with the knowledge to test your wall button, you can tackle any issues that come your way. Happy troubleshooting!
