The Chamberlain Smart Hub connects your garage door opener to your smart devices. It’s that neat little gadget that bridges the gap between old-school mechanics and modern technology. With it, you can control your garage door from your smartphone, which is not just cool—it’s super convenient. But how do you know if it’s doing its job? Let’s dive in and explore how to test your Chamberlain Smart Hub for proper functionality.
Understanding the Chamberlain Smart Hub
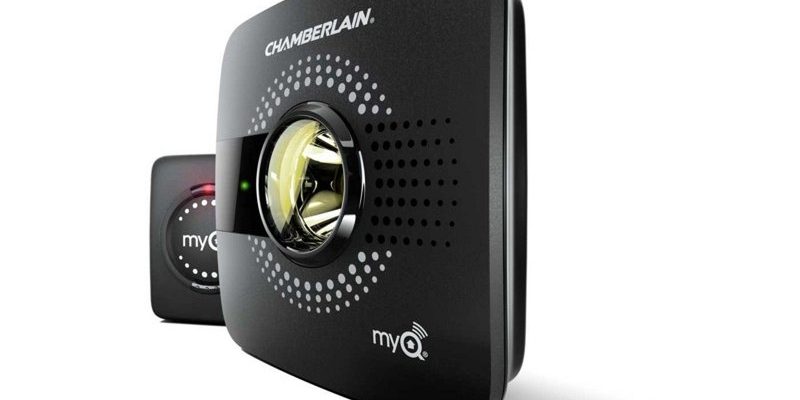
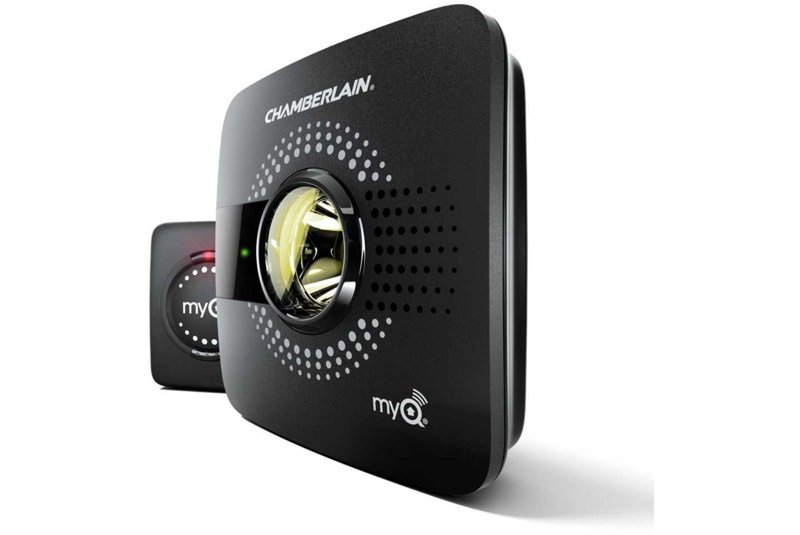
Before diving into testing methods, it’s essential to understand what the Chamberlain Smart Hub actually does. This hub acts as the central command for your garage door opener. Think of it as the brain that allows your phone to “talk” to your garage door. When you press a button on your app, the Smart Hub interprets that request and sends the right signals to open or close the door.
The Smart Hub also connects to your home Wi-Fi network, which means that as long as your internet is up and running, you can control your garage door from anywhere. The convenience is top-notch, but like any technology, it can run into hiccups. Testing the hub ensures that it’s connected correctly and functioning as it should.
Gathering the Right Tools
To start testing your Chamberlain Smart Hub, you’ll need a few basic tools. Honestly, you don’t need a toolbox full of gadgets, just a couple of simple things:
- Smartphone: This is your primary tool for testing. Make sure you have the Chamberlain app installed and updated.
- Wi-Fi connection: Ensure your home Wi-Fi is working properly, as the hub relies on it to function.
- The Smart Hub unit: Have it nearby, so you can check its lights and settings.
With these tools in hand, you’re ready to check if everything is in order. If any of these items are missing, you might hit some bumps in the road.
Checking the Initial Setup
Before you begin testing, it’s important to make sure your Smart Hub is set up correctly. If you skipped any steps during installation, you might run into issues. One of the first things you want to do is check the LED indicators on the hub itself.
The lights on your Chamberlain Smart Hub tell you valuable information. A solid green light typically means it’s connected to Wi-Fi and operational. A flashing yellow light could indicate syncing issues. If you see red, there’s something wrong.
You might be wondering how to troubleshoot this. A quick reset can often resolve minor issues:
1. Unplug the Smart Hub.
2. Wait about 10 seconds.
3. Plug it back in.
After resetting, watch the lights change. If they return to green, you’re on the right track!
Testing the App Connection
Next up, let’s check the connection between your Smart Hub and the smartphone app. Start by launching the Chamberlain app on your device. The app should automatically recognize the Smart Hub if it’s connected to the same Wi-Fi network.
Open the app and look for an option to test the connection. Typically, tapping a button to open or close the garage door will suffice. If the door responds, congrats! Your connection is working. But if it doesn’t, make sure your Wi-Fi is strong. Maybe your home router is in the far corner of the house. Sometimes, moving closer to the router can help make the connection stronger.
If your app isn’t connecting, you might also need to check if the app needs an update. Keeping apps current can solve many connection headaches!
Testing Physical Functionality
Now, it’s time to ensure that your Chamberlain Smart Hub is functioning properly in relation to your garage door opener itself. If the hub is communicating well with your app but the garage door isn’t responding, there might be an issue with the opener rather than the hub.
Begin by testing the garage door with the remote control that came with your opener. If the door opens and closes without issue, then the problem might be isolated within the Smart Hub. However, if the door doesn’t respond to the remote either, you might be dealing with a separate issue that requires additional troubleshooting.
Testing the manual wall switch is also a smart move. If that works, and the remote does not, then checking the batteries in your remote is the next step. You’d be surprised how often a weak battery can cause problems!
Performing a Full System Reset
If you’re still facing issues after testing everything above, a full system reset may be in order. Keep in mind this will erase current settings, so it’s a last resort. You’ll need to re-link any devices afterward, so be prepared.
Here’s how to do it:
1. Unplug the Smart Hub again.
2. Press and hold the “Learn” button (usually found on the front of the hub) while plugging it back in.
3. Release the button after about 5 seconds.
You’ll notice the lights flashing as it resets. This fresh start can often solve lingering problems, restoring the hub’s ability to communicate both with your app and your garage door opener.
Final Thoughts
Testing your Chamberlain Smart Hub doesn’t have to be a stressful task. By checking its setup, confirming app connections, ensuring the opener works with your remote, and potentially doing a full reset, you can maintain smooth operation of your garage door system.
Remember, like tending to a garden, taking time to check on your Smart Hub regularly can prevent bigger issues down the line. So, keep an eye on those LED lights, and you’ll be good to go! If you ever feel stuck, reaching out to Chamberlain’s customer support or consulting the user manual can also offer guidance. Happy testing!
Originally posted 2025-02-09 22:40:14.