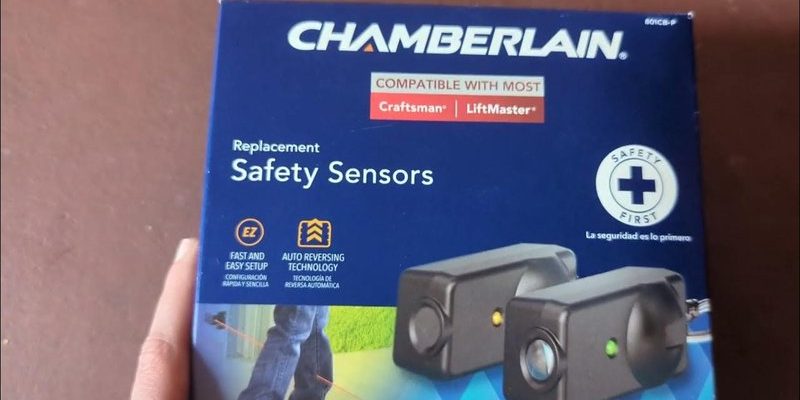
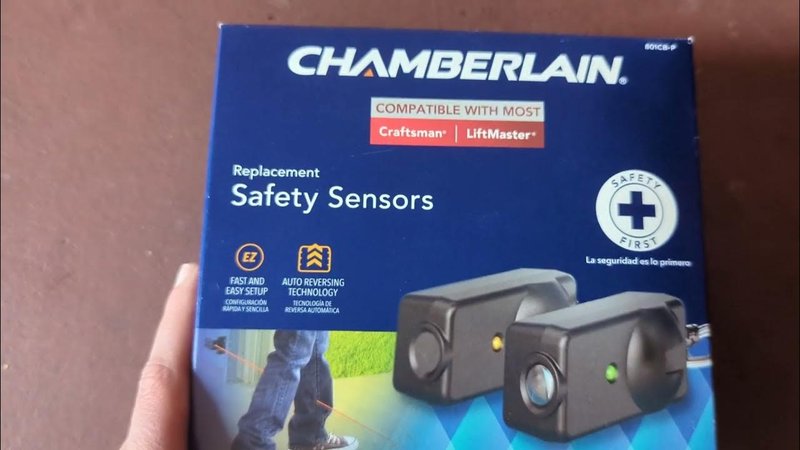
First, let’s clarify what a Chamberlain safety sensor is. These are small, eyes for your garage door opener that help ensure it only functions when it’s safe to do so. They work by creating an invisible beam of light between two sensors placed on either side of the door. If something breaks that beam, the door stops closing, preventing potential injury or damage. Now, if you’ve noticed that your garage door doesn’t open or close properly, or if the lights on the sensors aren’t illuminating, it’s time to run through some simple testing steps.
Understanding Your Chamberlain Safety Sensors
Chamberlain safety sensors consist of two pieces: the sending unit and the receiving unit. The sending unit emits a beam of infrared light across the door opening, while the receiving unit catches that beam. If anything interrupts this beam—like your kid’s bike—the sensor sends a signal to the garage door opener, causing it to reverse or stop. This system is essential for safe operation, especially in households with young ones or pets.
Here’s the thing: even if everything seems fine, dirt, misalignment, or faulty wiring can disrupt this setup. So, regularly checking the sensors ensures your door operates safely and correctly. A proper test only takes a few minutes and can save you from serious accidents—or costly repairs—down the road.
Gather Your Tools for Testing
Before you start testing, you’ll want to gather a few basic tools. Here’s your checklist:
- A flashlight (if it’s dark or you need extra light)
- A soft cloth for cleaning the sensor lenses
- Small screwdriver (for adjusting alignment, if necessary)
- Helper (optional, but useful!)
Having these tools handy will make the testing process smoother and more efficient. You’ll be amazed at what a few minutes of cleaning or adjustments can accomplish. Ensuring the sensors are free of dust and in the right position can often solve many operational issues, allowing them to work effectively.
Step 1: Check the Alignment of the Sensors
The first step in testing your Chamberlain safety sensor is to check their alignment. Sometimes, it’s as easy as eyeballing them to see if they look straight. If one sensor is out of alignment, it may not detect the light beam properly. Here’s how to do it:
1. Stand in front of the sensors and see if they appear to be facing each other.
2. Gently adjust the sensors with your hands if needed, ensuring they are pointing directly at each other.
3. Tighten the screws if you make any adjustments to ensure they stay in place.
You might be wondering why this matters. A misaligned sensor can prevent your garage door from opening and closing properly, leading to frustration. By ensuring these sensors are aligned, you’ll help them do their job safeguarding your surroundings.
Step 2: Clean the Sensor Lenses
Next, let’s focus on cleanliness. Dust or dirt on the sensor lenses can obstruct the infrared beam, causing malfunctions. Here’s how to give your sensors a quick cleaning:
1. Use a soft cloth (like a microfiber cloth) to gently wipe the lenses of both sensors.
2. If they look particularly dirty, you can lightly dampen the cloth with water—just don’t soak it.
3. Dry the lenses thoroughly with a dry part of the cloth.
Trust me, keeping the lenses clean can make a world of difference. It’s an easy step that many overlook, yet it plays a vital role in ensuring the sensors operate smoothly.
Step 3: Test the Safety Sensor Sensors
Now comes the fun part—performing the actual test! This is where you’ll see if everything is functioning correctly. Follow these steps:
1. Close the garage door using your remote or wall switch.
2. As the door is closing, move an object (like a broom or a small board) into the path of the door, breaking the beam of light between the sensors.
3. If the sensors are working, the door should immediately stop and reverse.
If the door doesn’t reverse, it might indicate a problem with the sensor or wiring. You can perform this test a couple of times to confirm results, just to be sure. If it fails consistently, keep reading to troubleshoot.
Troubleshooting Common Issues
So, what happens if your test didn’t go as planned? Here are a few common issues and solutions:
1. Lights Not Illuminating: If the sensors are not lit, check the power connection. Make sure the garage door opener is plugged in and functioning.
2. Flashing Light Indicators: If one of the sensors has a blinking light, it could mean they’re misaligned. Go back to your alignment step, and try adjusting them again.
3. Obstructions: Make sure there’s nothing blocking the sensors. Even a small spider web can interfere with the beam.
If you still experience issues after these steps, it may be time to consult the user manual or contact customer service for detailed troubleshooting. Remember, ensuring the safety sensors are properly functioning is key to a safe garage environment.
Final Thoughts on Testing Your Chamberlain Safety Sensors
Testing your Chamberlain safety sensors isn’t just about keeping your garage door operational—it’s an important step in ensuring the safety of everyone in your household. By following these simple steps—checking alignment, cleaning the lenses, and testing the functionality—you can maintain peace of mind.
Regular maintenance like this can prevent mishaps and avoid costly repairs. In the end, keeping those little safety eyes in top shape means your garage door will work like a charm. So grab your tools and get started—your garage door will thank you!