Whether you’ve just replaced the battery or you’ve been troubleshooting a stubborn wall button, knowing how to reset your Skylink wall button can save you time and hassle. Skylink garage door openers are popular for their ease of use, but every now and then, they require a little boost. Grab your coffee and let’s dive in.
Why You Might Need to Reset Your Skylink Wall Button
You might be wondering, “Why would I need to reset my wall button in the first place?” Well, there are several scenarios where this could come in handy. For one, if your garage door isn’t responding when you press the button, resetting can often solve the issue. Imagine your garage door opener as a computer that sometimes just freezes—you might just need to restart it.
Another common reason for a reset is after changing the battery. If your wall button doesn’t seem to be working correctly, it could be out of sync with the garage door opener. Resetting it will allow it to effectively communicate with the opener again.
Lastly, if you’ve recently made changes to your garage door system, like adding a new remote or wall button, resetting can help clear any confusion the system might have about which device to respond to.
Gathering the Tools You’ll Need
Before you start the reset process, it’s best to gather everything you’ll need. Here’s a handy list:
- A new battery (if your wall button needs one)
- Your Skylink wall button
- The garage door opener’s manual (for reference)
- A little bit of patience!
You’ll want to make sure you have a fresh battery if the old one seems weak. Trying to reset a wall button with a dying battery is like trying to start a car with no gas—just not going to happen.
Once you’ve got your gear together, you’re ready to go.
Step-by-Step Guide to Resetting Your Skylink Wall Button
Okay, let’s get into the nitty-gritty of how to reset your Skylink wall button. Follow these steps carefully, and you’ll have it up and running in no time.
Step 1: Remove the Cover
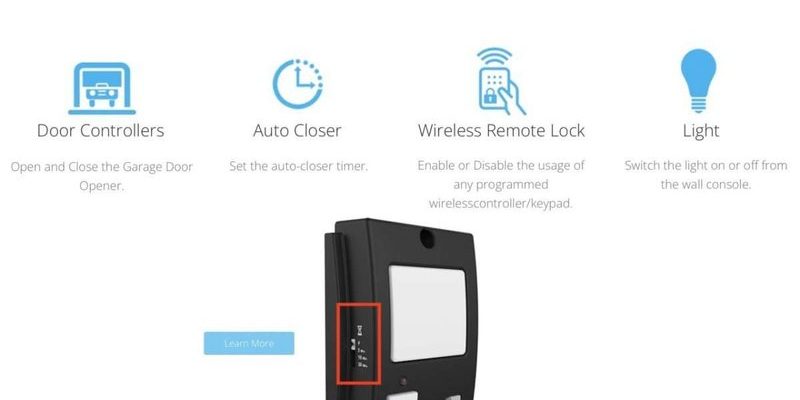
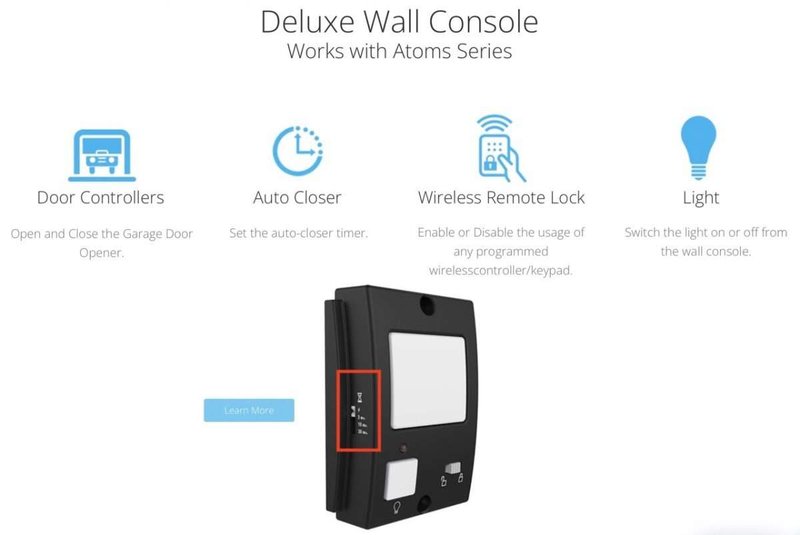
First, locate your Skylink wall button. You’ll usually find it mounted on the wall inside your garage. Use a small screwdriver to remove the cover. This will expose the battery and any reset buttons. Think of it as opening a book to a favorite chapter—you’re getting ready to discover something useful!
Step 2: Replace the Battery
Once the cover is off, gently remove the old battery. Make sure you’re placing it correctly when adding a new one in—check the polarities! If you see any corrosion, it might be a good idea to clean it up before inserting the new battery. Sometimes a little cleaning can go a long way!
Step 3: Reset the Button
Now, here comes the crucial part. Find the reset button on the wall button. It’s often a small, recessed button you’ll need a pen or a paperclip to press. Hold it down for about 10 seconds. This step is like giving your wall button a moment to breathe; it needs that time to reset its brain!
Step 4: Reattach the Cover
After finishing the reset, carefully replace the cover. Ensure it fits snugly into place. Think of it as wrapping up a gift—you want everything to look neat and tidy.
Syncing Your Skylink Wall Button with the Garage Door Opener
Now that you’ve reset your wall button, there’s a good chance you might need to sync it with your garage door opener. Here’s how to do that:
Step 1: Locate the Learn Button
Your garage door opener has a “learn” button, usually found on the back or side. You may need the manual for exact locations. Don’t worry; this step is straightforward and shouldn’t take long.
Step 2: Press the Learn Button
Once you’ve found the button, press it. A light should start blinking on the opener. This means it’s in syncing mode, waiting for the signal from your wall button.
Step 3: Press the Wall Button
Quickly head back to your Skylink wall button and press it. You should notice the light on the opener stop blinking and stay steady, indicating a successful sync. If it doesn’t work on the first try, just give it a couple of minutes and try again. This is like when two friends are trying to coordinate a high-five—you’ve just got to be in sync!
Troubleshooting Common Issues
After following these steps, if your wall button still isn’t working, don’t panic! Sometimes technology can act finicky. Here are a few troubleshooting tips:
- Check the battery again. Ensure it’s securely in place.
- Make sure the reset button was properly pressed. Sometimes, it takes a little more pressure.
- Inspect for any physical damage. If the wall button is cracked or dirty, it may not function properly.
- Try resetting the garage door opener itself. There might be a disconnect between the two devices that needs addressing.
When to Call in the Pros
If you’ve tried everything and your Skylink wall button still refuses to cooperate, it might be time to call in a professional. Sometimes, underlying electrical issues or damage to the garage door opener can cause problems. Just as you wouldn’t attempt major car repairs without experience, it might be best to leave this to those who know their way around garage door systems.
Resetting your Skylink wall button isn’t as daunting as it may feel at first. With just a few simple steps, you can troubleshoot and potentially solve problems that keep your garage door from opening. Remember, it’s all about communication between the devices—just like any good friendship!
So don’t hesitate to refer back to this guide whenever you need a quick reset. Your garage door will be sliding open in no time, making your daily routine a little smoother. Happy resetting!