In this guide, I’ll help you navigate the reset process of the Skylink circuit board clearly and simply. Whether you’ve got the newest model or one that’s been around for a while, the principles remain pretty much the same. So, let’s dive into how to tweak this little piece of tech to keep your garage operations seamless.
Understanding Your Skylink Circuit Board
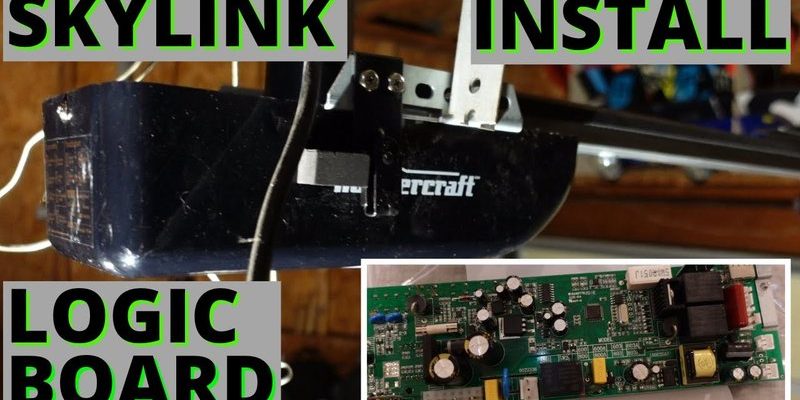
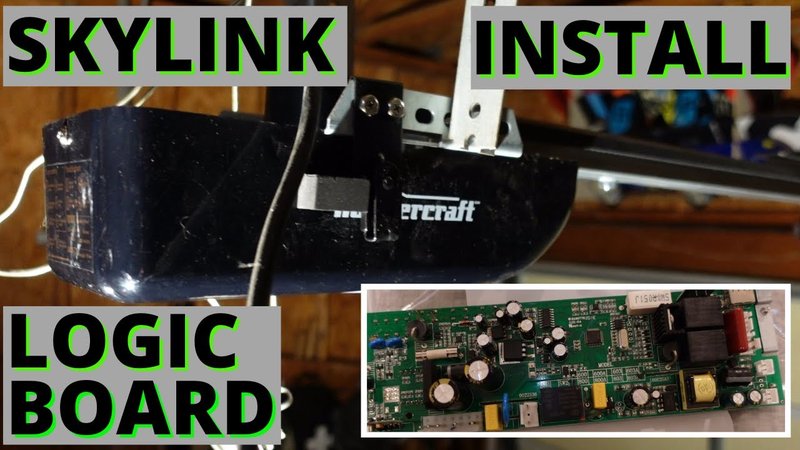
First things first, it’s essential to know what you’re working with. The Skylink circuit board is like the command center for your garage door opener. It houses all the essential components that communicate with your remote control. When everything is dialed in correctly, pressing your remote button works like a charm. However, if things get out of sync, your door may not respond when you need it to.
Think of the circuit board as the brain of the operation. If the brain isn’t functioning properly, the actions—like lifting or lowering the garage door—can hang in the balance. You’ll typically find the circuit board inside the garage door opener itself, often covered with a plastic casing that keeps it safe from dust and moisture. Identifying this part is your first step.
Why Would You Need to Reset the Board?
You might be wondering why a reset is necessary in the first place. Here are a few scenarios that might prompt you to undertake this task:
- Remote Control Not Responding: If your remote isn’t communicating with your garage door opener, a reset can often help.
- New Remote Pairing: Got a new remote? Resetting the circuit board will help you pair it successfully.
- After a Power Outage: Sometimes, power interruptions can throw your system off balance, necessitating a reset.
Each of these issues signals that your circuit board may need a little TLC. By resetting it, you can restore its original functionality.
Steps to Reset Your Skylink Circuit Board
Ready to reset? Let’s walk through the process together step by step. It’s easier than it sounds, and you’ll be back in action before you know it.
1. Gather Your Tools
Before you begin, you’ll want to gather a few basic tools:
- A screwdriver (usually Phillips or flat, depending on your opener)
- Your Skylink remote
- A clean cloth (optional, but helpful to wipe any dust away)
Make sure everything’s within reach so you can work efficiently. You don’t want to be searching for a tool midway through!
2. Power Down The Opener
Start by disconnecting the power supply to your garage door opener. This could mean unplugging it from the wall outlet or turning off the circuit breaker dedicated to it. Doing this ensures that there’s no power running through the system while you’re working, which is crucial for safety.
3. Access the Circuit Board
Using your screwdriver, carefully remove the cover of the garage door opener. This probably involves unscrewing a few screws. Keep them somewhere safe; you don’t want to be hunting for a screw later! Once the cover is off, you should see the circuit board clearly.
4. Find the Reset Button
On the circuit board, there will typically be a small button labeled “Reset.” It might be a bit tricky to spot due to the other smaller components around it. Once you’ve found it, press and hold the button for about 10 seconds. This should clear any glitches and restore factory settings.
5. Reassemble and Power Up
After the reset, put the cover back on the opener, screw it tight, and reconnect the power. Fair warning: the first time you press the remote button after this, your heart might skip a beat! But hopefully, your door will respond just the way it should!
Pare Down the Remote Control
After you’ve reset the circuit board, you might need to sync your remote again. Don’t worry; it’s simple! Just reference the manual for your specific Skylink remote, as the pairing process can slightly vary. Typically, you’ll need to press a button on the remote while simultaneously pressing the corresponding button on the circuit board.
Common Troubleshooting Tips
If your door still doesn’t respond after the reset, here are some troubleshooting tips:
- Check the Batteries: Sometimes it’s as simple as dead batteries in your remote.
- Inspect Wiring: Look for any loose or damaged wires on the circuit board.
- Interference: Ensure there are no large electronic devices nearby that might be interfering with the signal.
Taking these steps can help you pinpoint the issue more clearly, moving you closer to that crisp connection you originally had.
Comparing Skylink to Other Brands
You might be considering a universal remote or perhaps another brand altogether. Here’s the deal: while many universal remotes promise compatibility, they may not offer the same ease of syncing as the original Skylink remotes. It’s worth weighing the pros and cons. Skylink systems often have specific codes designed for easy pairing, making your life a bit simpler.
If you do opt for a different brand, ensure it explicitly states compatibility with Skylink systems. Otherwise, you may end up in a situation where you wind up back at square one, wishing you’d just stuck with the brand’s original gear!
Final Thoughts
Resetting the Skylink circuit board might seem daunting at first, but it’s actually a straightforward process once you know the steps. You’ve got the tools, the know-how, and now you can tackle this issue like a pro. Keeping your garage door opener in top shape is essential for convenience and security.
So, here’s your takeaway: if the remote is acting odd or needs a fresh start, don’t shy away from giving it a reset. You’ll be opening and closing your garage door without a hitch in no time! If problems persist, consider reaching out to a professional for further assistance. Remember, tech can be quirky, but with the right approach, you can keep it all in line.