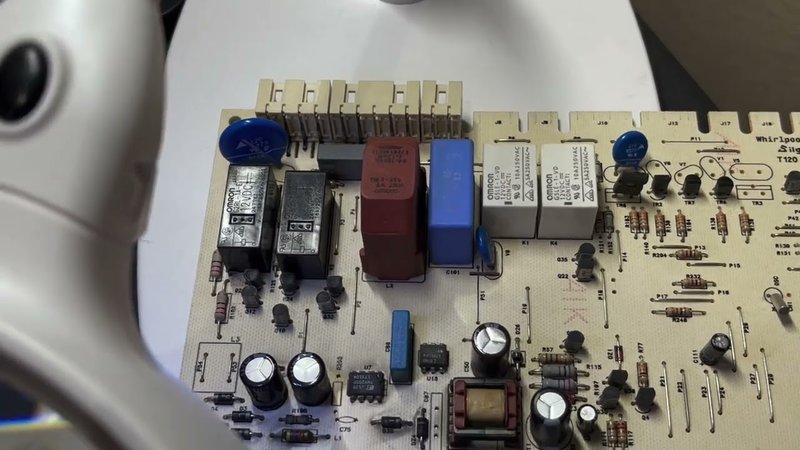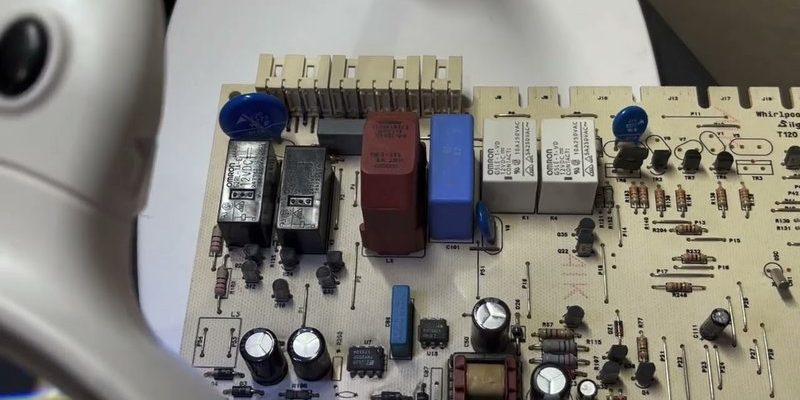
Resetting the Sears circuit board is a straightforward process. Think of it like rebooting your computer when it freezes. Essentially, you’re refreshing the system to resolve any underlying issues and restore functionality. In this guide, we’ll walk through the steps to reset your Sears circuit board. This should help you troubleshoot any ongoing problems and get back to smooth sailing.
Understanding Your Sears Garage Door Opener
Before diving into the reset process, it’s good to get an idea of what you’re working with. Sears garage door openers come in various models, each with unique features. However, they commonly operate on similar principles. Typically, the circuit board is the brain of the operation, managing signals from your remote control, sensors, and the actual door mechanism.
When something goes wrong, it often traces back to the circuit board. For instance, if the remote isn’t syncing, or if the door won’t open or close, the circuit board might be at fault. In these scenarios, resetting the board can clear errors and help establish a fresh connection with your remote.
Gathering the Necessary Tools
Before you begin, let’s ensure you have everything you need. Fortunately, resetting the circuit board doesn’t require specialized tools, but having a few basics on hand can make the process smoother.
- Flathead screwdriver: This will help you access the circuit board securely.
- Multimeter: A useful tool for checking voltage levels if needed.
- Replacement batteries: Always good to have on hand to replace your remote batteries if necessary.
- Owner’s manual: This will offer model-specific instructions that could be helpful.
With these tools chosen, you’re ready to move forward. Keeping these items nearby can save time and prevent needless trips back to the garage or tool shed.
Locating the Circuit Board in Your Sears Opener
Once you’ve gathered your tools, the next step is locating the circuit board. The location varies by model, but it’s typically found within the casing of the garage door opener, mounted on the back or side.
To access it:
1. Unplug the garage door opener from its power source to ensure safety during the process.
2. Use your flathead screwdriver to remove any screws holding the cover in place.
3. Carefully lift off the cover to reveal the internal components, including the circuit board.
Using a flashlight can help you see better inside if your workspace is dim. You’ll want to familiarize yourself with the layout so you can easily identify the circuit board when it’s time to reset.
How to Reset the Circuit Board
Resetting the circuit board is pretty simple. Here’s how to do it step by step:
1. Disconnect the power: Start by unplugging the unit from the wall outlet. This cuts power and gives the system an opportunity to reset itself.
2. Locate the reset button: On many Sears models, there’s a reset button on the circuit board itself. It might be labeled clearly or be a small button you can press down.
3. Press and hold the button: Once located, press and hold the reset button for about 10 seconds. This action should clear any error codes or settings that are causing issues.
4. Reconnect the power: Plug the garage door opener back into the electrical outlet.
5. Test the remote: Once the power is restored, try using your remote. If it’s not working, consider checking and replacing the remote’s batteries before attempting further troubleshooting.
Resetting the circuit board can resolve most common issues, but if the problem persists, it may indicate a deeper technical problem.
Common Issues to Troubleshoot After a Reset
Now that you’ve successfully reset your circuit board, it’s wise to be on the lookout for potential trouble spots. After a reset, here are a few common issues you might encounter:
– Remote not syncing: Sometimes, even after resets, remotes can lose sync with the opener. If this happens, consult your owner’s manual for the reprogramming steps specific to your model.
– Unresponsive door: If the door still doesn’t respond, check the safety sensors. Sometimes dirt or misalignment can cause them to malfunction. Ensure they are clean and properly aligned.
– Erratic behavior: You might notice the door moving unexpectedly or disengaging during operation. This could mean there’s a problem in your wiring or the opener itself is aging and may need replacement.
Being aware of these issues helps you troubleshoot effectively and ensures you can enjoy a smooth garage door experience.
When to Seek Professional Help
Sometimes, despite your best efforts, you may find that problems persist after a reset. Here’s the truth: while many issues are DIY-friendly, there are instances when calling in a professional is the best option.
Consider seeking professional help if you notice:
– Frequent power failures or surges impacting the opener.
– A burning smell or any visible damage to wires or components.
– The door operates erratically even after a reset.
By tapping into expert assistance, you ensure that you’re addressing potential safety hazards and getting your garage door functional again without the risk of further damage.
Resetting your Sears circuit board doesn’t have to be a daunting task. With the right tools, a little patience, and knowledge of your model, you can often clear minor issues and restore functionality to your garage door opener. By understanding the essential steps and knowing what to watch for afterward, you’ll be better equipped to face any challenges that come your way.
Honestly, the process is somewhat similar to giving your tech devices a break to prevent glitches—sometimes all they need is a refresh! So next time your garage door gives you trouble, remember these simple steps. You might just save yourself a call to the repair shop, and that feels pretty rewarding, right? Happy troubleshooting!
