Think of the control panel as the brain of your garage door opener. It manages everything from opening and closing the door to syncing with your remote. Just like a tired computer, sometimes it needs a reset to get back on track. In this article, we’ll break down the steps to reset your Raynor control panel and troubleshoot any issues that may arise along the way.
Understanding Your Raynor Control Panel
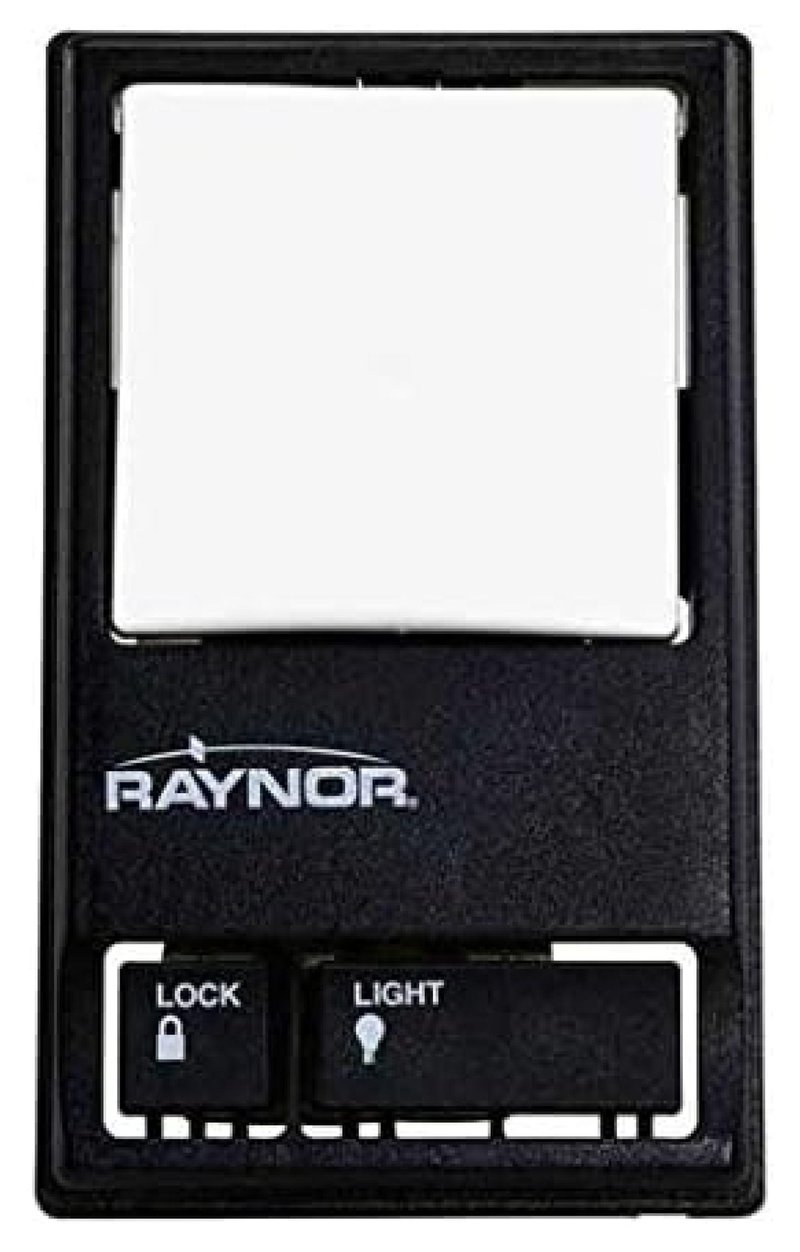
Before diving into the reset process, it’s essential to understand what your Raynor control panel does. This control panel is the interface between you and your garage door opener. It usually includes buttons for opening and closing the garage door, as well as a light indicator to show its status. When something goes wrong, it can be hard to pinpoint the issue without first understanding how it operates.
Your Raynor control panel often communicates wirelessly with your remote. They work together like a well-rehearsed dance duo. When the signal between them gets interrupted—whether due to low batteries or interference—it can leave your door stuck halfway or refusing to budge at all. This is where resetting comes into play.
Why You Might Need to Reset
You might be wondering, “Why would I need to reset my control panel?” There are several reasons:
- Malfunctioning Remotes: Sometimes, your remote isn’t communicating correctly with your control panel. A reset can help resolve this.
- New Installation: If you’ve recently installed your garage door opener, you may need to reset the control panel for it to function correctly.
- Power Surges: Electrical issues can disrupt the connection, making a reset necessary to restore functionality.
- Frequent Miscommunication: If the opener and the remote keep losing sync, a reset might just do the trick.
Understanding these scenarios can help you decide when it’s time to dive into the resetting process. Trust me; it’s usually a simple fix that can save you a lot of hassle.
Steps to Reset Your Raynor Control Panel
Resetting your Raynor control panel isn’t rocket science. Here’s a step-by-step guide to getting it done smoothly:
1. Locate the “Learn” Button: First things first, find the “Learn” button on your Raynor control panel. This is often a small button located near the antenna.
2. Press and Hold the Button: Once you find it, press and hold that button until the light indicator begins to blink. This usually takes about 10 seconds.
3. Release the Button: After you see the blinking light, release the button. This indicates that the system is in reset mode.
4. Reprogram Remotes: At this point, you’ll need to reprogram any remotes that were connected to the panel. Press the “Learn” button once more—this time, on the panel—to activate the programming mode again.
5. Test the Remotes: Finally, grab your remotes one by one, press the button, and see if they work. If they open and close the door as expected, congrats! You’re back in business.
Common Issues After Resetting
Even after a reset, you may encounter some hiccups. It’s essential to know how to troubleshoot these potential problems.
– Remote Not Working: If your remote still isn’t responding, check the batteries. Sometimes, a simple battery change can resolve the issue.
– Door Not Moving Smoothly: If your garage door seems sluggish or makes odd noises, you might want to check for any physical obstructions in the door’s path or inspect the tracks for damage.
– Light Indicators: If the indicator light on your control panel is still blinking or stays on, this may signal another issue, like the need for maintenance or a deeper electrical problem.
By being aware of these issues, you’re better prepared to tackle them head-on.
When to Call for Professional Help
Sometimes, despite your efforts, things just don’t work out as planned. If you find your Raynor control panel is still acting up after the reset and troubleshooting, it may be time to seek professional help.
Consider contacting a local garage door service if:
- You’ve done everything possible but nothing works.
- There’s physical damage to your control panel or opener.
- Electrical issues seem to persist, suggesting wiring problems.
Having an expert take a look can be more effective than trying to fix complicated problems on your own.
Tips for Preventative Maintenance
Once you’ve reset your Raynor control panel, keeping it in tip-top shape is crucial. Here are a few tips to help you maintain a healthy system:
– Check Batteries Regularly: Make it a habit to replace the batteries in your remotes twice a year. This helps ensure that your remotes are always ready to go.
– Inspect Wiring: Look at the electrical connections periodically for any signs of wear. Loose or corroded wires can lead to reset issues in the future.
– Clear the Path: Regularly clear any debris or obstructions that might be in the garage door’s path. This can prevent unnecessary strain on the system.
By taking some simple steps, you can keep your garage door functioning without the need for frequent resets.
Closing thoughts, resetting your Raynor control panel might feel a bit daunting at first, but once you know the steps, it’s pretty straightforward. Whether you’re tackling remote issues or just trying to keep your setup running smoothly, knowing how to reset can save you from frustration. Take it one step at a time, and you’ll soon be back to operating your garage door with ease!
