
The overhead door wall button is essential in controlling your garage door opener—it’s the unsung hero of the garage. If it’s acting up, it might be due to several reasons like a malfunctioning remote, a misplaced code, or simply old age. If you’re using an Overhead Door brand opener, this process will be particularly helpful, but the principles generally apply to others too. So, grab a cup of coffee, and let’s dive into how to reset that pesky wall button.
Why Resetting the Wall Button Matters
You might be wondering why a simple reset is necessary. Think of it this way: just like your smartphone might freeze up and need a little restart, your wall switch can also become unresponsive. Resetting the overhead door wall button can resolve various issues, including synchronization problems with your remote, battery failures, or even software glitches.
When your button isn’t functioning properly, you might find yourself stuck outside in the rain or unable to access your garage. Resetting it can bring back its functionality quickly and safely. Plus, it can save you a trip to the repair shop when all it took was a little troubleshooting. So, let’s break down how you can easily get that wall button back into gear!
Identifying Your Overhead Door Wall Button
Before you start the reset process, it’s crucial to know what kind of wall button you have. Overhead Door wall buttons usually have two main types: basic push-button controls and more advanced models that come with features like lights or remote connections.
– Basic Push-button Control: This is the standard button on the wall that either opens or closes the door when pressed.
– Smart Wall Button: These may come with extra features like programmable settings or pairing capabilities with remotes.
Understanding which type you have will help you follow the reset steps more accurately. Additionally, looking at the user manual specific to your model can give you essential insights into its unique features.
Steps to Reset Your Overhead Door Wall Button
Now, let’s get down to business! Resetting your overhead door wall button isn’t as daunting as it might seem. Here are the step-by-step instructions:
1. Disconnect Power: Find the power source for the garage door opener. Typically, this is a plug or a circuit breaker. Unplugging it for about 30 seconds can help reset the system.
2. Press the Wall Button: After you’ve disconnected the power, press and hold the wall button for a few seconds. It’s like giving it a little nudge to wake up.
3. Reconnect Power: Plug everything back in once more, ensuring all connections are tight. This will restore power to your opener.
4. Test the Button: Finally, give the wall button a test. Press it to see if your garage door responds.
Resetting is done in under a minute! If your wall button still doesn’t work, don’t fret just yet—there are more troubleshooting steps we can explore.
Troubleshooting Common Issues After Resetting
If your overhead door wall button still refuses to cooperate after the reset, it might be time to dig a little deeper. Here are some common issues and how to troubleshoot them:
– Check the Wiring: If your button still doesn’t work, examine the wiring connections. Make sure everything is secure, especially if it’s been a while since installation.
– Inspect the Remote: Sometimes, the problem lies with the remote control you’re using. Test the remote with the garage door opener. If it has a dead battery, simply replace it, and you might solve the whole issue!
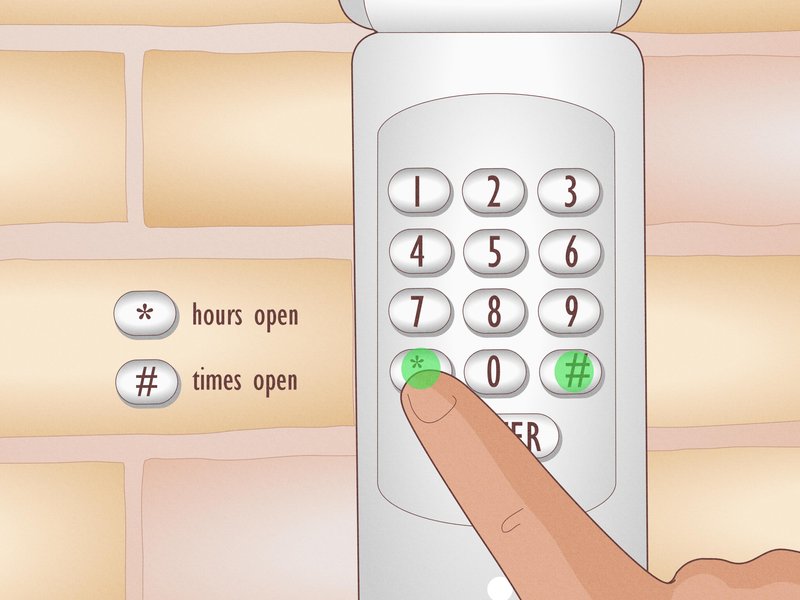
– Entrance Code: For smart models, ensure that you’ve entered the correct code for the wall button. Refer to your manual for instructions on how to set or reset the code.
Taking these troubleshooting steps might feel like a hassle, but they can save you from more significant repair costs down the line.
Understanding the Connection Between Wall Button and Remote
You may notice that sometimes your wall button and remote seem to be having a little disagreement. This could contribute to why you need to reset the overhead door wall button.
Many garage door openers, especially those that are smart, work on a paired system. This means if one device is out of sync, the other might also malfunction. A reset on your wall button might solve issues with the remote as well, making them suddenly best friends again!
It’s worth checking if both your wall button and remote are using the same frequency and code. Many newer models can be synced via the owner’s manual instructions, ensuring they communicate effectively.
When to Call a Professional
While resetting your overhead door wall button should be straightforward, there may be times when you might need to call in a professional. Here are some signals to consider:
– Persistent Issues: If you’ve tried resetting multiple times and the button still doesn’t work, there might be deeper issues at play. In this case, a technician can offer a more thorough inspection.
– Physical Damage: Always check your wall button for visible damage. If anything looks cracked or broken, it’s likely time for a replacement.
– Unusual Noises: If the garage door opener makes strange sounds during operation, it may indicate mechanical failure. A pro can help diagnose that without further risking damage.
While it’s helpful to learn DIY skills, knowing when to ask for help is equally important.
Keeping Your Garage Door System in Top Condition
To ensure long-lasting life and functionality of your overhead door wall button, regular maintenance is key. Here are some simple maintenance tips:
– Routine Check-ups: Regularly inspect all components, including the wall button, remote, and opener, for wear and tear.
– Clean Connections: Dust and dirt can affect performance, keeping your connections clean can help improve responsiveness.
– Battery Replacements: If your remote requires batteries, make it a habit to change them every six months, or sooner if needed.
Staying proactive about maintenance can save you from future headaches.
As we wrap up, remember that resetting your overhead door wall button is a manageable task that can prevent inconvenient mishaps. With these tips in mind, you should feel more confident tackling any issues that might arise. Keep your tools handy, stay patient, and your garage door will be working smoothly in no time!