
In this article, I’ll walk you through the steps to reset your Craftsman garage door opener. We’ll cover the different types of remotes, why a reset is necessary, and how to ensure your system is back in sync. You don’t have to be an expert to figure this out—just a little patience and guidance can go a long way.
Why Reset Your Craftsman Garage Door Opener?
Honestly, resetting your garage door opener can solve a lot of common issues. Perhaps you’re having trouble opening or closing the door. You might have mistakenly programmed the remote incorrectly, or maybe the battery is low. Whatever the reason, a reset can often bring your device back to its happy place.
Some typical scenarios where a reset might be necessary include:
- Remote not syncing with the opener
- Interference from new devices
- Unexpected shut-offs or malfunctioning sensors
Resetting ensures that all parts of your system are communicating properly. It’s like making sure all the actors know their lines before the big show. Without that communication, well, the curtain just won’t go up.
Gather What You Need
Before diving into the reset process, you’ll want to gather a few items. Having everything prepared makes the whole experience smoother, much like laying out your ingredients before cooking a meal.
Here’s a quick checklist:
- Your Craftsman garage door opener model
- The remote control (make sure the battery is charged)
- A step stool or ladder (if your opener is mounted high)
- Your smartphone or camera (to document any LED lights during the process)
Once you have your toolkit ready, it’ll be easier to focus on the task at hand. Now, let’s dive into the steps for resetting your opener.
Locate the Reset Button
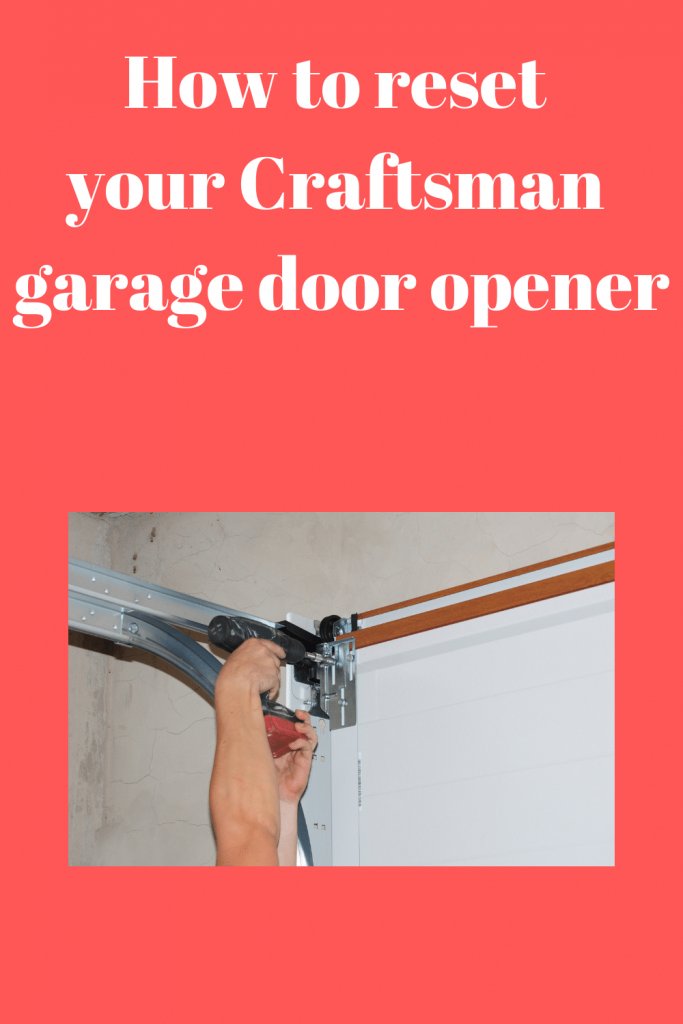
The first step in resetting your Craftsman garage door opener is locating that essential reset button. It’s usually a small button located on the motor unit of your garage door opener—under a light cover or tucked away toward the back.
You might be wondering why the reset button is so important. Well, hitting it effectively clears stored codes and pairs your remotes again.
To find the button:
1. Stand directly under your garage door opener.
2. Look for a button labeled “Learn,” “Reset,” or something similar.
3. If you’re having trouble, feel free to check the owner’s manual—those diagrams can be a real lifesaver!
Once you find the button, you’re ready for the next step.
Performing the Reset
Now that you’ve located the reset button, let’s move on to the actual reset process. Think of this part as the core of our baking recipe—it’s where you mix everything to create something new.
Here’s how to do it:
1. Press and hold the reset button for about 10 seconds.
2. Watch for any blinking lights on the opener; you’ll typically see an LED light flash rapidly. That’s your cue that the opener is resetting.
3. Let go of the button once the light shows this response.
At this point, your garage door opener is in reset mode. If the lights blink in different patterns, it could indicate specific errors. Don’t panic; just refer to your manual for guidance on what those patterns mean.
Reprogram Your Remotes
Once the reset is complete, it’s time to reprogram your remotes. This step is crucial because all previous codes have been cleared, and you’ll need to teach your remote how to communicate with your opener again.
Here’s how you can reprogram your remote:
1. Press the “Learn” button on the motor unit.
2. You’ll have about 30 seconds to perform the next step, so be quick!
3. Press the button on your remote that you want to program. Look for an LED on the motor unit that blinks or lights up—this indicates a successful pairing.
What if you have more than one remote? Don’t worry; just repeat the process for each remote you’d like to add back into the system.
Test Everything
Now that the reset and reprogramming are done, it’s time to test everything out. Think of it as the final taste test before serving a delicious meal to your guests.
Here’s what you should do:
1. Stand a few feet away from your garage door and press the remote button.
2. Watch as the door opens smoothly.
3. Test the closing function as well.
If everything functions correctly, pat yourself on the back! You’ve completed the reset successfully. However, if the door isn’t responding, don’t get discouraged just yet.
Common troubleshooting steps might include checking the batteries in your remote, ensuring nothing is blocking the sensors, or double-checking all connections.
When to Call for Help
Sometimes, despite your best efforts, things still don’t work out as planned. Here’s the thing: that’s perfectly okay. If you’ve followed all these steps and are still having issues, it might be time to call in reinforcements.
Consider reaching out to a professional if:
- The reset didn’t solve your issues
- You hear strange noises during operation
- There are visible damages to the garage door tracks or opener
Don’t hesitate to ask for help! It’s better to get it checked out than to risk further damage or safety issues.
Final Thoughts
Resetting your Craftsman garage door opener might seem daunting at first, but it’s quite manageable once you break it down into steps. Think of it as restoring balance in your garage. Hopefully, you found this guide clear and helpful, empowering you to tackle this common home maintenance task with confidence.
Remember, understanding how to reset your garage door opener is valuable knowledge. It not only saves you time and money but also gives you the satisfaction of handling your garage like a pro. If you run into any issues down the line, you’ll know what steps to take. Now, go ahead and give your garage door opener the refresh it deserves!