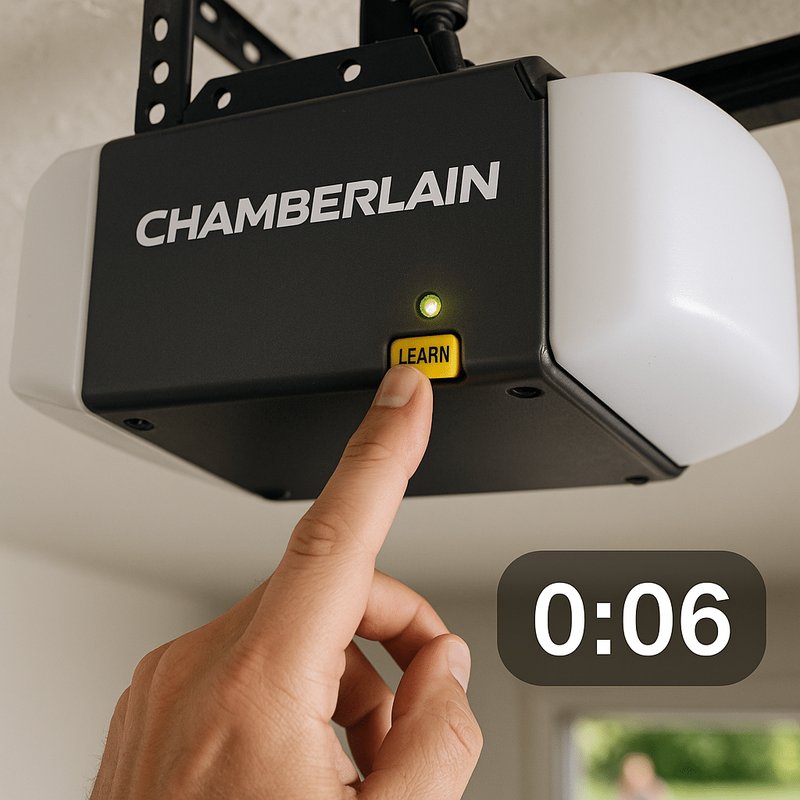
Chamberlain is a well-known name in garage door openers, and they stand by their products’ quality. However, like anything that uses technology, issues can arise. Whether your door won’t close, or the sensors are blinking strangely, resetting them can often solve the problem and restore functionality.
In this article, I’ll walk you through each step of resetting your Chamberlain safety sensor. I’ll break it down in simple terms and provide lots of detail so you’ll feel confident doing it yourself. Let’s dive in!
Understanding Your Chamberlain Safety Sensor
Before you hit the reset button, it helps to understand what these sensors do. Chamberlain safety sensors are designed to protect you and your vehicle from accidents. They operate by sending an invisible beam across the door’s opening. If something interrupts that beam—like a car or a kid with a skateboard—the door will stop closing. It’s like having an extra pair of eyes on the lookout!
You might be wondering, “How do I know if my sensors are working?” Well, when the sensors are functioning correctly, the LED lights on each unit should be lit up. If one or both lights are blinking or off, your safety sensors might need some attention. That’s where the reset comes in handy.
So, let’s unpack the process of resetting the sensors. Sometimes, just a simple reset is all it takes to get them back in working order.
Gathering Your Tools and Preparing
Before you get started, you won’t need much—just a few things to make the process smoother. The good news is you won’t need any special tools for resetting your Chamberlain safety sensor. Here’s what you do need:
- Your Chamberlain garage door opener remote
- A ladder (if your sensors are mounted high)
- A clean, dry cloth to check for obstructions
Now, it’s also a good idea to give both sensors a quick inspection. Sometimes dust, dirt, or cobwebs can block the beam. So, before proceeding with the reset, wipe down the sensors gently to ensure they’re clear of any debris.
Once you’ve set the stage, you’re ready to dive into the reset process.
Resetting Your Chamberlain Safety Sensor Step-by-Step
This is the part where you roll up your sleeves and get to work. Resetting your Chamberlain safety sensor isn’t complicated, but you’ll want to pay attention to each step. Here’s how to do it:
1. Locate the Safety Sensors: The sensors are typically installed on either side of your garage door, mounted a few inches off the ground.
2. Disconnect Power: Unplug your garage door opener from the outlet. This stops any movement and makes it safe to work on the sensors.
3. Wait a Moment: You’ll want to wait about 10 seconds to allow the system to drain any residual power.
4. Plug It Back In: Reconnect the garage door opener to the power source.
5. Test the Sensors: Look at the LED lights on the sensors. Normally, one light will be green (indicating it’s working), while the other might be red (indicating it’s the sending unit). If they’re both lit or you see a flashing light, move to the next step.
Aligning the Sensors for Proper Function
Accurate alignment of your safety sensors is crucial for them to work correctly. Misalignment can cause the sensors to behave erratically, so let’s make sure they’re lined up perfectly:
1. Adjust the Sensors: If the lights aren’t steady, you might need to adjust the sensors slightly. Tilt them inwards or outwards until both lights indicate they are aligned—generally, the red light should remain steady.
2. Use the Ladder if Necessary: If they’re mounted high, get your ladder, but be careful! Safety first.
3. Check Their Position: Make sure there’s no obstruction between them. They should be directly facing each other and unobstructed, like a clear line of sight.
After adjusting, you should see both lights displaying correctly.
Testing the Garage Door Functionality
With everything reset and aligned, it’s time to see if your efforts paid off. Here’s how to check if your garage door opener is functioning well with the safety sensors:
1. Press the Remote: Use your Chamberlain remote to try to close the garage door.
2. Observe the Action: If it closes smoothly without reversing, you’ve successfully reset and aligned your safety sensors. You should notice both lights are stable, which indicates they’re communicating correctly.
3. Perform a Manual Test: For extra peace of mind, you can also manually trigger the sensor beam by placing an object—like a broom handle—across the sensor path while closing the door. It should stop immediately.
If the door closes and opens perfectly, you’ve nailed the reset!
Common Issues and Troubleshooting Tips
If your garage door is still acting up after resetting the safety sensors, don’t despair. There could be a few other issues at play. Here are some common problems and simple fixes:
- Flashing Sensors: If your sensors are still flashing, check the wiring. Sometimes, loose connections can disrupt their functionality.
- Door Reverses Unexpectedly: This might indicate that dirt or cobwebs are blocking the sensors or that they’re misaligned. Go back and double-check their position.
- Remote Control Issues: If you suspect the remote isn’t working, try replacing the batteries or attempting a different remote. The remote can sometimes be the problem instead.
And remember, it’s perfectly okay to consult the owner’s manual for specific troubleshooting guidelines. Chamberlain provides detailed instructions tailored to their systems.
Resetting your Chamberlain safety sensor doesn’t have to be daunting. Now that you know how to handle it, you can ensure your garage door operates smoothly and safely. These sensors are your first line of defense against accidents, making it well worth your time to keep them in top shape.
Take your time with the steps outlined above, and don’t hesitate to reach out to a professional if you’re uncertain about something along the way. Remember, safety first! Keeping your garage door functioning correctly not only helps protect your property but also ensures your peace of mind.
