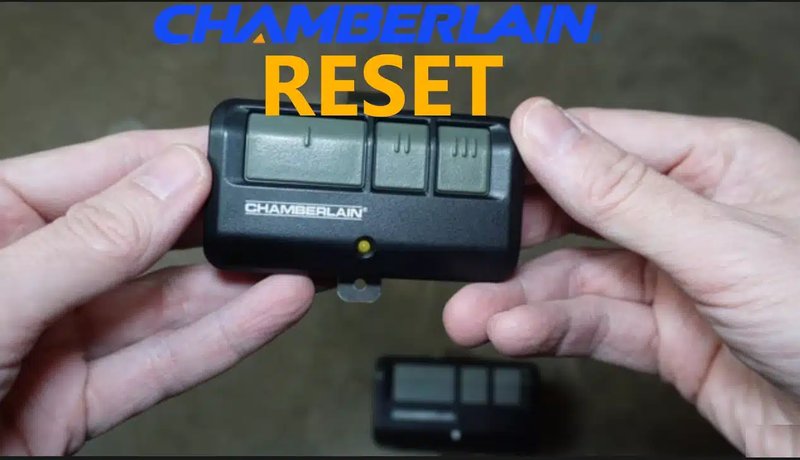
Chamberlain remotes are popular because they’re generally reliable and user-friendly. However, every gadget has its quirks. It’s not uncommon for issues to arise, whether it’s from a low battery, interference, or something else entirely. So, let’s take a closer look at how to reset your Chamberlain remote and get your garage door working smoothly again.
Understanding the Chamberlain Remote
Chamberlain remotes come in various models, but they all have a few things in common. They typically feature a few buttons: one for opening, one for closing, and sometimes extra buttons for additional features like a built-in light or a smart home integration. These remotes use a unique code to “talk” to your garage door opener, which is why resetting it effectively and correctly is essential.
You might be wondering why a reset is necessary in the first place. Well, like all tech, these remotes can experience hiccups. Keypads might stop recognizing the signals due to interference, a dead battery, or changes in programming. Resetting can clear out those issues and give your remote a fresh start.
Let’s dive into the step-by-step process of resetting your remote, ensuring you can quickly get back to smoothly operating your garage door.
Gather Your Tools Before You Start
Before you jump into the reset process, you need to gather a couple of essential items. Don’t worry, it won’t be like preparing for a mission impossible. Here’s what you’ll typically need:
- Flathead screwdriver: This can help you open the battery compartment if it’s tight.
- New batteries: It’s always a good idea to have fresh batteries on hand. You don’t want to start a reset only to discover your remote is out of juice.
- Owner’s manual: If you have it, refer back to this. It has specific instructions tailored to your remote model.
After gathering these items, you’re ready to move forward. A bit of preparation goes a long way in making the actual resetting process smoother and more efficient.
How to Reset Your Chamberlain Remote
Resetting your Chamberlain remote usually involves a few straightforward steps. Here’s a step-by-step guide to follow:
Step 1: Remove the Battery
First things first: you need to take out the battery. Open the back cover of the remote using your screwdriver if necessary. Once it’s open, remove the battery. Let it sit out for a minute or two. This small pause is sometimes magical because it clears the remote’s memory.
Step 2: Reinsert the Battery
Now, take your fresh battery and pop it back into the remote. Make sure you’re placing it in the correct orientation—look for the + and – signs. Close the battery compartment securely to avoid any contact issues later on.
Step 3: Reprogram the Remote
Next, you’ll need to reprogram your remote to sync it with your garage door opener. Head over to your garage door opener unit, and locate the “Learn” button—this is usually on the back or side of the unit. Press it and hold it until the indicator light lights up. Within 30 seconds, press the button on your remote that you want to use for opening the door. The light on the opener should blink or stay on; this means that the programming was successful.
Step 4: Test the Remote
Now comes the fun part: testing your remote! It should work now. Press the button and see if your garage door responds. If it does, congratulations—you’ve successfully refreshed your remote! If it still doesn’t work, it might be wise to check for other issues, such as interference or a faulty garage door opener.
Common Issues and Troubleshooting Tips
Even after a reset, your remote might still act stubborn. Here are a few common issues and their solutions:
- Interference: Check for other electronic devices nearby. Sometimes, things like Wi-Fi routers or Bluetooth devices can interfere with the remote’s signal.
- Batteries: If your garage door still won’t respond, consider checking if the battery is new and properly installed. An old or poorly seated battery can cause problems.
- Distance: Try standing closer to the garage door opener when using the remote. If it works from a close distance but not from afar, you might want to adjust the positioning of your opener or check for blockage.
Keep in mind that troubleshooting isn’t just about finding the problem; it’s about understanding your device better. Knowing these common conflicts can save you time and headaches.
FAQs About Chamberlain Remote Resets
While your journey should be straightforward, sometimes questions pop up that need addressing. It’s common to have a few FAQs swirling around, especially if you’re new to this.
You might wonder if every remote is reset the same way. In general, most Chamberlain remotes share similarities, but the exact steps can vary based on the model. So, when in doubt, check your owner’s manual.
Final Thoughts
Resetting your Chamberlain remote is a straightforward process that can save you from headaches down the line. By understanding the steps and knowing how to troubleshoot common issues, you’ll ensure that your garage door operates smoothly and efficiently.
So, the next time your remote acts up, remember: a reset can often be the solution. Don’t let technology get the best of you—take control with a simple battery swap and a quick reprogramming session. With this guide, you’re now ready to tackle any remote reset challenges that come your way!
