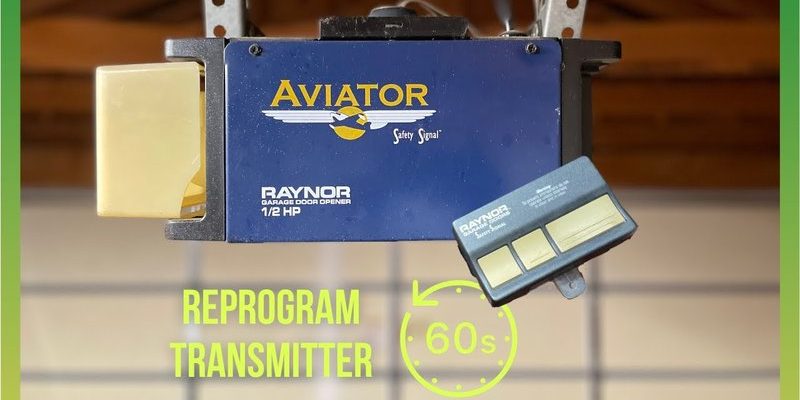
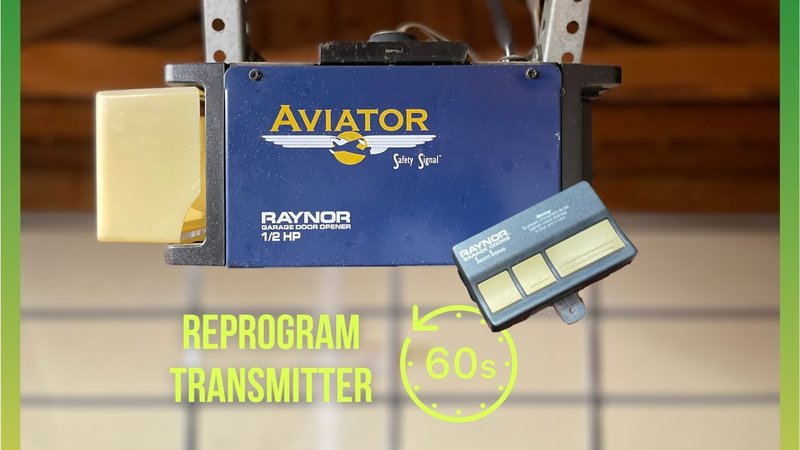
The Raynor wall button is a straightforward but crucial part of your garage door setup. It operates much like the remote: press a button, and your garage door responds. However, if you’ve recently changed the battery in your remote or had a power outage, you might be asking, “How do I reprogram my Raynor wall button?” Don’t worry; we’ve got you covered. Let’s walk through the process step by step!
Why Reprogram Your Raynor Wall Button?
Before diving into the details, it’s good to understand why reprogramming is sometimes necessary. Garage doors work with a system that relies on codes. If any part of this system gets disrupted—say, from a new remote pairing or a dead battery—your wall button might not respond as expected.
There are a few scenarios where you might find yourself needing to reprogram your Raynor wall button:
- Battery Change: If you’ve changed the battery in your remote and the wall button stops working.
- Power Outage: When the power goes out, it can reset your garage door’s programming.
- Interference: Other devices nearby might interfere with the signal.
So, whether due to a simple battery change or perhaps needing to sync up new remotes, reprogramming ensures everything communicates effectively again.
What You’ll Need
Before you begin the reprogramming process, it’s important to gather a few basic tools and items. Here’s what you’ll need:
- Raynor Wall Button: The existing button that you need to reprogram.
- Raynor Remote (if applicable): If you have a remote, it might come in handy during programming.
- Step Ladder (if needed): For reaching the wall button, depending on its placement.
- Owner’s Manual: This can be a great reference for specific codes or instructions unique to your model.
Having these close at hand before you start will make the process smoother and quicker. Trust me; there’s nothing worse than scrambling to find a tool halfway through!
Step-by-Step Guide to Reprogram Raynor Wall Button
Now, let’s get into the heart of the matter. Here’s a step-by-step guide to reprogramming your Raynor wall button:
1. Locate the Learn Button
First, you’ll need to find that little “learn” button on your garage door opener unit. This button is usually located near the antenna wire, often on the back or side of the unit. It can be labeled as “Learn” or “Program.”
2. Press the Learn Button
Once you locate the learn button, press it once and release. You’ll typically see a light on the opener blink or stay on – this indicates that your garage door opener is in programming mode.
3. Activate the Wall Button
Now, within about 30 seconds, head over to the Raynor wall button and press it once. If successful, you should see the light on the garage door opener flash once more, signaling that it has accepted the code from the wall button.
4. Test the Wall Button
Finally, head back to the wall button and test it out. Press the button to see if the garage door operates smoothly. If it does, congratulations! You’ve successfully reprogrammed your Raynor wall button. If not, repeat the steps above.
Troubleshooting Common Issues
Sometimes, even after following the steps, things might not go as planned. Here are some common issues you might encounter and how to address them:
- No response from the wall button: This could mean you need to check if the wall button is getting power. If you have a light on the button, ensure it’s functioning.
- Garage door opens but won’t close: This may indicate a problem with the safety sensors. Make sure they are aligned and not blocked.
- Interference with signals: Other wireless devices might disrupt the signal. If you think this might be the case, try temporarily turning them off.
Remember, troubleshooting can be like detective work. Take your time and check each element thoroughly.
When to Call for Professional Help
While many of us enjoy a DIY challenge, sometimes we hit a brick wall. If you’ve tried reprogramming your Raynor wall button multiple times with no success, it might be a sign that professional help is needed.
Consider calling a garage door technician if:
– The garage door opener unit is making strange noises.
– There are issues with the mechanical parts of the garage door.
– You suspect the electrical connections or circuitry might be the culprit.
Just like any gadget, garage door openers can sometimes be more complex than they seem, and there’s no harm in seeking expert assistance.
Reprogramming your Raynor wall button can seem a little daunting at first glance, but it truly is a straightforward process once you know the steps. With the right tools and a little patience, you can get your garage door up and running again without too much hassle.
Understanding how to reprogram things like your wall button not only empowers you as a homeowner but also saves you time and potentially costly service calls. If the issues persist, don’t hesitate to reach out for professional help. After all, keeping your garage door working is what will ensure your home remains secure and functional. Happy programming!