When your garage door isn’t responding as it should, it can definitely throw a wrench in your plans. Maybe it’s a bit stubborn after a power outage, or perhaps it just needs some fresh batteries for the remote. Either way, understanding how to properly reprogram the safety sensor can help avoid those frustrating moments. Let’s dig into the process of bringing it back to life!
Understanding Your Raynor Safety Sensor
Before jumping into the reprogramming process, it’s essential to know what you’re working with. The Raynor safety sensor consists of two small devices typically mounted on either side of your garage door. These sensors send signals between each other, ensuring that nothing obstructs the door’s path when it’s opening or closing. If anything comes between them—like a pet or a toy—the door will stop moving to prevent accidents.
You might be wondering why this matters. If the sensors aren’t communicating effectively, your garage door might refuse to operate. It’s like trying to have a conversation with someone who’s not paying attention! Ensuring these sensors are working correctly is crucial for both the functionality of your door and your safety.
In addition, if you’ve recently replaced the batteries, the sensors may need to be reprogrammed to sync with your remote. Trust me, this step can save you a lot of hassle down the road.
Gathering Your Tools
Before diving into the reprogramming procedure, you’ll want to assemble a few things. It’s always good practice to have everything ready at your fingertips:
- New batteries: If you haven’t changed them recently, fresh batteries for your remote can make a world of difference.
- Step ladder: You’ll often need to reach the sensors, which may be mounted high on the wall.
- Screwdriver: This will help if you need to secure or adjust the position of the sensors.
- Your Raynor remote: Make sure it’s handy, as you’ll need it for syncing.
Having these tools ready makes the reprogramming process smoother. Plus, it just feels good to be prepared!
Checking the Sensor Alignment
Now that you have your tools, it’s time to ensure the safety sensors are properly aligned. If they’re misaligned, they won’t communicate effectively, leading to the dreaded non-responsive garage door. Here’s how to check:
1. Locate the Sensors: Usually, the sensors are about six inches off the ground on either side of the garage door.
2. Inspect for Obstructions: Make sure there’s nothing blocking the line of sight between the sensors. Sometimes, leaves or dirt can sneak in there.
3. Look for Indicator Lights: Most Raynor sensors have lights that indicate their status. If one is blinking or off, it may be misaligned. Gently adjust the sensors until both lights are solid.
Always remember—the lights are your best friends here. If they’re both green and steady, you’re on the right track and ready for the next steps!
Resetting Your Garage Door Opener
After ensuring your sensors are aligned, you might still need to reset your garage door opener. This step is crucial if there was a power interruption or a battery change. Here’s how to do it:
1. Unplug the Opener: Disconnect the power supply from the garage door opener. Wait for about 30 seconds.
2. Reconnect the Power: Plug it back in, allowing it to reset the internal computer. You should hear a click or see lights flicker.
3. Press the Reset Button: On many models, you might find a reset button (sometimes labeled as ‘Learn’). Press it to initiate the reset process.
Resetting the opener can clear any glitches and allow for a fresh start. Think of it as rebooting your computer—it often resolves small issues!
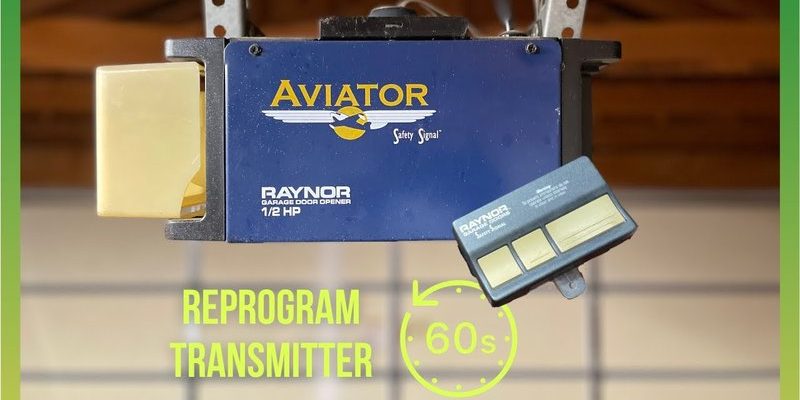
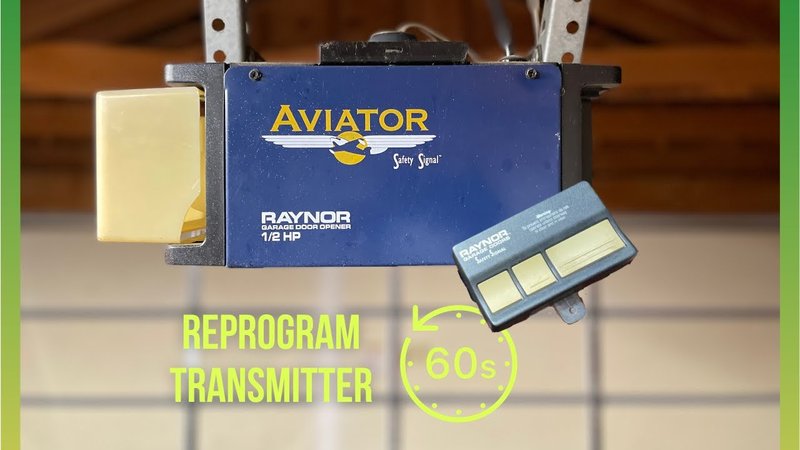
Reprogramming the Raynor Remote
With your sensors aligned and your opener reset, it’s time to reprogram the Raynor remote. This part often feels like a bit of a dance—follow along step by step.
1. Hold the Remote Near the Opener: Get as close as you can for a strong signal.
2. Press and Hold the “Learn” Button: On the garage door opener, press and hold the ‘Learn’ button until you see the indicator light blink.
3. Press the Remote Button: While still holding the ‘Learn’ button, press the button on your remote you want to use to open the garage door. You will usually see the lights on your opener blink or flash.
4. Release Both Buttons: The process is complete once the indicator light goes out. Your remote is now paired!
That’s it! You’ve successfully reprogrammed your Raynor remote. It might feel a bit like magic, but it’s more about following the right steps.
Testing the Setup
Now comes the moment of truth: testing to see if everything is working. Here’s how to do it:
1. Close Your Garage Door: Make sure it’s fully down.
2. Use Your Remote: Press the button to open the garage door. You should see it begin to move.
3. Watch the Sensors: As the door moves, make sure the safety sensors are responding. If anything obstructs the path, the door should halt.
If your door operates smoothly and the sensors work as they should, congratulations! You’ve reprogrammed the Raynor safety sensor successfully. If not, you might want to go back and check the alignment and wiring one more time.
Troubleshooting Common Issues
Sometimes, things don’t go as planned, and that’s perfectly normal. Here are a few common issues and solutions to keep in mind:
- No Response from Remote: Check the battery in your remote. It sounds simple, but it’s easy to overlook!
- Blinking Lights on Sensors: This usually indicates a misalignment. Make sure they’re pointing directly at each other.
- Unexpected Obstruction Signal: If the sensors detect an obstruction but nothing is there, it could be dirt or debris. A quick wipe might solve the issue!
These troubleshooting tips should make it easier to get everything working again. Remember, patience is key as you troubleshoot—you’ll get there!
Reprogramming the Raynor safety sensor isn’t as daunting as it might first appear. With a bit of preparation and a few simple steps, you can bring your garage door back to life. It’s like an ongoing dance between you, your remote, and the safety sensors—keeping everything in sync is the name of the game.
By understanding how to align your sensors, reset your opener, and reprogram your remote, you’re not just solving problems; you’re empowering yourself to take control of your garage. Every successful effort reinforces your confidence, and soon enough, tackling these home repairs will feel like second nature. Keep your toolbox handy, and remember: every challenge is just an opportunity to learn something new!