Imagine your garage door opener as a home team and your remote as a star player. Sometimes, they just need a little motivation to work together again. Whether you’ve changed the battery or moved to a new house, syncing your Raynor remote with your opener is a straightforward process that can be tackled in just a few minutes. Let’s dive into how to get your remote back in sync so you can effortlessly park your car inside again.
Understanding Your Raynor Remote and Opener
Before we jump into the reprogramming, it’s important to understand what you’re working with. Raynor remotes come in various models, each with its unique features, like rolling codes or fixed codes. Most Raynor garage door openers are designed to be user-friendly, which means reprogramming them shouldn’t be a daunting task.
When you talk about a Raynor remote, you’re usually referring to either a one-button or multi-button model. The one-button version is great for those who just want straightforward access, while the multi-button allows for more garage doors to be controlled or using the remote for other functions like the lights. Knowing the type you have is essential because the exact steps can vary slightly between models.
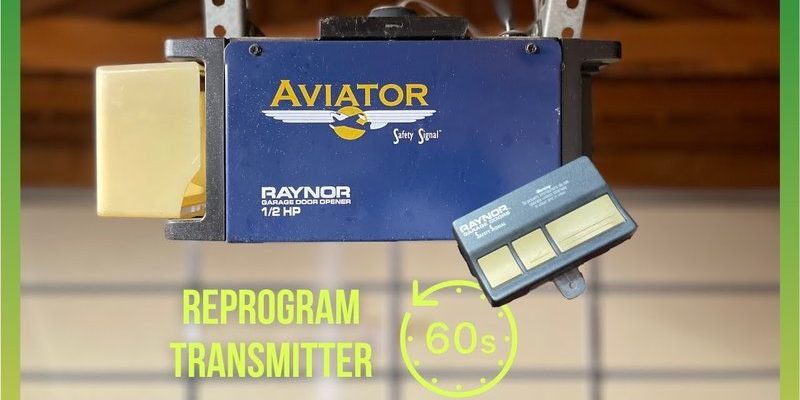
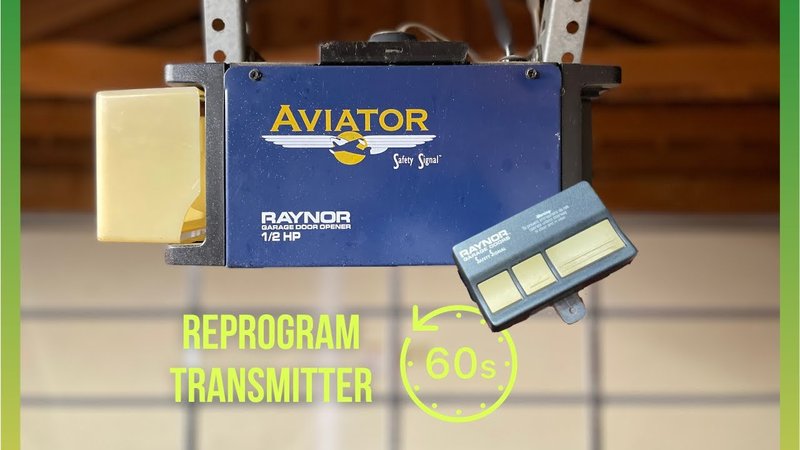
It’s also helpful to familiarize yourself with the various parts involved in this process. You’ll need to locate your garage door opener, usually mounted on the ceiling of your garage, and identify the “learn” button on it. This button acts like the gatekeeper, saying “okay” to new remotes when you program them.
Gather Your Tools: What You’ll Need
Before you begin reprogramming your Raynor remote, it’s a good idea to gather everything you’ll need. Here’s a quick checklist to help you get started:
- Your Raynor remote – make sure it has a working battery.
- A ladder – if your opener is mounted high, you might need a ladder to reach it comfortably.
- Owner’s manual – it can be helpful to have your manual on hand for model-specific instructions.
- Patience and a clear head – these will serve you well during the process!
Having a working battery in your remote is crucial. If the light isn’t functioning when you press a button, you might want to replace the battery first. It’s a small step that can save you a lot of time and frustration.
Now that you’ve got your tools ready, it’s time to get into the nitty-gritty of how to actually reprogram your remote.
Step-by-Step: Reprogramming Your Raynor Remote
1. Locate the Learn Button: This step might involve standing on a ladder. Locate the “learn” button on your garage door opener, usually found near the antenna or at the back of the device. The button could be colored red, orange, or purple depending on your model.
2. Prepare to Sync: Once you’ve found the learn button, press it once. You should see a light next to it glow, indicating that the opener is in programming mode. The light will stay lit for about 30 seconds, so you’ll need to be quick!
3. Press the Remote Button: Within the 30-second window, press and hold the button on your Raynor remote that you want to program. After a brief moment, you should see the light on the opener blink or turn off, confirming that the remote and opener are now paired.
4. Test It Out: To make sure everything is working, press the button you just programmed. If the door opens, congratulations! You’ve successfully reprogrammed your Raynor remote. If it doesn’t work right away, don’t panic—just repeat the steps one more time. Sometimes, it takes a try or two to get everything in sync.
Troubleshooting Common Issues
Even with the best intentions, things can go awry during the reprogramming process. If your Raynor remote isn’t syncing, let’s explore a few common issues you might encounter and how to fix them.
– Battery Issues: If your remote isn’t responding, the battery might be dead. Try replacing it with a new one. A CR2032 battery is commonly used, but always check your manual for specifics.
– Obstructions: Ensure there aren’t any obstructions between the remote and the garage door opener. Sometimes walls, vehicles, or even other electronic devices can interfere with the signal.
– Expired Codes: If you’ve recently moved into a new home or purchased a used remote, it’s possible the codes are outdated. In such cases, you may need to clear the memory on your garage door opener before reprogramming.
When to Consider Getting Help
While reprogramming your Raynor remote is typically a simple task, there are occasions when you might want to seek professional help. For instance, if you’ve tried reprogramming multiple times without success or if your garage door opener itself seems malfunctioning, it might be time to call in an expert.
Qualified technicians can diagnose issues with your opener that aren’t immediately apparent. They can also assist if your remote is an outdated model or if you need an upgrade. Plus, they can perform maintenance on your garage door, ensuring it runs smoothly.
Additionally, if you’re considering getting a universal remote as an alternative, make sure to check its compatibility with your Raynor opener before purchasing.
Keeping Your Raynor Remote in Top Shape
Once you’ve successfully reprogrammed your Raynor remote, you’ll want to keep it functioning well. Here are some tips on maintaining your remote:
- Regularly check the battery: Replace it at least once a year, or sooner if you notice decreased responsiveness.
- Keep it clean: Wipe off any dust or debris to ensure the buttons work smoothly.
- Avoid extreme temperatures: Keep your remote in a place that isn’t exposed to hot sun or freezing cold for long periods.
By taking these small steps, you can extend the life of your remote and prevent issues down the line.
Reprogramming your Raynor remote doesn’t have to be challenging. By following these straightforward steps, you can quickly get your remote synced up and ready to work for you again. Think of it as reinstating the connection between two old friends; once they’re back in sync, everything runs like a well-oiled machine.
Maintaining and troubleshooting your garage door opener and remote keeps your home comfortable and convenient. If issues persist or you’re unsure about compatibility with a new remote, don’t hesitate to reach out for professional help. You’ve got this; happy garage door opening!