You might find yourself wondering why you’d need to reprogram your opener in the first place. There are a few common scenarios. Maybe your remote took a tumble, or you might’ve accidentally erased the memory during a reset. No worries! In this guide, we’ll break down the steps to help you get your Raynor garage door back in action smoothly and efficiently.
Gather What You’ll Need
Before diving into the reprogramming process, let’s make sure you have everything ready. Here’s a quick checklist of what you’ll need:
- Your Raynor garage door opener (both the unit and the remote)
- A sturdy ladder (if your opener is mounted high)
- Fresh batteries for your remote
- A friend or family member (just in case you need an extra set of hands!)
If you’ve noticed your remote is slower to respond, it might just be time for new batteries. Make sure you grab the right kind. Most Raynor remotes use common sizes, so swapping them out is typically a breeze.
Understanding the Basics of Your Garage Door Opener
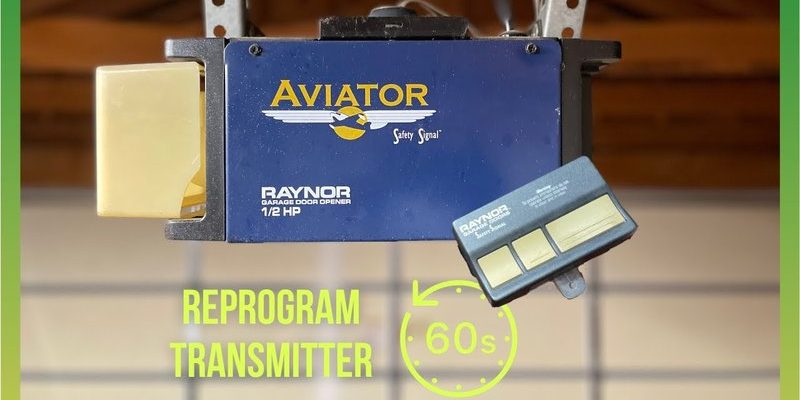
Your Raynor garage door opener works by sending a specific code to your garage door motor when you press the remote button. This communication regulates everything from opening to closing your garage door. If you’re adding a new remote or switching codes because of someone else having access, reprogramming is the way to go.
Most Raynor openers utilize a learn button, which is often located on the back of the main unit. When you press this button, it puts the opener in a mode that allows you to sync with your remote. This process is similar to syncing a Bluetooth device with your phone; you just need the right code and a little patience!
How to Access the Learn Button
Finding the learn button on your Raynor garage door opener is the first crucial step. Here’s how to do it:
1. Locate the Unit: Stand under the garage door opener. The unit is typically mounted on the ceiling of your garage.
2. Identify the Learn Button: On many models, the learn button is either red, yellow, green, or purple. It’s usually a round or square button that stands out. Check the user manual if you’re having trouble spotting it.
3. Prepare Your Remote: Ensure your remote has fresh batteries installed. Without working batteries, the remote won’t sync properly—meaning all your efforts could go to waste!
This step is important and straightforward. Taking a moment to confirm you have everything in place now will save you time later.
Reprogramming Your Raynor Garage Door Opener
You’re ready to dive into the actual programming! Here’s a step-by-step guide that you can follow:
1. Press the Learn Button: Tap the learn button once. A light on the opener may blink or stay lit—this indicates that the unit is in learn mode.
2. Press the Remote Button: Within 30 seconds, press the button on the remote you want to use for your garage door. You should see the light blink again. This means your command has been registered!
3. Test the Remote: Go ahead and press the button you just programmed a few times. Your garage door should respond. If it opens or closes, congratulations! You’ve successfully reprogrammed it.
If at first you don’t have success, don’t stress. Sometimes it can take a couple of tries to get the timing just right.
Troubleshooting Common Issues
So, what happens if your Raynor garage door opener still won’t respond after reprogramming? Here are some troubleshooting tips:
– Check the Batteries: Make sure the batteries in your remote are fresh. Weak batteries can lead to a poor signal.
– Distance Matters: If you’re too far away from the opener or there are obstacles blocking the signal, the remote may not work correctly.
– Reset the Opener: If all else fails, you may want to reset the garage door opener. To do this, press and hold the learn button for 6-10 seconds until the light goes off. This erases all programmed remotes, and you can try reprogramming from scratch.
By addressing these common issues, you can help ensure your opener is reliable and responsive when you need it.
Alternative Options: Universal Remotes
If your Raynor opener still isn’t working, or if you want a backup option, you might consider a universal garage door remote. These remotes can work with several different brands, including Raynor, making them a versatile choice. Here’s a quick rundown of the pros and cons:
- Pros:
- Compatibility with multiple systems
- Often more affordable than brand-specific remotes
- Convenience of having a single remote for multiple doors
- Cons:
- May lack certain features of brand-specific remotes
- Could require more complex programming
Universal remotes can be a great alternative if you need something a bit more flexible.
Maintenance Tips to Keep Your Opener Smooth
Now that your Raynor garage door opener is reprogrammed and functioning well, it’s a good time to think about maintenance. Regular upkeep can help prevent future issues:
1. Clean the Sensors: Dust and debris can build up on the sensors over time, leading to malfunctioning doors. A quick wipe can make a big difference.
2. Lubricate Moving Parts: A little bit of lubricant on the tracks and rollers can keep things running smoothly and quietly.
3. Check the Garage Door Balance: A balanced door reduces strain on the opener. Test it by disconnecting the opener and manually lifting the door; it should stay in position.
Taking care of your garage door opener helps ensure it’s always ready to roll when you are.
In closing, reprogramming your Raynor garage door opener doesn’t have to be a complicated process. With the right steps and a little patience, you can have your opener working like new! Make a habit of keeping things tidy and maintained, and you’ll enjoy easy access to your garage for years to come. Whether it’s for daily convenience or security, knowing how to care for your garage door system is always a smart move.