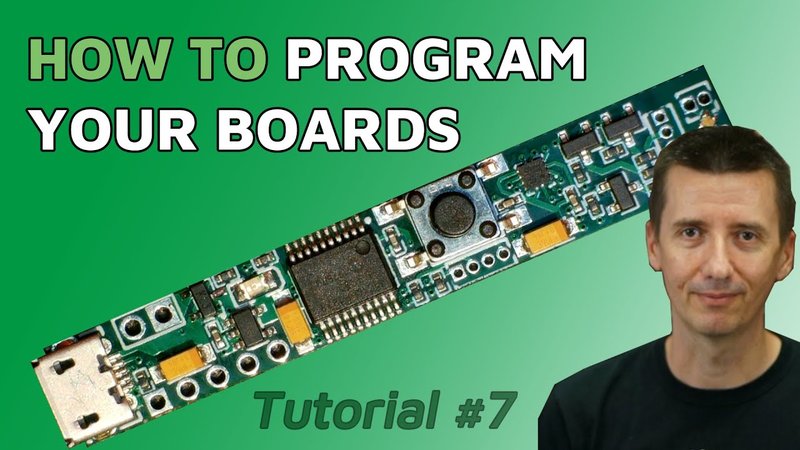
This guide will break down how to reprogram the Raynor circuit board in a straightforward way. You might be wondering if it’s complicated or time-consuming, but with some simple steps and a dose of patience, you’ll have it done in no time. This process will usually involve your remote control, the opener unit, and maybe even a few tools that are already in your garage. Let’s dive right in!
Understanding the Raynor Garage Door System
Before we jump into reprogramming, let’s take a moment to understand how a Raynor garage door system works. Essentially, your garage door opener uses a circuit board inside the unit that communicates with the remote control. This board is like a translator—interpreting signals from your remote and activating the motor to open or close the door.
When you press the button on your Raynor remote, it sends a code to the circuit board in the opener. If the code isn’t recognized, it’s like speaking a different language—you won’t get far! Reprogramming the circuit board is essentially resetting that communication link and teaching the opener to pick up the new signals. Occasionally, this process is needed due to new remotes, battery changes, or factory resets.
Gather Your Tools
Before you start, a little preparation goes a long way. Here’s a list of what you’ll need:
- Raynor Remote Control: This is crucial—you’ll need it to send the reprogramming signals.
- Step Ladder: If your unit is mounted high, a ladder will help you access the circuit board easily.
- Owner’s Manual: If you can find it, this will have specific programming instructions and codes for your model.
- Pencil and Paper: Jotting down codes or steps can be handy.
Having these tools ready will make your reprogramming process smooth and efficient. No more hunting for things right when you’re ready to start!
Locating the Circuit Board
Now that you have your tools, let’s locate the circuit board. It’s usually inside the motor housing of the garage door opener. If your unit is mounted in the ceiling, don’t forget your ladder!
1. Turn Off Power: Safety first! Unplug the opener or turn off the circuit breaker to avoid any accidents.
2. Access the Housing: Look for screws or tabs that hold the motor housing together. Once you find them, carefully open the cover.
3. Identify the Circuit Board: You’ll see a small plastic or metal board with several wires and connectors attached to it. It usually has buttons and LED indicators on it.
Once you locate the circuit board, you’re ready to move forward with the reprogramming.
How To Reprogram the Circuit Board
Now, let’s get to the meat of the process: reprogramming. Here’s a step-by-step guide:
1. Find the Program Button: Look for a small button on the circuit board—it’s often labeled as “Learn,” “Program,” or something similar. This is where the magic happens.
2. Press the Learn Button: Press and hold the program button for about 5 to 10 seconds until an LED light starts flashing, indicating it’s in learning mode.
3. Activate the Remote: While the LED is flashing, press the button on your Raynor remote that you want to program. The LED light should flash more rapidly, and then turn off. This means the remote is successfully synced!
4. Test the Connection: Put the cover back on the housing, plug it back in, and try using the remote to open or close the door.
If all went well, your garage door opener should respond, and you can feel like a tech genius!
Troubleshooting Common Issues
Sometimes, things can go a bit haywire during this process, and that’s okay! Here are a few common problems you might encounter, along with their solutions.
1. Remote Not Syncing: If the LED light doesn’t respond, double-check if you’re pressing the right button and that you’re within range.
2. Repeating Issues: If the opener still doesn’t respond after reprogramming, the remote’s battery might need replacing. Don’t forget to check that!
3. Interference: Sometimes, other electronics might interfere with the signal. If you suspect this is the case, try to move closer to the opener when programming.
These steps can often resolve a frustrating situation quickly.
Maintaining Your Raynor Opener for Longevity
Just like any trusty tool, your Raynor opener needs care to function well. Here are a few simple maintenance tips:
- Check Battery Life: Regularly check your remote’s battery and replace it if needed. A fresh battery can make all the difference.
- Clean the Sensors: Dust and debris can obstruct your opener’s sensors. Wipe them down every so often to keep them clear.
- Listen for Unusual Noises: Grinding or straining sounds while the door opens or closes might indicate a need for lubrication or mechanical attention.
- Regularly Test the Remote: Make it a habit to test your remote once a month—just to stay ahead of any issues.
A little preventive maintenance can save you from bigger problems down the line.
When to Call a Professional
If things aren’t working after trying all these steps, it might be time to call in a pro. Maybe there are deeper electrical issues, or perhaps the circuit board itself is faulty. Here are a couple of signs that it’s time to reach out:
– Persistent Connection Issues: If your remote still doesn’t sync after multiple attempts.
– Mysterious Behavior: If your garage door opener starts acting erratically or opens/closes without any command.
It’s always better to be safe than sorry, and a professional can help diagnose and fix a problem that might not be easily visible.
Wrapping Up
Reprogramming your Raynor circuit board doesn’t have to be daunting. With just a few simple steps, you’ll restore communication between your remote and your opener. Whether you’re a DIY enthusiast or just looking for an easy fix, knowing how to do this can save you time and a potential call to the repair man.
Just remember to gather your tools, follow the steps methodically, and stay patient. Before you know it, you’ll be waving your remote like a pro, enjoying the ease of a fully functioning garage door. Keep those maintenance tips in mind and your Raynor will keep working hard for you!
