
Reprogramming your garage door opener is a lot like resetting your favorite video game after a glitch—sometimes things just need a little refresh. You might have a basic remote control or a smart opener that pairs with your phone, but don’t worry, the process isn’t rocket science. In this guide, I’ll walk you through the steps to get your Overhead Door opener back on track, ensuring you can roll in and out with ease.
Understanding Your Overhead Door Garage Door Opener
Before diving in, let’s take a closer look at what you’re working with. Overhead Door offers various models, including the popular CodeDodger series and the newer OHD Anywhere smart opener. Each model may have slightly different features, but they generally operate on the same principles.
Most remotes are equipped with a *learn button*, which is the key to reprogramming. It communicates with the receiver connected to your garage door. When you press it, you essentially tell the system, “Hey, it’s me! Let’s get this door moving!” Understanding this process will empower you to troubleshoot future issues, making you no stranger to your garage door’s quirks.
Gathering Your Tools
Before you start, it’s good to have the right tools and information handy. Here’s what you’ll need:
- Your garage door opener remote: Make sure it’s in good working condition. If it’s old, consider replacing the battery first.
- A ladder: If your opener is mounted high, a ladder will help you reach the controls easily.
- The model number: Having your opener’s model number can help if you need to reference a manual.
Having everything ready means you won’t waste time running back and forth. Honestly, nobody enjoys that extra cardio!
Resetting the Opener Unit
When reprogramming, the first step is often to reset the opener unit itself. This process clears any existing codes, allowing you to start fresh. The reset routine can differ slightly, but generally, you’ll follow these steps:
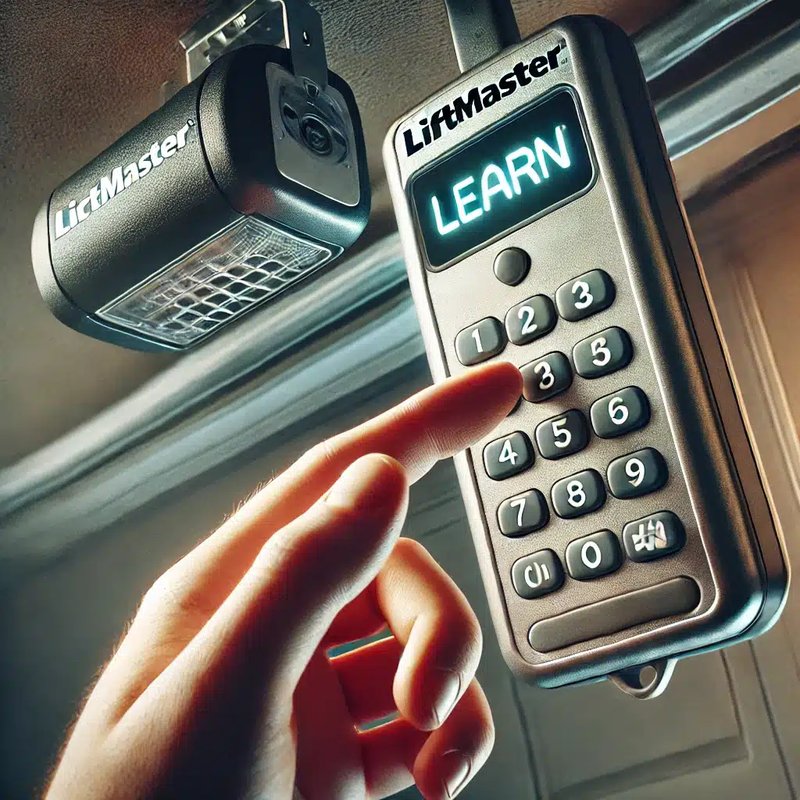
1. Find the Learn Button: This is usually located on the back or side of your opener unit. It can be labeled as “Learn,” “Program,” or even something like “Set.”
2. Press and Hold: Once you locate it, press and hold the button for about 6 seconds. You should see a light indicator blink or remain steady, signaling that the opener is in program mode.
3. Clear Existing Codes: If your model has an “Erase” option or similar, make sure to activate it. This clears previous remotes so you can start pairing again.
Resetting the unit is a crucial step that sets the foundation for the new remote connectivity. Without doing this, you might find yourself wrestling with a stubborn opener that just won’t cooperate!
Pairing Your Remote with the Opener
Now that your opener is reset, it’s time to pair it with your remote. Here’s a step-by-step guide on how to do this:
1. Press the Learn Button Again: After the opener is reset, press the learn button once. The light should illuminate for about 30 seconds, indicating it’s in pairing mode.
2. Press the Remote Button: Within those 30 seconds, press and hold the button on your remote that you want to use to operate the garage door.
3. Wait for Confirmation: The opener light should blink or click, confirming that it has recognized the remote. Release the button once you see this.
That’s it! If all goes well, your remote should now be synced with the opener. It’s always good to test it out right away—after all, who wants to wait around only to discover it didn’t work?
Troubleshooting Common Issues
Sometimes things don’t go as smoothly as planned. If your opener won’t respond, don’t panic; troubleshooting can usually solve the problem. Here are some common issues and solutions:
- Remote Not Working: If the remote isn’t working, try replacing the battery. Also, ensure you’re within the operating range of the opener.
- Light Not Blinking: If the opener light doesn’t blink when pressing the remote, it might not be in pairing mode. Double-check the timing and ensure you’re pressing the right button.
- Multiple Remotes: If you have multiple remotes, make sure you’re not inadvertently confusing them. Remember, each remote needs to be programmed individually.
By approaching each problem step by step, you’ll gain confidence in handling common issues. It’s kind of like reading the manual in an escape room—you’ll learn how to get to the exit faster with the right clues!
Frequently Checking Your Batteries
It’s easy to forget that your remote relies on batteries. A dead battery can be a simple but annoying fix. Regularly check and replace your remote’s batteries, which should be done at least once a year or when you notice reduced range.
When replacing batteries:
1. Open the battery compartment on your remote.
2. Remove the old batteries and dispose of them properly.
3. Insert new batteries, making sure to match the (+) and (-) symbols.
Keeping your batteries fresh can save you the headache of programming issues later. Think of it as regular maintenance for your remote—you wouldn’t let your car run low on gas, right?
Using a Universal Remote with Overhead Door Openers
If you’re looking for convenience or have several doors to manage, consider a universal remote. While it might seem overwhelming, programming a universal remote to work with your Overhead Door opener can be straightforward.
Here’s how:
1. Find the Universal Remote’s Instructions: Each universal remote may have different methods. Read the manual carefully.
2. Follow Pairing Steps: Generally, you’ll follow the same steps as with your original remote—press the learn button and hold the desired button on the universal remote.
3. Test the Connection: Once you think it’s programmed, try operating your garage door.
Using a universal remote can simplify your life. Plus, it’s like having a Swiss Army knife for your garage—one remote to rule them all!
Reprogramming your Overhead Door garage door opener can be a simple process once you know the steps. Whether it’s sharing the driveway with a new vehicle or just wanting to prepare for the unexpected, knowing how to reset and program your opener is a valuable skill. Don’t let a stubborn remote hold you back!
Keep your tools close, check your batteries regularly, and don’t be afraid to troubleshoot. With a little patience and practice, you’ll be zipping in and out of your garage in no time. And as always, remembering that every small win—like mastering your garage door—is a part of making your home that much more comfortable!