
Reprogramming your Liftmaster remote is easier than you might think. Whether you’ve just changed the battery or are dealing with a new remote altogether, these simple steps will guide you through the process smoothly. Grab your remote, and let’s dive in without any fuss!
Understanding Your Liftmaster Remote
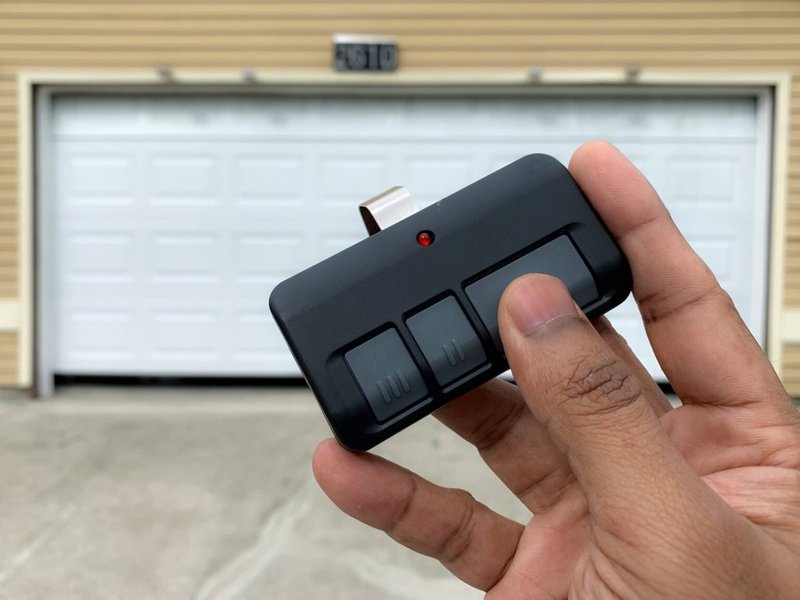
Before jumping into the reprogramming steps, it’s important to understand your remote. Liftmaster remotes come in different models, each with its unique features but sharing a common goal: to open and close your garage door with just a push of a button. Generally, you’ll find a few buttons on the remote—one for opening the door, another for closing it, and sometimes additional buttons for specific functions, like a light or a lock.
The most common Liftmaster remotes are the 373P and the 890MAX. Each model uses a specific code system to communicate with your garage door opener. When you press the button on your remote, it sends a coded signal to the opener. If the code matches, the door does its thing. But if you’ve changed the batteries or moved around your remote, it might need reprogramming to sync up again.
Knowing what type of remote you have is crucial for the next steps. Grab your user manual or check Liftmaster’s website for guidance specific to your model.
Gathering What You Need
Alright, let’s get you ready to reprogram your Liftmaster remote. First, you’ll need a few things:
- Your Liftmaster remote: Of course! Make sure the batteries are fresh; old batteries can cause issues.
- Your garage door opener: You’ll need that handy, as we’ll be working directly on it.
- A step ladder: If your opener is mounted high, grab a ladder to help reach it safely.
Make sure to clear the space around your garage door opener—moving any obstacles out of the way will give you room to work. Having everything in one place makes the process quicker and simpler, so take a moment to gather what you need before you start.
Let’s Reprogram the Remote
Now for the fun part—reprogramming your Liftmaster remote! Here’s a straightforward step-by-step guide to help you through the process:
1. Locate the “Learn” button: This button is typically found on the back or side of your garage door opener. It might be a little hard to see, but you’ll often find it near the antenna wire.
2. Press the “Learn” button: Once you find it, press and release this button. You’ll see an indicator light turn on, usually for about 30 seconds. This light signals that the opener is in learning mode.
3. Press the remote button: While the indicator light is still glowing, press and hold the button on your remote that you want to use for opening the garage door. Keep holding it down until the indicator light on the opener blinks and then turns off. This means your remote is now programmed!
4. Test it out: After reprogramming, step back and press the button on your remote. If all went well, your garage door should respond smoothly. If not, double-check the steps or try repeating the process.
If you run into trouble, it may be worth looking into the type of battery used or whether the remote is compatible with your garage door opener model.
Common Problems and Troubleshooting
Occasionally, problems may arise during the reprogramming process. Let’s go over some common issues and how to tackle them:
– Remote doesn’t work: If your garage door didn’t budge, first, check that your remote’s battery is fresh. If the problem persists, try reprogramming again. Make sure you’re in range of the opener and that it’s powered.
– Indicator light doesn’t glow: If pressing the “Learn” button doesn’t activate the indicator light, your opener may not have power. Check the power source, and make sure the unit is plugged in and functioning.
– Remote syncs but door doesn’t open: In this case, your remote may be programmed, but there might be a different issue, such as a malfunctioning door opener or an obstruction in its path. Check for any blockages or listen for odd sounds when trying to open the door.
By following these troubleshooting tips, you can save yourself some time and hassle.
Resetting Your Remote
Sometimes, it makes sense to completely reset your Liftmaster remote before reprogramming it. This can help if you’re experiencing persistent issues or have set multiple remotes and want to start fresh. Here’s how to do it:
1. Unplug the opener: Start by unplugging your garage door opener from the power source. This will erase all programmed remotes.
2. Press and hold the “Learn” button: While it’s unplugged, press and hold the “Learn” button. Keep holding it for about 10 seconds before releasing it.
3. Plug the opener back in: After releasing the button, plug your opener back into the outlet. It should be reset and ready for new remotes to be programmed.
4. Follow the reprogramming steps: With everything reset, head back through the reprogramming steps outlined earlier to sync your remotes.
Resetting can clear up a lot of confusion, especially for those of you juggling multiple remotes for different family members or vehicles.
Understanding Compatibility with Universal Remotes
If you’re feeling adventurous or just want an alternative solution, you might want to consider a universal garage door remote. These remotes can work with various brands and models, including Liftmaster.
When choosing a universal remote, make sure it clearly states compatibility with Liftmaster products. Here’s the catch: programming a universal remote can be different from reprogramming an original Liftmaster remote. Often, manufacturers provide instruction manuals to guide you through the setup specific to their universal remotes.
Using a universal remote can be handy, especially if you have multiple types of garage door openers in your household, allowing for a single device to control several doors. However, keep in mind that functionality may vary based on the model.
Final Thoughts on Reprogramming Your Liftmaster Remote
Reprogramming your Liftmaster remote doesn’t need to be a daunting task. With these simple steps and some basic troubleshooting, you’ll be able to get your remote working smoothly in no time. Just remember to check battery levels and ensure a clear connection between the remote and garage door opener during programming.
Taking the time to understand how your remote works will save you frustration down the line. If you ever feel stuck, don’t hesitate to consult your user manual or reach out to Liftmaster support. Happy programming!