Whether you’re looking to change your code for security reasons or just because you forgot the old one, the process is straightforward. By the end of this guide, you’ll feel confident tackling the task, and just like adjusting the settings on your coffee maker, it’ll become second nature after the first time.
Understanding Your Craftsman Keypad
Before diving into the reprogramming steps, let’s clarify what type of keypad you might be handling. Craftsman keypads typically come in two varieties: wireless and wired. Both types serve the same basic purpose but may have different reprogramming steps.
With a wireless keypad, you typically rely on battery power and communicate with the opener via radio signals. This is more convenient but can be affected by interference from devices like routers or neighboring keypads. A wired keypad, on the other hand, connects directly to your garage door opener and usually needs to be hardwired, offering a stable and reliable connection.
Whichever model you’re using, it’s good to familiarize yourself with the buttons and their functions. Most Craftsman keypads have a “program” button that starts the reprogramming process. Trust me; knowing your keypad inside out is half the battle won!
Gather Your Tools
You won’t need much to reprogram your Craftsman keypad, but having everything at hand can make the process smoother. Here’s a quick checklist:
- Your Craftsman keypad
- Owner’s manual (if you have it handy)
- 2 AAA batteries (in case it needs a battery change)
- A clear workspace to follow the instructions
Having your owner’s manual can be a lifesaver. It often contains specific diagrams and step-by-step instructions tailored to your keypad model. If you don’t have a physical copy, try searching online for a PDF version. You might also want to keep a pen and paper handy to jot down any codes that you will be programming.
Steps to Reprogram Your Craftsman Keypad
Here’s where the magic happens! These steps will guide you through the reprogramming process, ensuring that your keypad works smoothly with your garage door opener.
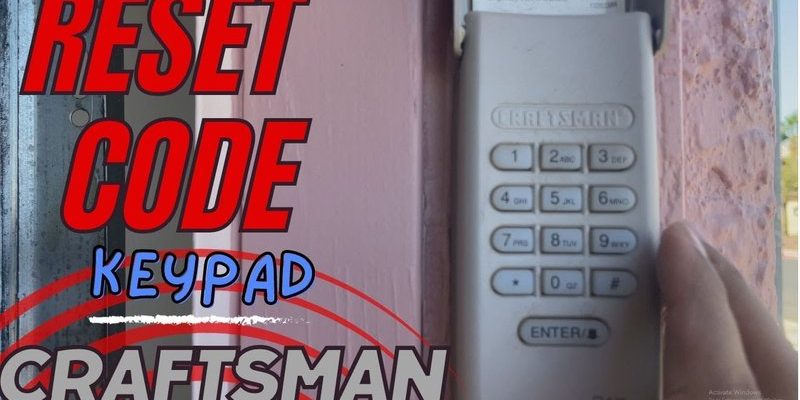
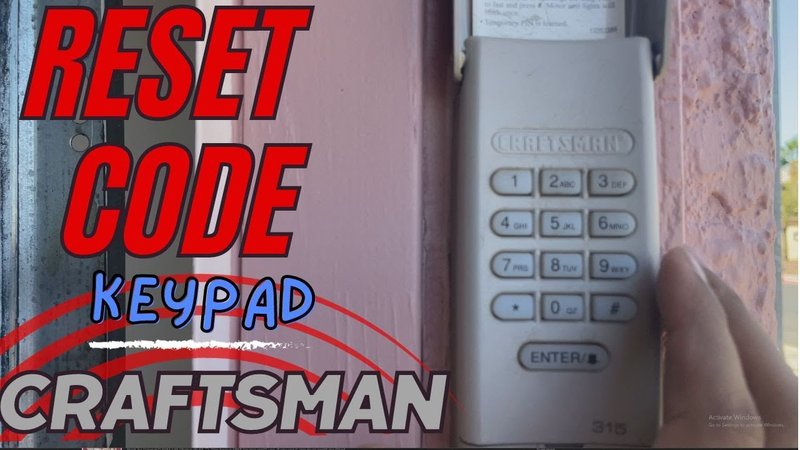
1. Locate the “Program” Button: Begin by finding the “program” button on your keypad. It could be a small button on the bottom or somewhere along the side. You might need a paperclip to press it if it’s recessed.
2. Enter Programming Mode: Press the “program” button. You should see the keypad’s light flash or hear a beep, indicating it’s ready for programming.
3. Input Your New Code: Enter your desired four-digit code. Make sure you remember it! If you input a code that’s already in use, most keypads will not accept it.
4. Confirm the New Code: Once you enter the new code, press the “Enter” or “Program” button again. Your keypad will beep or flash to confirm the change.
5. Exit Programming Mode: Wait for about 10 seconds for the keypad to automatically exit programming mode, or press the “program” button once more to exit.
And voilà! You’ve successfully reprogrammed your Craftsman keypad.
Common Issues and Troubleshooting
Sometimes, things don’t go as planned, and that’s perfectly normal. If you encounter issues while reprogramming, here are a few troubleshooting tips:
– Keypad Not Responding: If your keypad isn’t responding, check the batteries. If they’re dead, replace them and try again.
– Code Not Accepted: If the code doesn’t work, make sure you followed the input step carefully. Mistyping is a common pitfall.
– Interference Issues: If you notice a delay or intermittent responsiveness, there might be interference from nearby devices. Try moving the keypad or checking for nearby electronics.
Keeping these troubleshooting tips in your back pocket can save you time and frustration.
Resetting Your Keypad
In some cases, you might find that you need to reset the Craftsman keypad entirely. This could be helpful if you want to start fresh or if you’re moving into a new home and want to remove someone else’s access.
To reset your Craftsman keypad, follow these steps:
1. Press and hold the “Program” button until the light blinks. This indicates that the keypad is in reset mode.
2. Enter “0000” (the factory default code), and then press “Enter.” This should clear any previous codes and settings.
3. Re-enter your new code using the previously described steps to ensure your new settings take effect.
By resetting your keypad, you regain control over who has access to your garage.
Importance of Regularly Changing Your Code
Changing your keypad code periodically is a smart security practice. Think of it as changing your email password every few months; it helps keep your belongings safe. If you’ve just moved into a new place or had anyone else access your garage, changing the code right away is crucial.
You might also want to change the code if you feel someone else has been using it, even if unintentionally. Regular updates keep you in control and give you peace of mind.
Remember, it’s not just about convenience but also about keeping your space secure. A little effort goes a long way!
Reprogramming your Craftsman keypad doesn’t have to be overwhelming! With a few simple steps and some patience, you can easily manage your garage door access. Just like trying to make the perfect cup of coffee, it might take a little practice, but it’s worth it once you get the hang of it.
Take a moment to familiarize yourself with your keypad, gather your tools, and dive into the reprogramming process. By keeping the remote working well, you’ll avoid annoyances and keep your home secure. Plus, nothing feels better than mastering a task that seemed complex at first—so go ahead, give it a try!