Think of the control panel like the brain of your garage door opener. Much like how we need to learn to adapt when we encounter new challenges, your garage door system can benefit from a little reprogramming when circumstances change—say, if you’ve added a new remote, or perhaps someone moved into or out of your house. Let’s dive into the step-by-step process of how to do this, taking it slow to ensure you understand each step clearly.
Understanding the Craftsman Control Panel
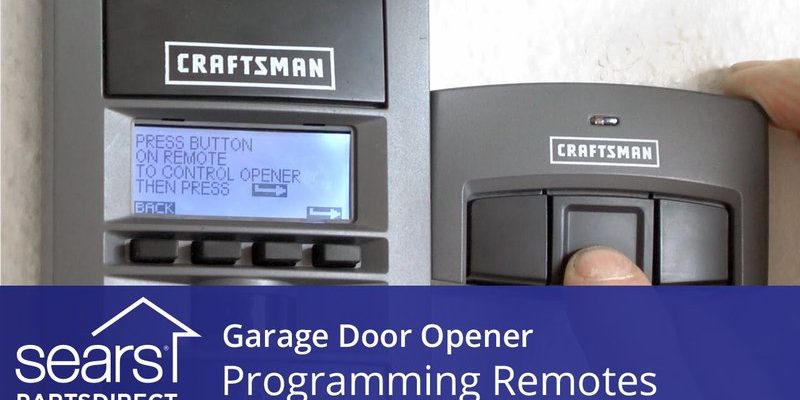
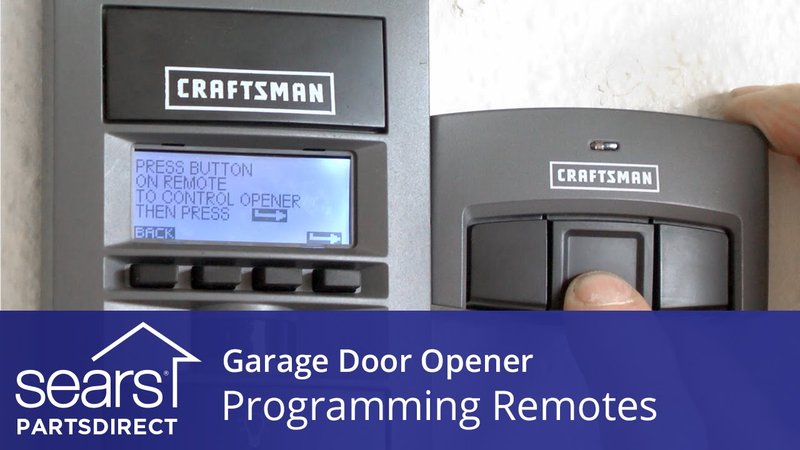
The Craftsman control panel is the command center for your garage door opener. This small device is typically mounted on the wall inside your garage and allows you to control the door’s operation. It’s got buttons to open and close the door, plus some additional features depending on the model, like a light switch or lock button.
Here’s the deal: sometimes the control panel and the remote need to communicate anew, especially if you’ve changed batteries or added a new remote. Reprogramming the control panel ensures that everything is syncing up as it should, allowing smooth operation of your garage door without any hiccups. If you’re just getting started, don’t stress! We’ll take it step-by-step.
Gathering the Tools You Need
Before you kick off the reprogramming process, you’ll want to gather a few essentials. Here’s your mini toolkit for this task:
- Your Craftsman remote – Make sure it’s handy and has good battery life.
- Step ladder – If your control panel is mounted high, you might need a sturdy step ladder to reach it safely.
- Instructions manual – If you still have it, great! It can provide model-specific insights.
- A pen and paper – Jot down any codes or important notes as you go along.
With these tools at your disposal, you’re ready to tackle the reprogramming. Think of this prep work as laying the foundation for a successful home improvement project.
Resetting the Control Panel
Resetting your Craftsman control panel is often the first step in reprogramming it. Here’s how to do it:
1. Locate the “Learn” button: This button is usually on the back of the motor unit of your garage door opener. You might need to use the ladder if it’s out of reach.
2. Press and hold the button: Hold it down for about 6 seconds until the indicator light turns off. This tells you that the panel has been reset.
3. Return to the control panel: Now you’re ready to reprogram your remotes!
Resetting the control panel wipes out all previous settings, so you’ll need to re-add your remotes as we progress. Think of it like clearing your schedule to start fresh—you’re setting the stage for new connections.
Reprogramming Your Remote
With the control panel reset, you can now reprogram your remote. Follow these steps closely:
1. Press the “Learn” button again: On the motor unit, press and release this button. The indicator light should turn on.
2. Press the button on your remote: Within 30 seconds of pressing the “Learn” button, press and hold the button on the remote you want to sync. You’ll see a light blink or hear a click—this indicates a successful pairing.
3. Test the remote: Try using the remote to open or close your garage door. If it works, congrats! You’ve successfully reprogrammed it.
You might find it helpful to keep your remote closer than the recommended distance when pairing, especially if it’s your first try. As with learning anything new, practice makes perfect, so don’t hesitate to repeat the steps if it doesn’t work on the first go.
Adding Additional Remotes
If you want to add more remotes, the good news is the process is pretty much the same! Just repeat the steps for each remote, pressing the “Learn” button and then the button on each remote you wish to add.
Make sure to complete this process within that 30-second window after pressing the “Learn” button. It’s like auditioning new members in a band—you want to get through the lineup quickly to form a cohesive team!
Troubleshooting Common Issues
Even with the best instructions, things can go awry sometimes. Here are a few common issues and solutions:
– Remote isn’t working: Double-check the batteries. Old batteries can be sneaky!
– Control panel won’t reset: Make sure you’re holding the “Learn” button until the light turns off completely.
– Door opens but won’t close: This could indicate an alignment issue or a problem with the photo eyes. Check for any obstructions in the door’s path.
When troubleshooting, think of it as detective work. Each clue leads you closer to the problem, and this process not only helps you fix the technical snag but also builds your confidence for future tasks.
Maintaining Your Craftsman System
Now that you’ve successfully reprogrammed your Craftsman control panel, let’s talk about keeping it in top shape. Regular maintenance helps ensure your garage doors open and close smoothly without any hassle.
Start by checking the remote batteries regularly—once a year is a good benchmark. Additionally, inspect the gear and any moving parts of your opener for wear and tear. If adjustments are needed, don’t hesitate to dive into your owner’s manual. It might sound basic, but a little upkeep goes a long way in preventing bigger issues down the road.
You might also want to test the safety features on your garage door, such as the auto-reverse function. This is an essential safety measure that prevents accidents.
Reprogramming your Craftsman control panel isn’t just a technical task; it’s part of keeping your space functional and secure. By following these clear steps, you can confidently tackle the process, knowing that you’re taking control of your home’s mechanics.
The next time you face a challenge, remember that learning new skills like this can empower you in ways you might not expect. And who knows? This could be the first of many DIY projects you take on! Keep practicing, stay curious, and you’ll master your garage door system in no time.