Reprogramming your Chamberlain keypad is often necessary after moving into a new home, changing your code for security reasons, or if the battery has been replaced. Each keypad model may have slightly different instructions, but the core idea remains the same. Let’s dive in together and break down the steps, so you can feel confident in managing your garage door.
Why Reprogramming is Important
You might be wondering, “Why should I bother with reprogramming my keypad?” Well, think of your garage door keypad like the main entrance to your home. Just like having a solid front door lock adds security, reprogramming your keypad helps maintain control over who has access to your garage.
When you move into a new place, the previous owners may still have access if they know your code. Similarly, if you’ve lent your code to family or friends, it could be time for an update to ensure privacy. Reprogramming provides peace of mind, ensuring that only you (and those you trust) can operate your garage door.
Here’s the thing: reprogramming your keypad can also help it function better. If you’ve noticed that your door isn’t responding to your keypad as quickly or reliably as before, a reset may do the trick. Think of it as giving your keypad a fresh start.
Gathering Your Tools
Before you roll up your sleeves and dive into reprogramming, there are a few essentials to have on hand. You don’t need a toolbox full of gadgets; instead, just a couple of items will do the job. Here’s a quick checklist:
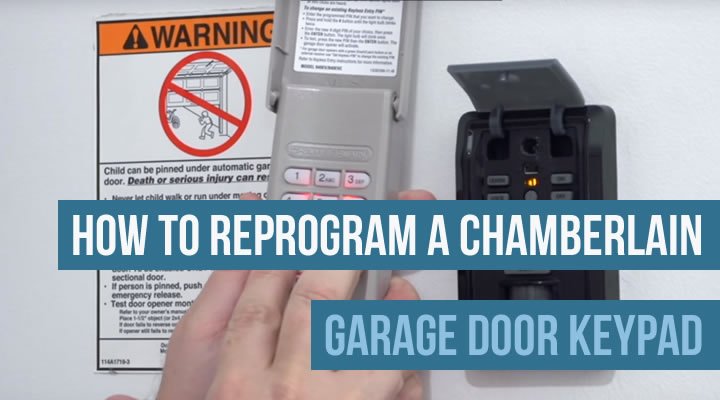
- Your Chamberlain keypad.
- The garage door opener (remote) that it pairs with.
- A new code (preferably something memorable but secure).
- A small flathead screwdriver (if required for battery replacement).
Make sure your keypad has fresh batteries. Low battery power can affect functionality and may lead to unnecessary troubleshooting later. It’s best to check before starting the reprogramming process so you can avoid frustration down the line.
Understanding Your Keypad Model
Chamberlain offers several types of keypads, and knowing which one you have can make life easier. For instance, you might have the basic *Chamberlain Keyless Entry Model 953EV, or the more advanced 371LM*. Check the back of your device or the manual for the exact model number.
If you can’t find your model number, don’t worry. Most Chamberlain keypads share similar programming methods. Just be sure to consult the specific manual for your device if you run into trouble.
Discovering your model is like knowing the rules of a game before you jump in. It makes everything smoother and more manageable.
Step-by-Step Reprogramming Guide
Now that you’re all set, let’s jump into the actual reprogramming. Here’s a straightforward step-by-step process to reprogram your Chamberlain keypad:
Step 1: Clear the Old Code
Start by entering your existing code. Then, press and hold the *’
Step 2: Enter Your New Code
Now it’s time to set your new code! Enter your preferred 4-digit code, which should be easy for you to remember but hard for others to guess. After entering it, hit the *’Enter’ button*. The keypad should beep again, confirming the code change.
Step 3: Sync your Keypad with the Garage Door Opener
Next, you’ll need to prepare the garage door opener for the new code. Press and hold the *”Learn”* button located on the back of your garage door opener until the indicator light turns on.
Now, return to your keypad and press your newly programmed code, followed by the *’Enter’ button*. Wait for a couple of seconds and listen for a beep—it means you’ve successfully paired the keypad with your opener.
It’s like the two devices are having a secret handshake that only they understand!
Step 4: Testing Your New Code
Before you pat yourself on the back, it’s essential to test the new setup. Step away from the door, enter your new code, and hit *’Enter’* to see if the garage door responds. If it opens, you’re all set! If not, double-check each step to ensure everything was followed correctly.
Remember, it may take a couple of tries, so don’t get discouraged if it doesn’t work on the first go.
Troubleshooting Common Issues
Even with clear instructions, things can go sideways occasionally. Here are a few common problems you might face while reprogramming your Chamberlain keypad and their solutions:
- The keypad doesn’t beep: Check the battery. Get fresh batteries if they’re low—this works wonders!
- Code doesn’t work: Double-check that you entered it correctly. It’s easy to mistype numbers, especially when nervous!
- The garage door doesn’t respond: Ensure that the garage door opener is compatible with your keypad model.
If you still face issues after these steps, consult your model’s manual or reach out to Chamberlain support.
Maintaining Your Keypad for Longevity
Once you’ve succeeded in reprogramming your Chamberlain keypad, it’s essential to maintain it to keep it functioning well. Here are some quick tips:
- Check the battery every few months—don’t wait for it to die!
- Keep the keypad clean. Dust can interfere with functionality.
- Avoid exposing it to extreme temperatures if possible. Protect it from direct sunlight or heavy rain.
Regular maintenance can make a big difference in the lifespan of your keypad. Think of it as routine car maintenance—a little effort goes a long way!
Now that you know how to reprogram your Chamberlain keypad, you can feel confident and in control of your garage access. Remember, reprogramming is about security and convenience; ensuring that your garage remains a safe space is worth the time it takes.
Whether you’re changing codes for security or simply giving your keypad a refresh, following these steps can save you time and hassle. If you hit a snag, don’t hesitate to revisit these steps. Soon, you’ll be a pro at managing your garage door keypad, making life just a bit more accessible. Happy reprogramming!