If your Sears wall button has stopped responding or if you’re looking to upgrade to a slicker model, you’re in the right place. In this guide, we’ll walk through the steps to replace that button, ensuring you’re back in action in no time. Trust me, it’s simpler than you might think!
Gather Your Tools and Replacement Parts
Before diving into the actual replacement, let’s make sure you have everything you need. Here’s a quick checklist of items to gather:
- A flathead screwdriver
- A Philips screwdriver
- Your replacement Sears wall button
- Wire strippers (if needed)
- Electrical tape (optional)
Having these tools on hand is crucial. Imagine tackling a puzzle with half the pieces missing! If you don’t have your replacement Sears wall button yet, you can find them online or at local hardware stores. Just make sure to check the compatibility with your existing garage door opener, as different models may have different specifications.
Turn Off Power to Your Garage Door Opener
Safety first! Before you start fiddling with wiring, make sure to disconnect the power to your garage door opener. This is like shutting off the main switch before you dive into any electrical work.
To turn off the power:
1. Locate the circuit breaker labeled for your garage.
2. Flip the switch to the “off” position.
If you want to be extra cautious, unplug your garage door opener from the power outlet. This way, you won’t have any accidental surprises while you’re working on your wall button.
Remove the Old Wall Button
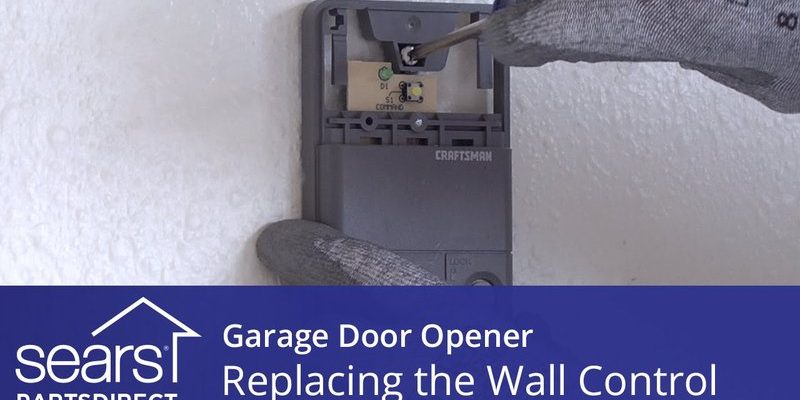
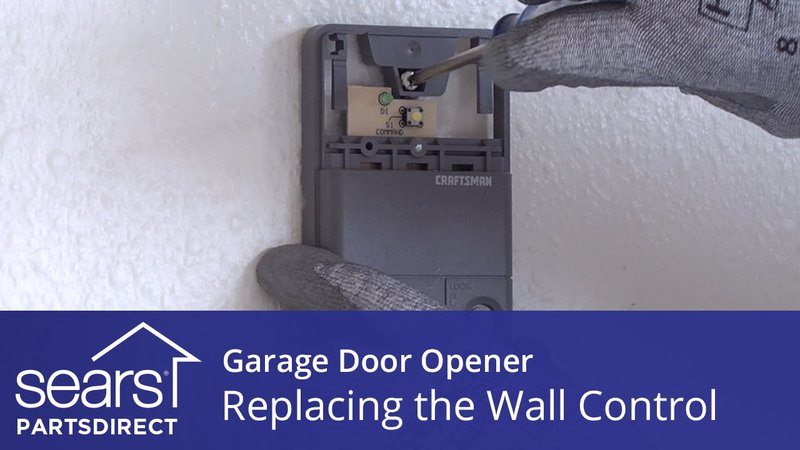
Next up is taking the old wall button off the wall. You’ll want to start by using your flathead screwdriver to carefully pry off the wall plate, if there is one. This is usually just a simple cover that’s been held on with screws.
Once the wall plate is off, you’ll see the button itself. Take your Philips screwdriver and carefully unscrew the old button from the wall. Remember to take note of how the wires are connected—the positioning is really important for the new button to work correctly!
If the wires are too tight, gently pull them out, but make sure you don’t break anything.
Connect the New Wall Button
Now comes the fun part—connecting your new Sears wall button. You might be wondering about the color coding of the wires and how to connect them properly. Typically, there are two wires: one is for the “common” and one for the “open/close” function.
Here’s how to connect them:
1. Take the two wires from your wall and strip about half an inch of insulation off the ends using your wire strippers (if needed).
2. Connect the wires to the corresponding terminals on the new button—in most cases, it doesn’t matter which wire goes where, but you can follow the previous connection setup if you noted it.
3. Make sure each connection is tight and secure.
If you feel like being cautious, wrap electrical tape around the exposed wire connections. This helps prevent any accidental shorts.
Reinstall the Wall Button and Cover Plate
With the new Sears wall button connected, it’s almost time to put everything back together. Start by carefully pushing the button back into the wall. Use your Philips screwdriver to secure the button with the original screws.
Next, don’t forget to reattach the wall plate, if you had one. It adds a nice finishing touch and hides any unsightly wires. Just screw it back into place, and you’re good to go!
Restore Power and Test the New Button
Now that everything’s in place, it’s time to flip the switch back on! Go to your circuit breaker and restore power to your garage door opener. If you had unplugged the opener, plug it back in as well.
Once the power is restored, take a moment to test your new wall button. Stand a few feet away and press it to see if your garage door opens and closes smoothly. If the door responds perfectly, congratulations! You’ve successfully replaced your Sears wall button.
Troubleshooting Common Issues
If, for some reason, the new button isn’t working, don’t panic just yet. There are a few common troubleshooting steps you can take to figure out what’s going wrong:
1. Check Wiring Connections: Make sure all wires are tightly attached to the new button. A loose wire can stop the button from functioning.
2. Inspect the Power Source: Double-check that you restored power properly and that there’s no blown fuse.
3. Reset the Opener: Sometimes, the opener might need a little reset to recognize the new wall button. Consult your opener’s manual for specific instructions.
Here’s the thing: if you’re not getting anywhere with troubleshooting, don’t hesitate to reach out to a professional. It’s always better to be safe than sorry with electrical components.
Replacing a Sears wall button is a manageable DIY task that saves you both time and money. With just a few basic tools and a little patience, you can have your wall button swapped out in no time. Now, with your new button in place and everything functioning smoothly, you can enjoy the convenience of a working garage door opener without the hassle of deeper problems. If you encounter any bumps along the way, remember to take a breath and troubleshoot—you’ve got this!