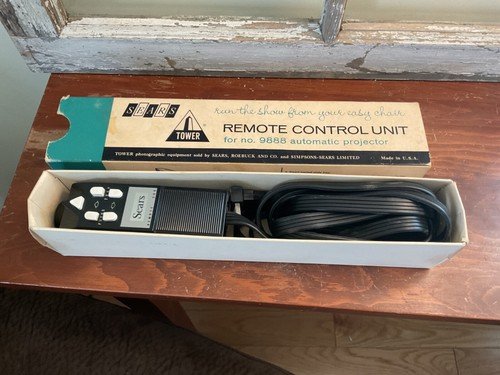
The process may seem daunting at first, especially if you’re not super tech-savvy, but replacing your remote doesn’t require a degree in engineering. Think of it like replacing a light bulb. You need to know the right steps, the tools required, and a little bit about your specific model. Let’s get into how you can easily replace your Sears remote so you can get back to smooth sailing—err, opening!
Understanding Your Sears Garage Door Remote
Before diving into the replacement process, it’s crucial to understand your specific remote model. Sears has produced a variety of remotes over the years, so knowing which one you have can save you a lot of headaches. Generally, the most common Sears remotes include models like the 139.53753 and the 139.53879.
These remotes work by sending a coded signal to your garage door opener, allowing you to open or close it with just the press of a button. If your remote stops working, there could be a number of reasons—dead battery, weak signal, or even just an old remote that needs to be replaced. But don’t worry; we’ll cover all this as we go along!
Step 1: Gather Your Supplies
To get started, you’ll need a few basic tools and materials. Here’s a handy list to help you prepare:
- New Sears remote (make sure it’s compatible with your garage door model)
- Small screwdriver (typically a Phillips screwdriver)
- Fresh batteries (most remotes use 3V lithium batteries)
- Owner’s manual (if you have one)
Having everything ready before you start will help the process go smoothly. After all, no one wants to hunt for a screwdriver in the middle of a project!
Step 2: Remove the Old Remote’s Battery
Now let’s get into the nitty-gritty. If your remote is still somewhat functional but weak, it might just need a new battery. Here’s how to do it:
1. Flip your remote over and locate the battery compartment.
2. Use your small screwdriver to carefully open the compartment.
3. Remove the old battery by gently lifting it out.
Make sure to note the battery orientation—there are usually markings showing which way the positive (+) and negative (-) ends should face. Sometimes that’s all it takes, so give it a try before moving on to a full replacement!
Step 3: Programming the New Remote
Once you have your new remote, it’s time to program it to sync with your garage door opener. This step can feel intimidating, but stay calm; it’s pretty straightforward:
1. Find the “Learn” button on your garage door opener. This button is typically located on the back or side.
2. Press the “Learn” button once. An LED light should turn on, indicating it’s in programming mode.
3. Within 30 seconds, press and hold the button on your new remote that you want to use.
4. Release the button after a few seconds when the garage door opener lights blink, confirming the remote is successfully programmed.
You might be wondering why it’s necessary to program the new remote. Well, it’s all about security! Each remote sends a unique signal to prevent others from opening your door. The programming step ensures only your trusted remote can operate it.
Troubleshooting Common Issues
Sometimes, things don’t go as planned. If your new remote doesn’t work right away, don’t panic! Here are some common troubleshooting steps to consider:
1. Check the Battery: Make sure you installed the battery correctly with the right orientation.
2. Reprogram: Sometimes remotes don’t sync on the first try, so consider repeating the programming process.
3. Clear Obstacles: Ensure there’s nothing blocking the signal between the remote and the garage door opener. It’s also a good idea to avoid interference—like other remote devices.
If all else fails, referring to your owner’s manual can often lead you to specific troubleshooting tips and additional features unique to your model.
What If You Can’t Find a Replacement Remote?
If you find yourself out of luck and can’t locate a Sears remote that fits your garage door model, don’t worry! There’s always the option of considering a universal remote. These remotes can work with several brands and offer similar functionality.
Keep in mind that while universal remotes are convenient, it may require a bit of time to get them set up. You’ll still need to go through the programming process and check for compatibility.
Keep Your Garage Door Remote in Good Condition
Once you’ve replaced your Sears remote, you’ll want to keep it functioning well. Here are a few quick tips:
- Regularly check and replace the battery to avoid sudden failures.
- Store the remote in a safe place—avoid exposure to extreme temperatures and moisture.
- Clean the buttons occasionally to ensure there’s no dirt or grime that prevents signal transmission.
Taking these simple steps can extend the life of your remote and save you from future frustrations.
Replacing your Sears remote doesn’t have to be a head-scratcher. With the right tools and guidance, you’re capable of handling it like a pro. Remember to gather your supplies, take your time with the programming, and don’t hesitate to troubleshoot if things go awry. In the end, a little patience and persistence pay off, and you’ll be back to effortlessly opening your garage door in no time. Happy DIY-ing!