Replacing the battery backup in your Sears garage door opener isn’t as daunting as it sounds. Picture it like changing the batteries in your favorite remote control—simple, right? In this article, we’ll go step-by-step to help even beginners navigate the process with ease. With a little bit of patience and the right tools, you’ll be back to worry-free use of your garage door opener.
Why Battery Backup Matters
Battery backup systems are your garage door opener’s best friend during a power outage. With a fully charged battery, you can still use your opener safely and securely. Imagine you’re rushing out for an emergency, and suddenly, the lights go out. Without battery backup, you’d be left stranded, staring at a closed garage door.
A battery backup ensures that you remain independent, not beholden to fluctuating power supply. It provides peace of mind, allowing you to operate your garage door opener without hassle, even when the grid fails. Knowing how to replace the battery can save you from future inconveniences.
You might be wondering, “How often should I change the battery?” A good rule of thumb is every 1-3 years, depending on usage. Regular checks can help ensure everything runs smoothly.
Gathering Your Tools
Before you dive in, let’s gather what you need, so you’re not running around like a chicken with its head cut off halfway through the process. To replace the Sears battery backup, you’ll need:
- Replacement battery compatible with your model
- Screwdriver (Phillips or flathead, depending on the screws)
- Gloves (to prevent any accidental shocks)
- Dry cloth (to clean any dust or debris)
Keeping everything organized can save you time. Lay these items out on a table or workbench, so they’re easy to reach. You might even want to wear a headlamp or use some good old-fashioned lighting to see better, especially in cramped spaces.
Identifying the Right Replacement Battery
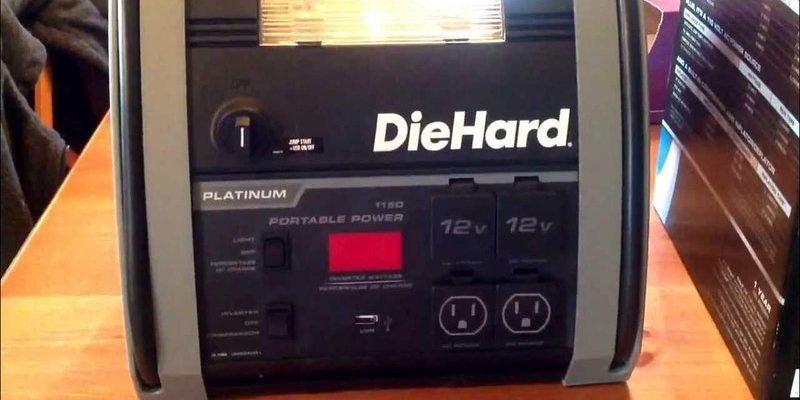
Choosing the correct replacement battery is crucial. Not all batteries fit all models, so check your garage door opener’s manual. The manual typically lists the specifications for the battery you need. Most Sears battery backups will use 12V lead-acid batteries, but it’s always wise to double-check.
Once you’ve determined the right type, you can either buy one at a local hardware store or find a suitable option online. Honestly, there’s something satisfying about finding a local shop and discussing options with someone face-to-face.
If you’re unsure, take the old battery with you so you can compare sizes and connections. Many people like to opt for rechargeable batteries, which can save you money in the long run.
Preparing for Replacement
Now that you have your battery and tools, let’s prepare for the big swap. As with any DIY task, safety first. Start by unplugging your garage door opener. This step is crucial—you don’t want to risk any electric shocks while working.
Next, gently clean the area around the battery compartment. A dry cloth works wonders for getting rid of accumulated dust and debris. Think of it as making your workspace a tidy little environment—it’s much easier to work when everything is clean and visible.
You’ll also want to take a few moments to observe how the old battery is connected. Take note of any wires or clips that are attached. This step can guide you later when you’re re-installing the new battery.
Removing the Old Battery
Now comes the moment of truth—removing the old battery. Using your screwdriver, take off the cover of the battery compartment. It’s often secured with one or two screws. Just remember: lefty-loosey, righty-tighty!
Once the compartment is open, identify how the battery is secured. You’ll likely find two wires: one positive (usually red) and one negative (typically black). Carefully detach them one at a time. If they’re using clips, you can gently pull them free. If you’re using a screw terminal, use the screwdriver to loosen them before detachment.
Once the wires are free, you can lift the old battery out. Be aware that it may be heavier than it looks, so use caution. Once removed, check for any corrosion or damage in the compartment. If you see anything concerning, it might need a professional touch.
Installing the New Battery
With the old battery out, it’s time for the new one to shine! Begin by placing the new battery into the compartment, ensuring it sits securely. Double-check the orientation—most batteries have markings indicating positive and negative.
Reconnect the red wire to the positive terminal and the black wire to the negative terminal. Make sure both are tight and secure. A loose connection can lead to performance issues down the road.
Once everything is connected, put the cover back on the battery compartment and secure it with the screws you removed earlier. Give yourself a little pat on the back—you’re nearly done!
Testing the System
You’re in the home stretch! Now, let’s give your newly-installed battery a test run. Begin by plugging the garage door opener back into power—this part is always a bit tense, right?
Once it’s plugged back in, press the garage door opener remote or wall switch. The door should operate smoothly. If it doesn’t respond, don’t panic. Double-check all your connections to ensure both wires are securely attached. It’s also possible that the battery needs time to charge if it’s brand new.
If everything is good, congratulations! You’ve successfully replaced the Sears battery backup on your garage door opener.
Maintaining Your New Battery
Now that you’ve got everything running smoothly, how can you keep it like that? Regular maintenance is key. Periodically check the battery to ensure there’s no dust buildup and that all connections are secure.
Make a habit of testing your garage door opener every few months. It’s a good practice to know that, come what may, you’ll be able to operate your garage door when needed.
Also, when buying replacement batteries in the future, don’t skimp on quality. Going for a reliable brand may cost a bit more but can offer better performance and longevity.
In closing, keeping your Sears battery backup in good working order with regular checks and timely replacements will ensure you’ll never find yourself stranded in a pinch. Empower yourself with knowledge and take control of your garage door situation. You’ve got this!